A payment receipt is a document a business creates to provide its customer or buyer with proof of payment for a particular product or service.
It can be prepared as evidence of full or partial payment for cash or any other form of payment. This receipt for payment is important for both the business and its customers. Once a customer makes a purchase and pays for it, a business must provide this document as proof of the transaction.
With a payment receipt, the business can easily indicate the product or service purchased, the full or partial amount paid, its own details, the buyer’s details, and relevant terms and conditions. This way, both parties are aware of the transaction details and can correct any mistake that might occur.
This is because the customer will have evidence of their payment. If it is a partial payment, the business and the customer will have proof of the paid amount, the remaining amount, and the due date for that amount. This guarantees trust between both parties. Since it is important, a business should keep the receipt for three years. However, if the business claims to have lost a tax year, it will need to keep the receipts of that year for seven years for reference purposes.
In this article, you will learn how to create a template in MS Word to make it easier to prepare a payment receipt for a customer after every purchase. In addition, this document will save you time and effort as you can use it multiple times. Ensure you follow the formatting tips provided in this article while creating yours.
Payment Receipt Templates
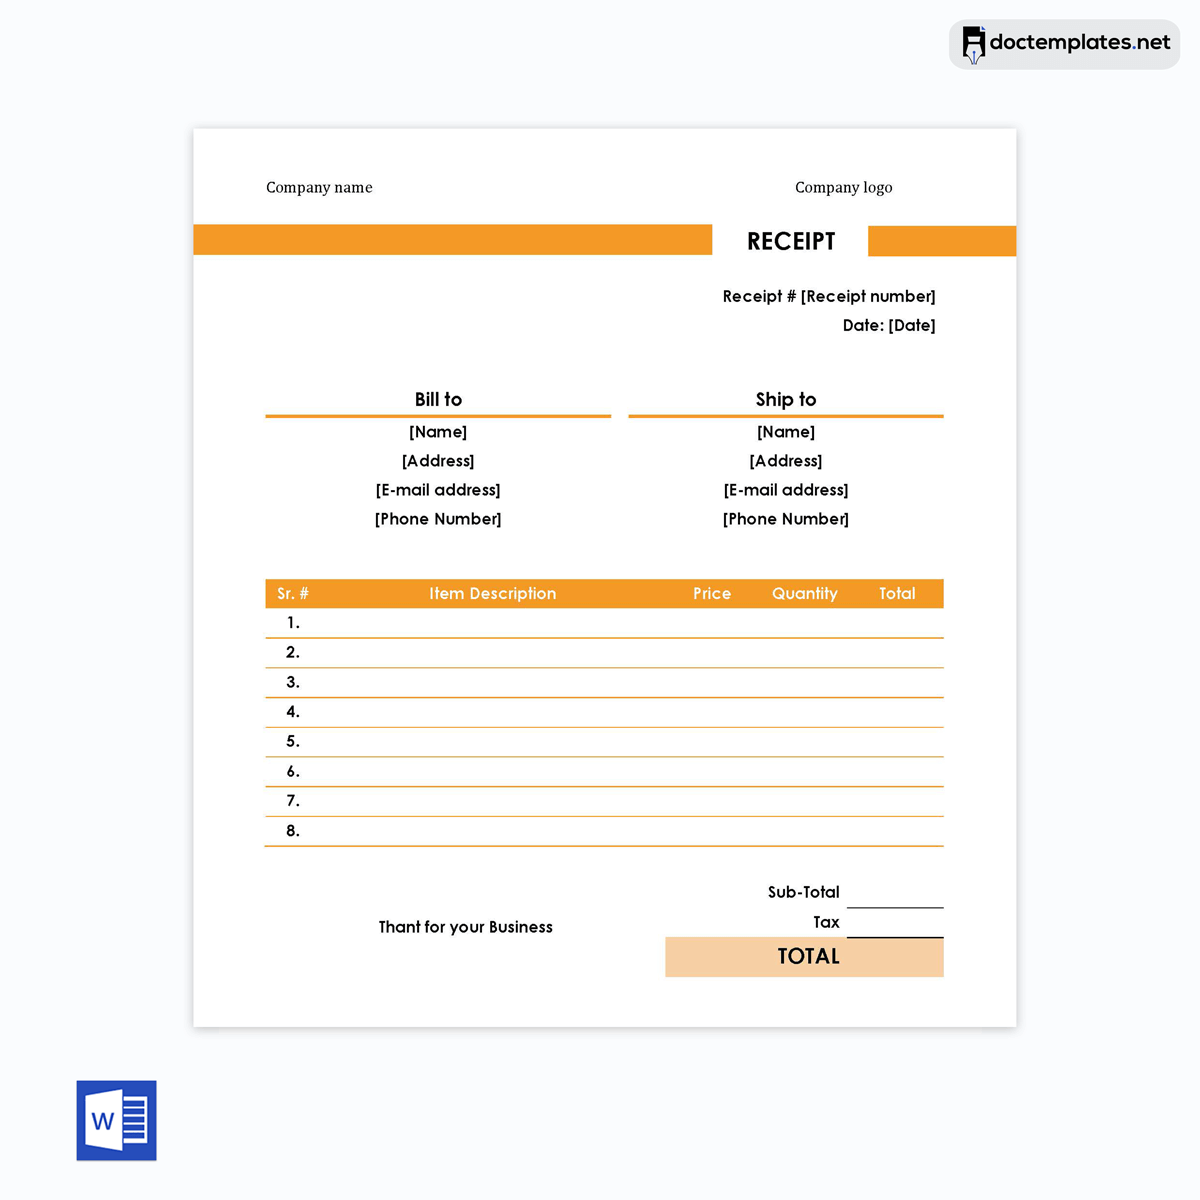
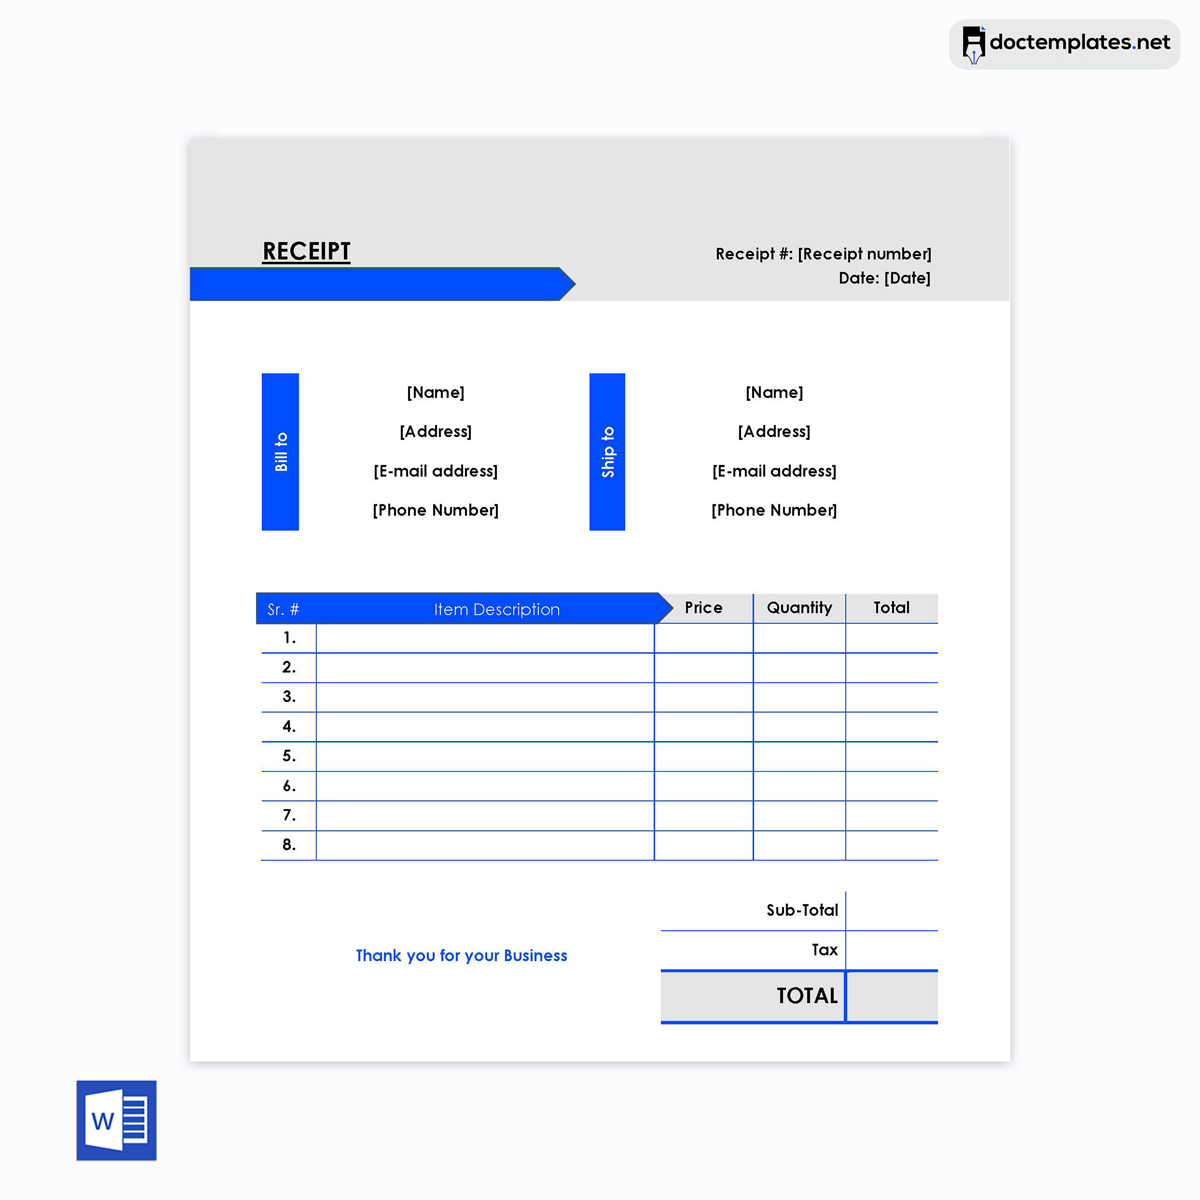
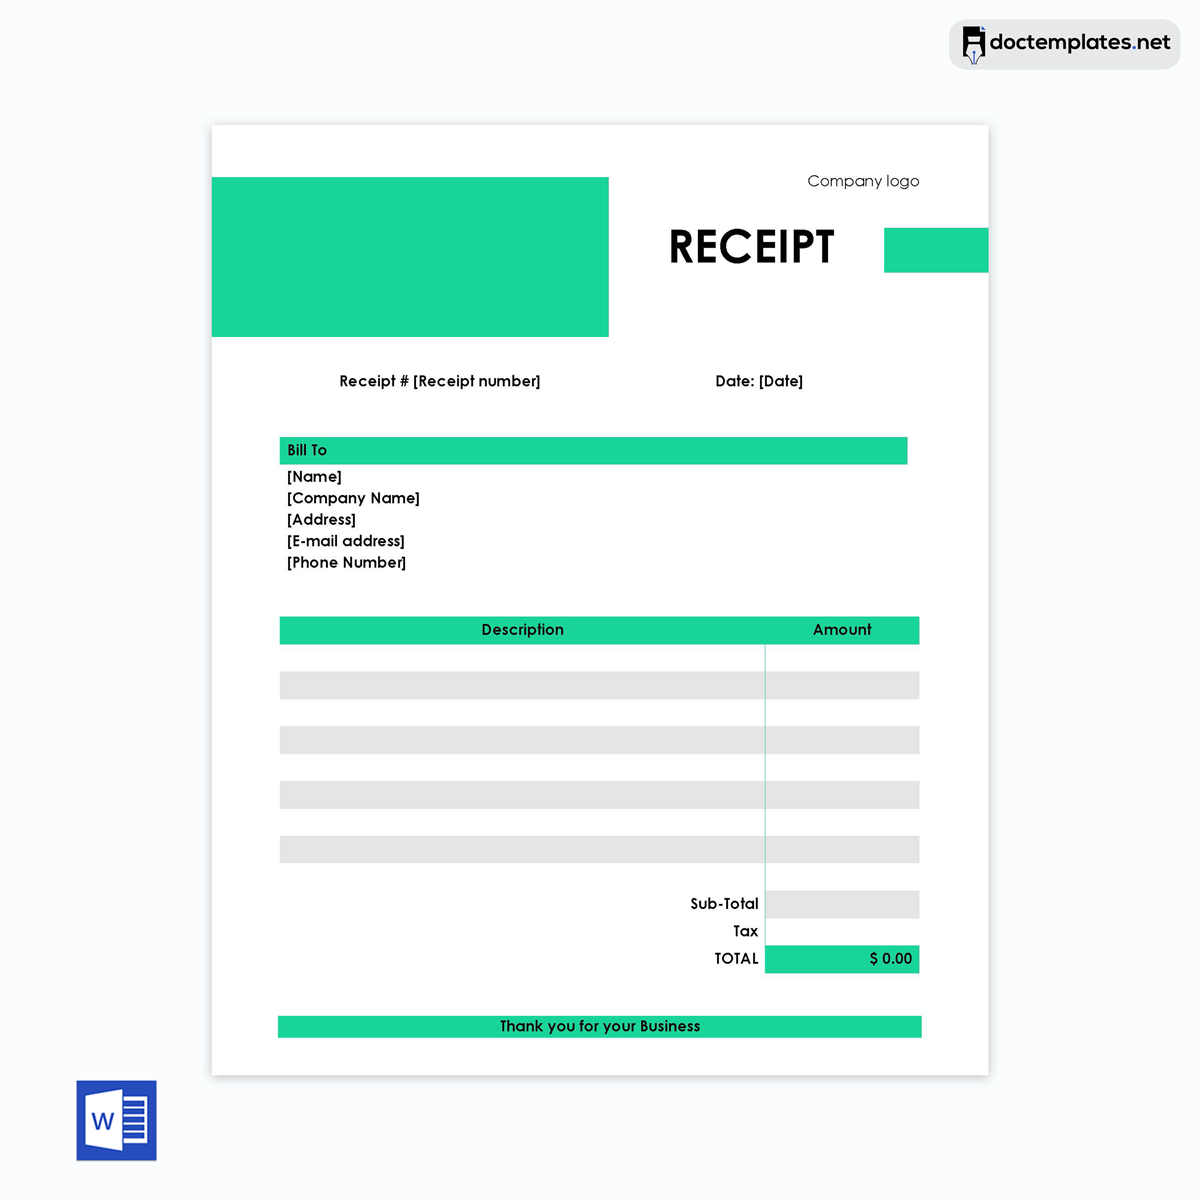
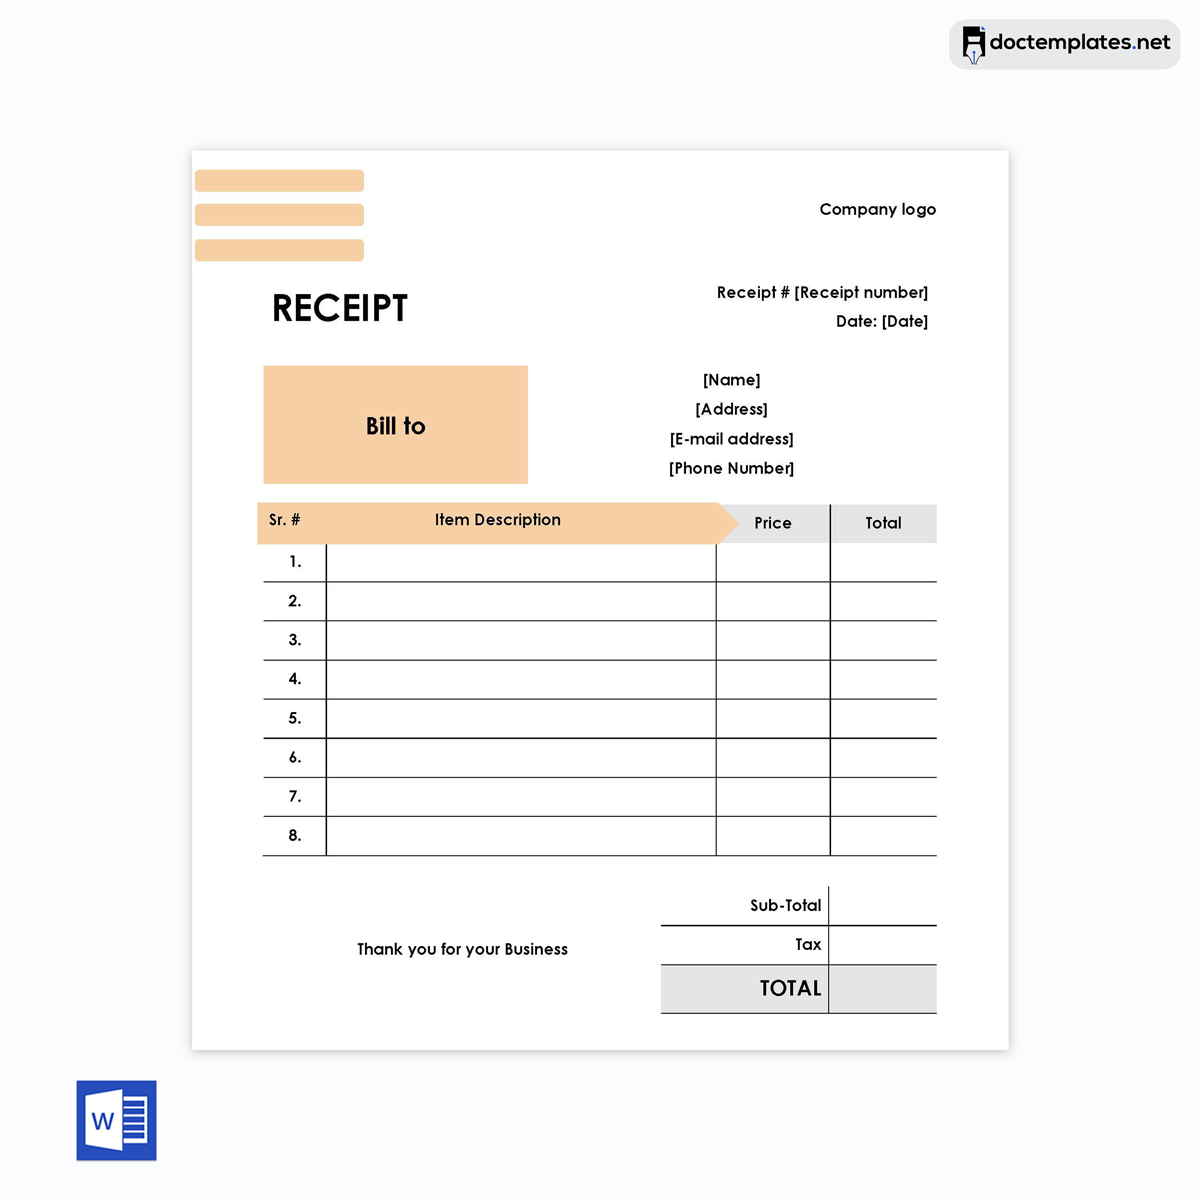
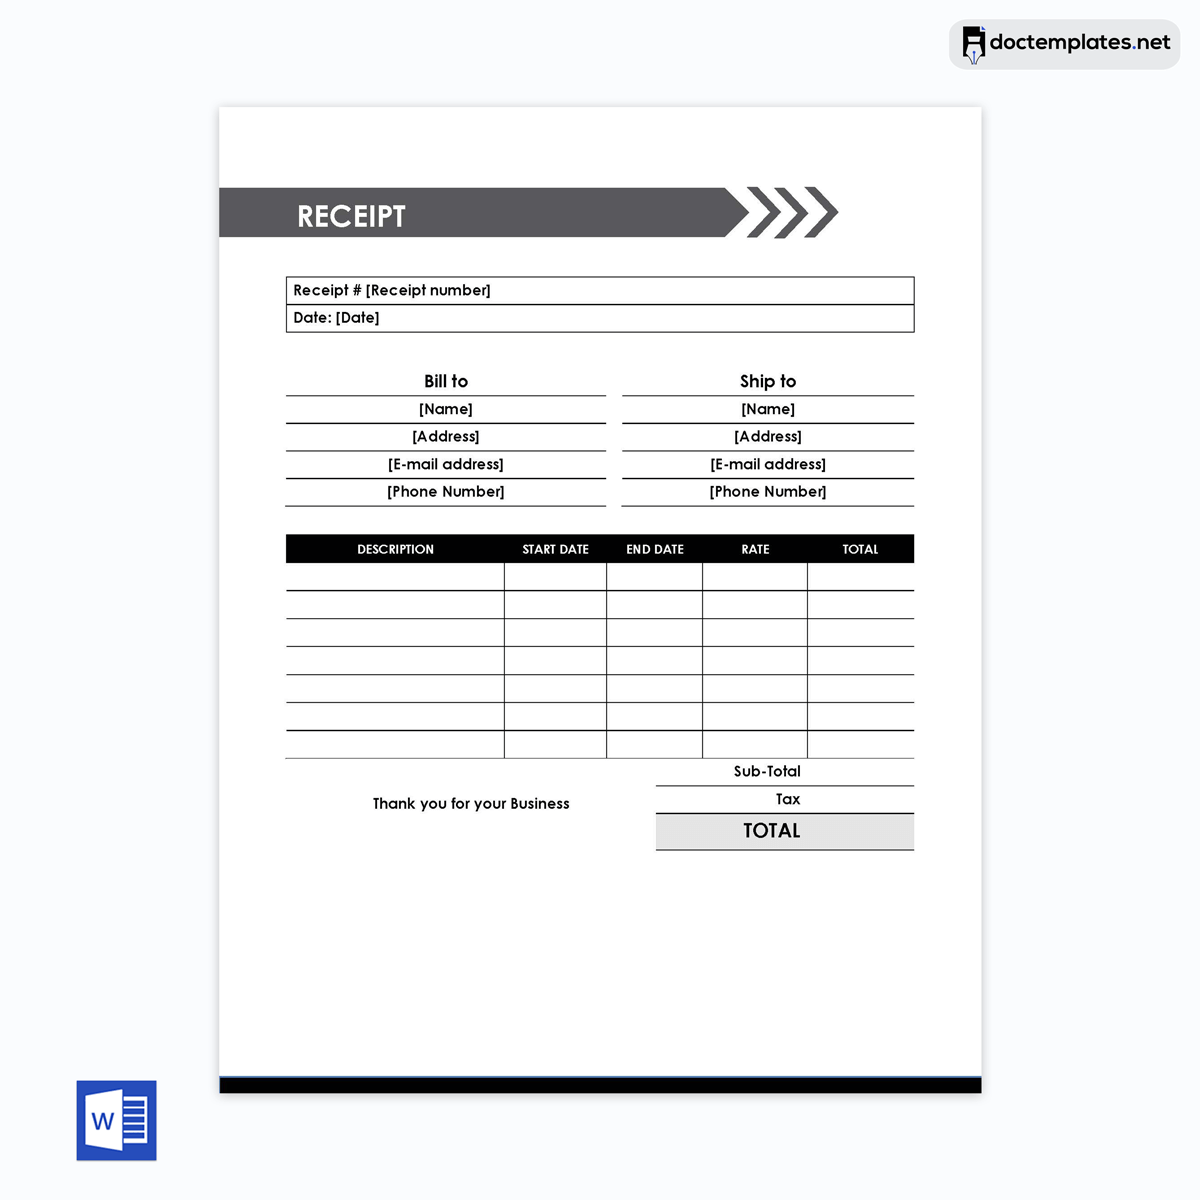
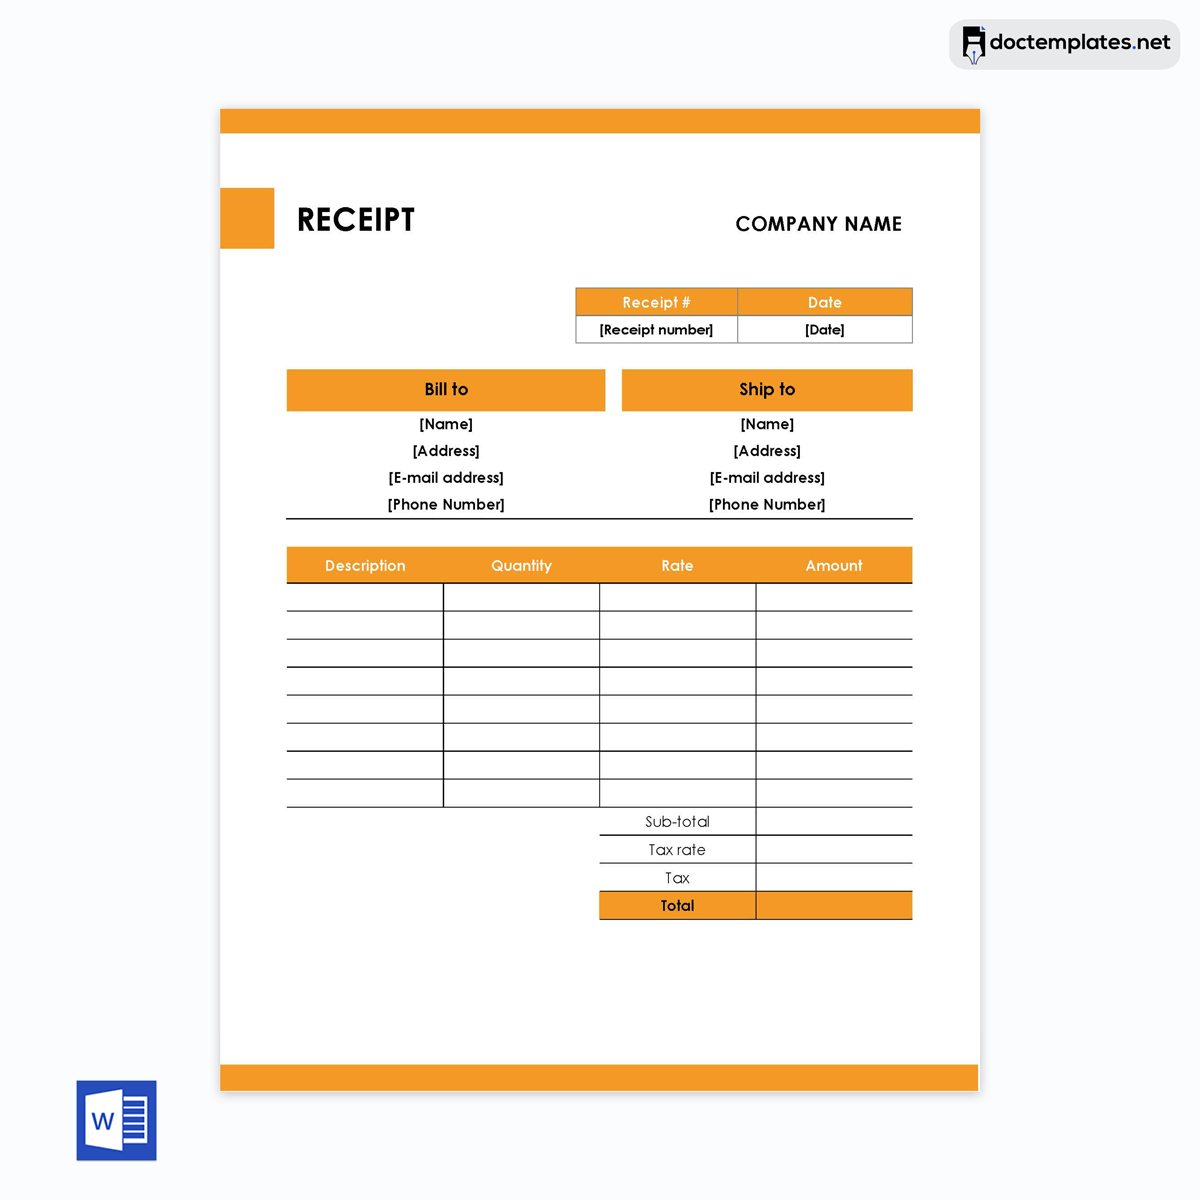
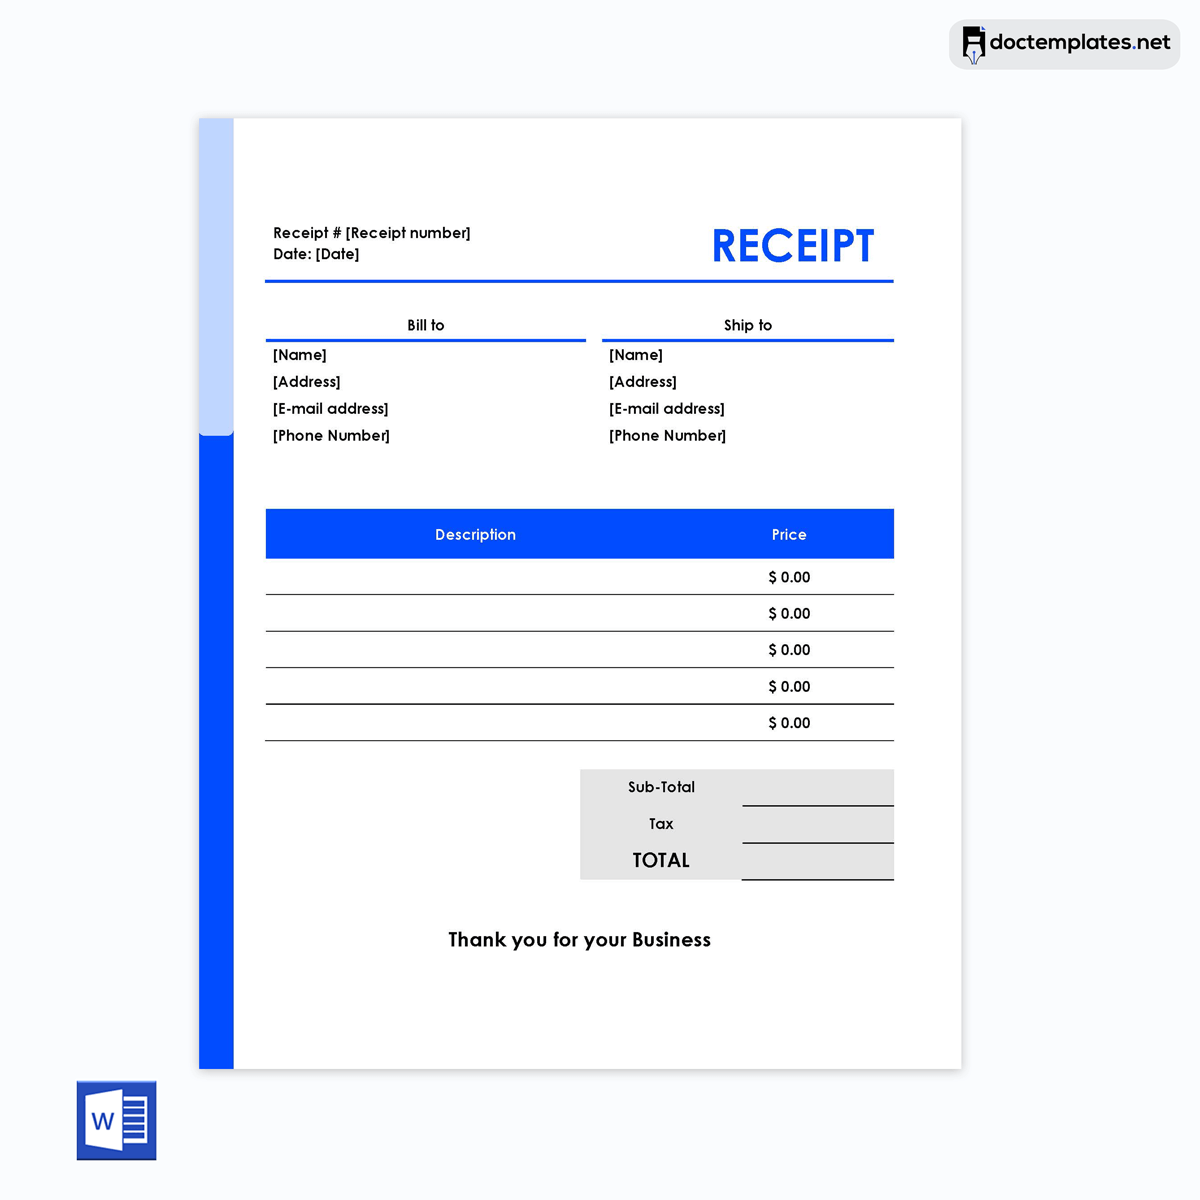
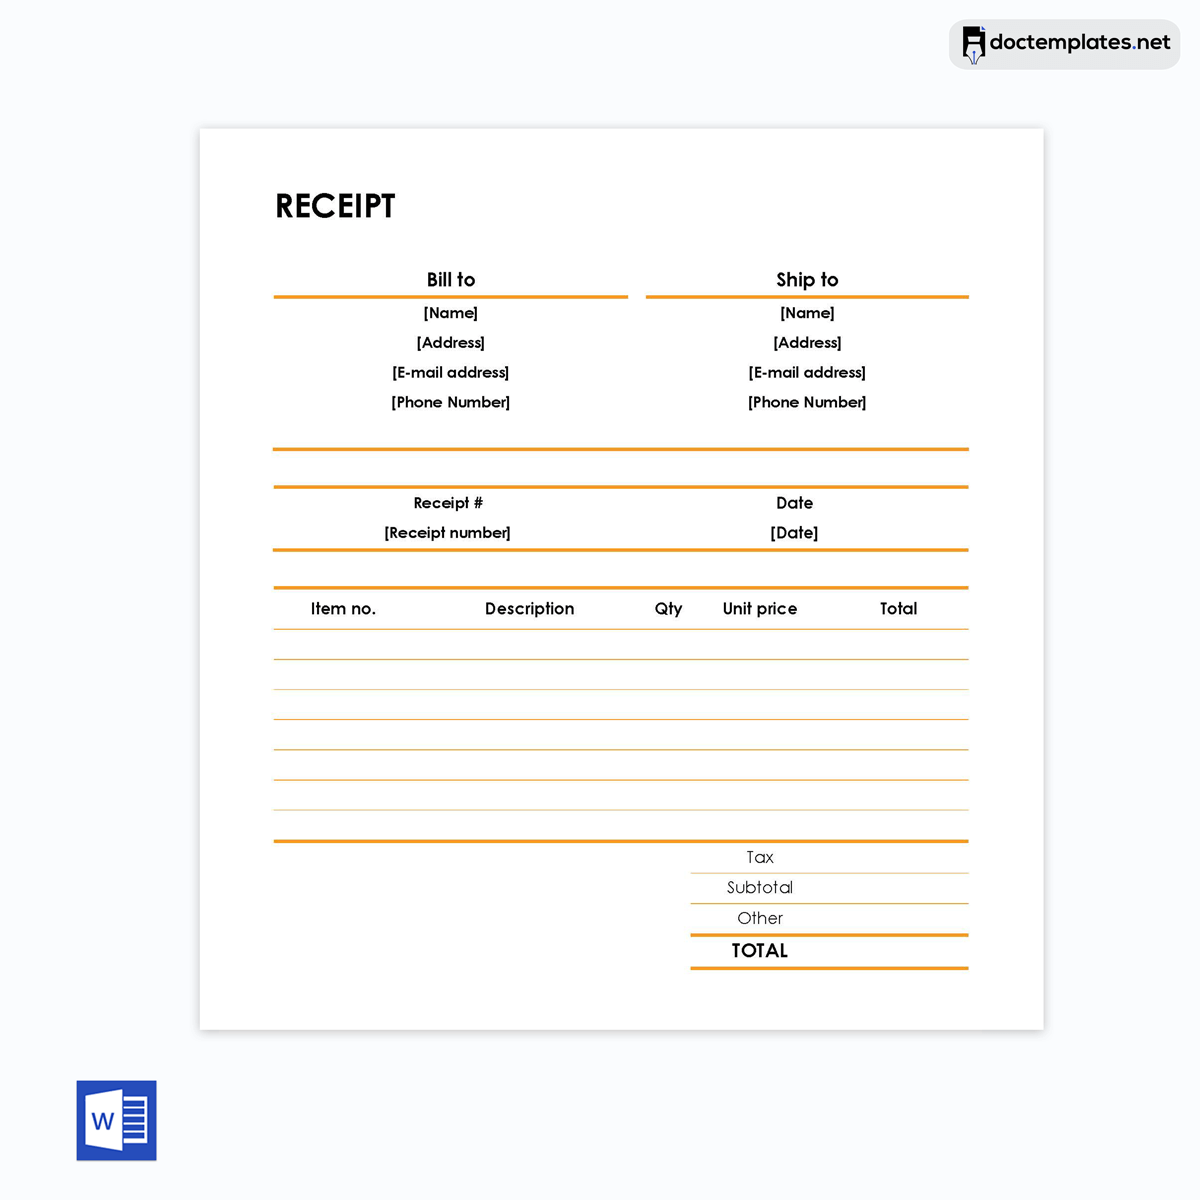
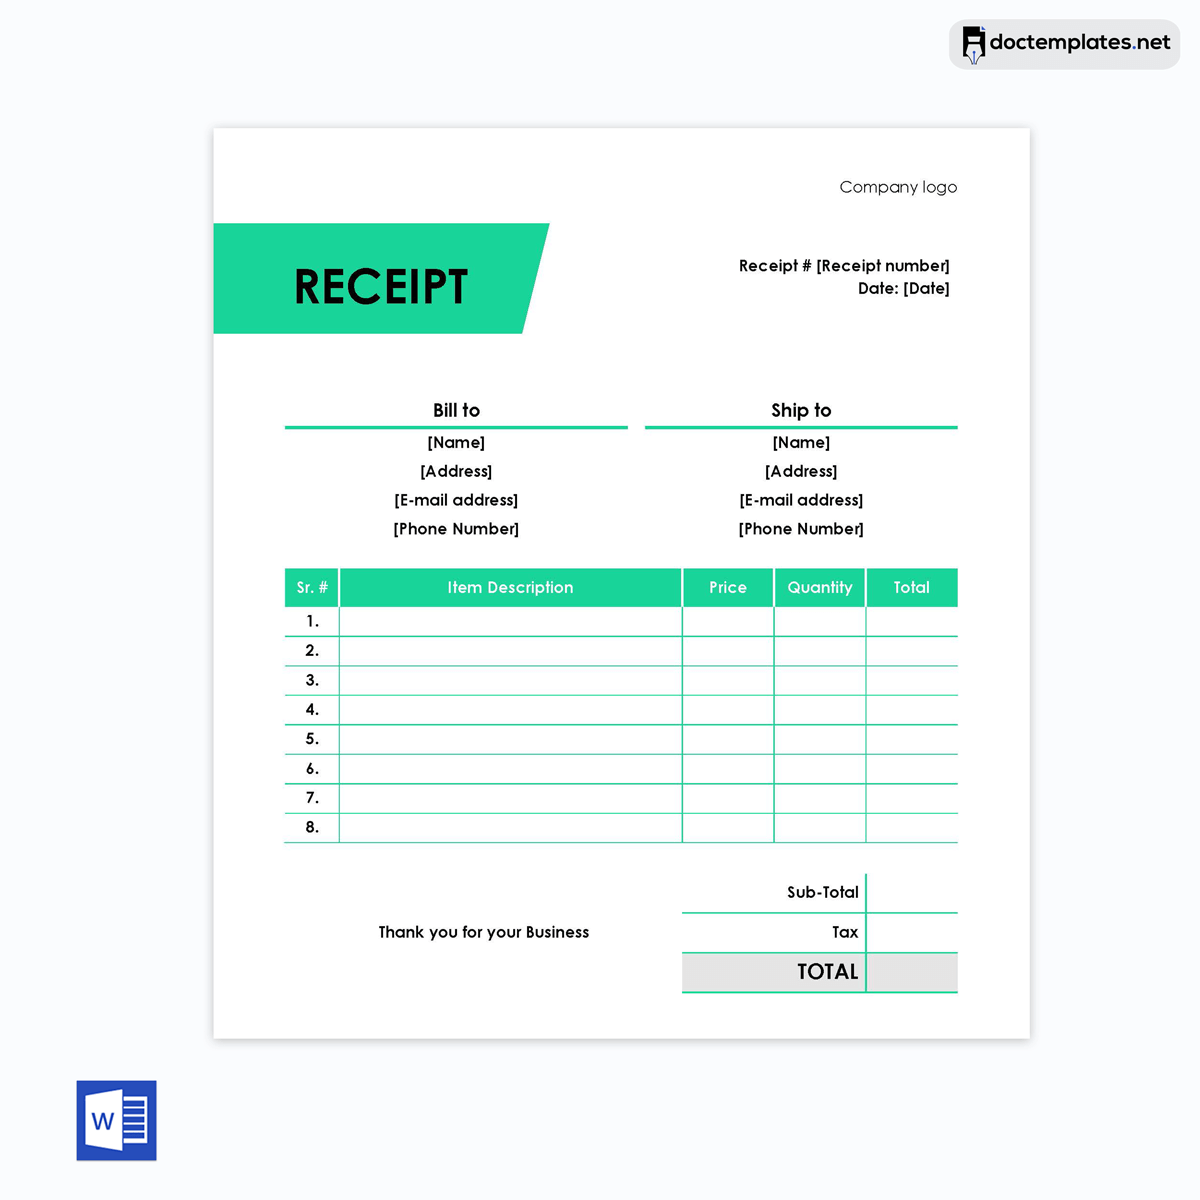
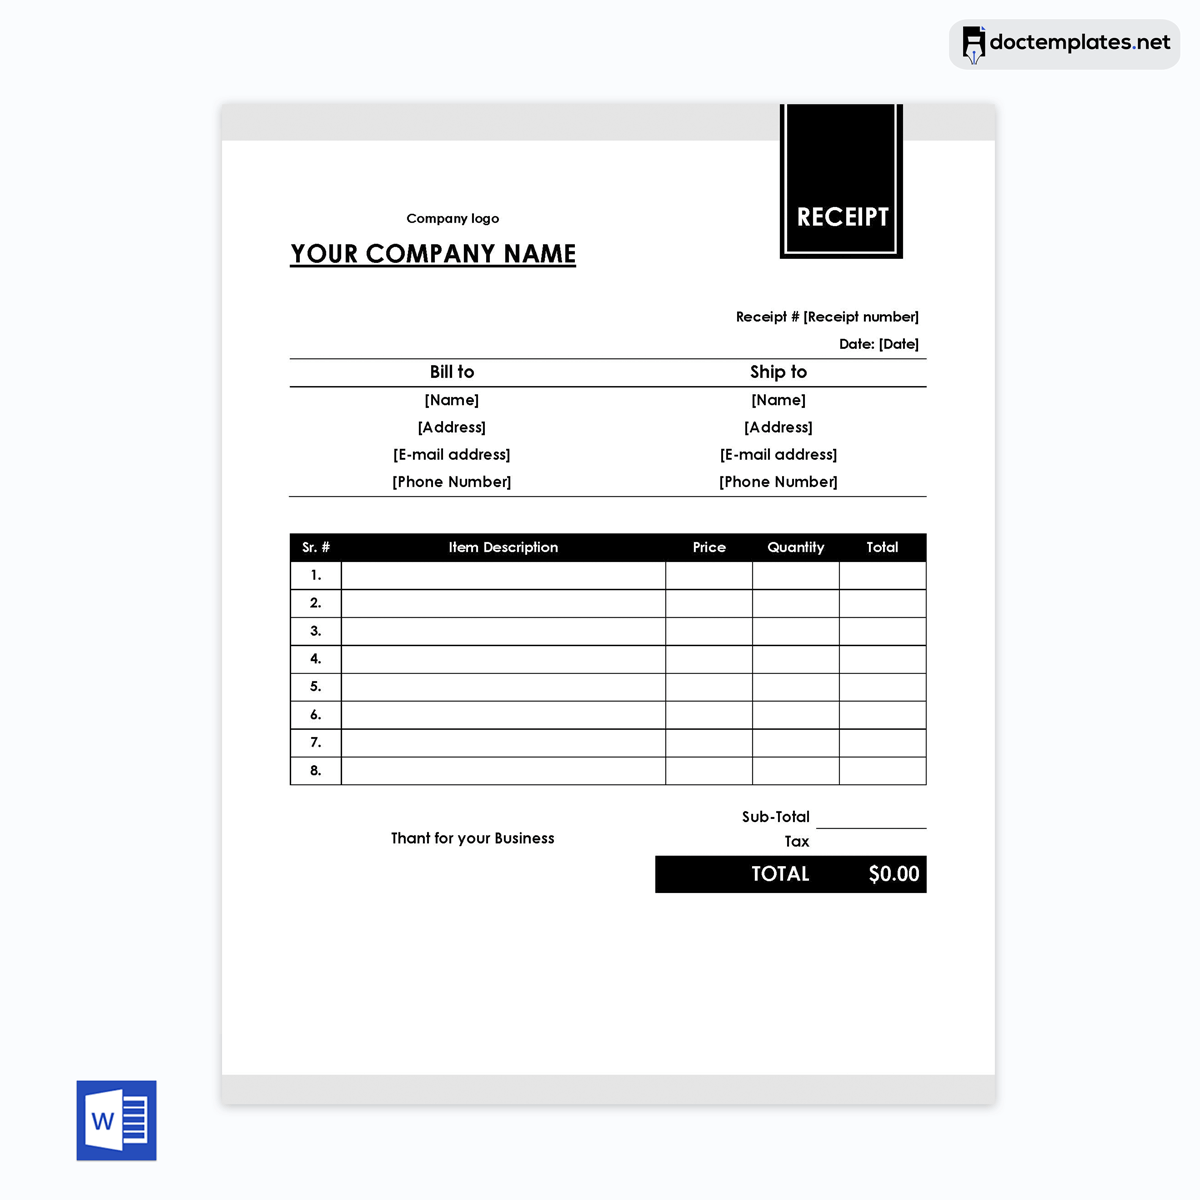
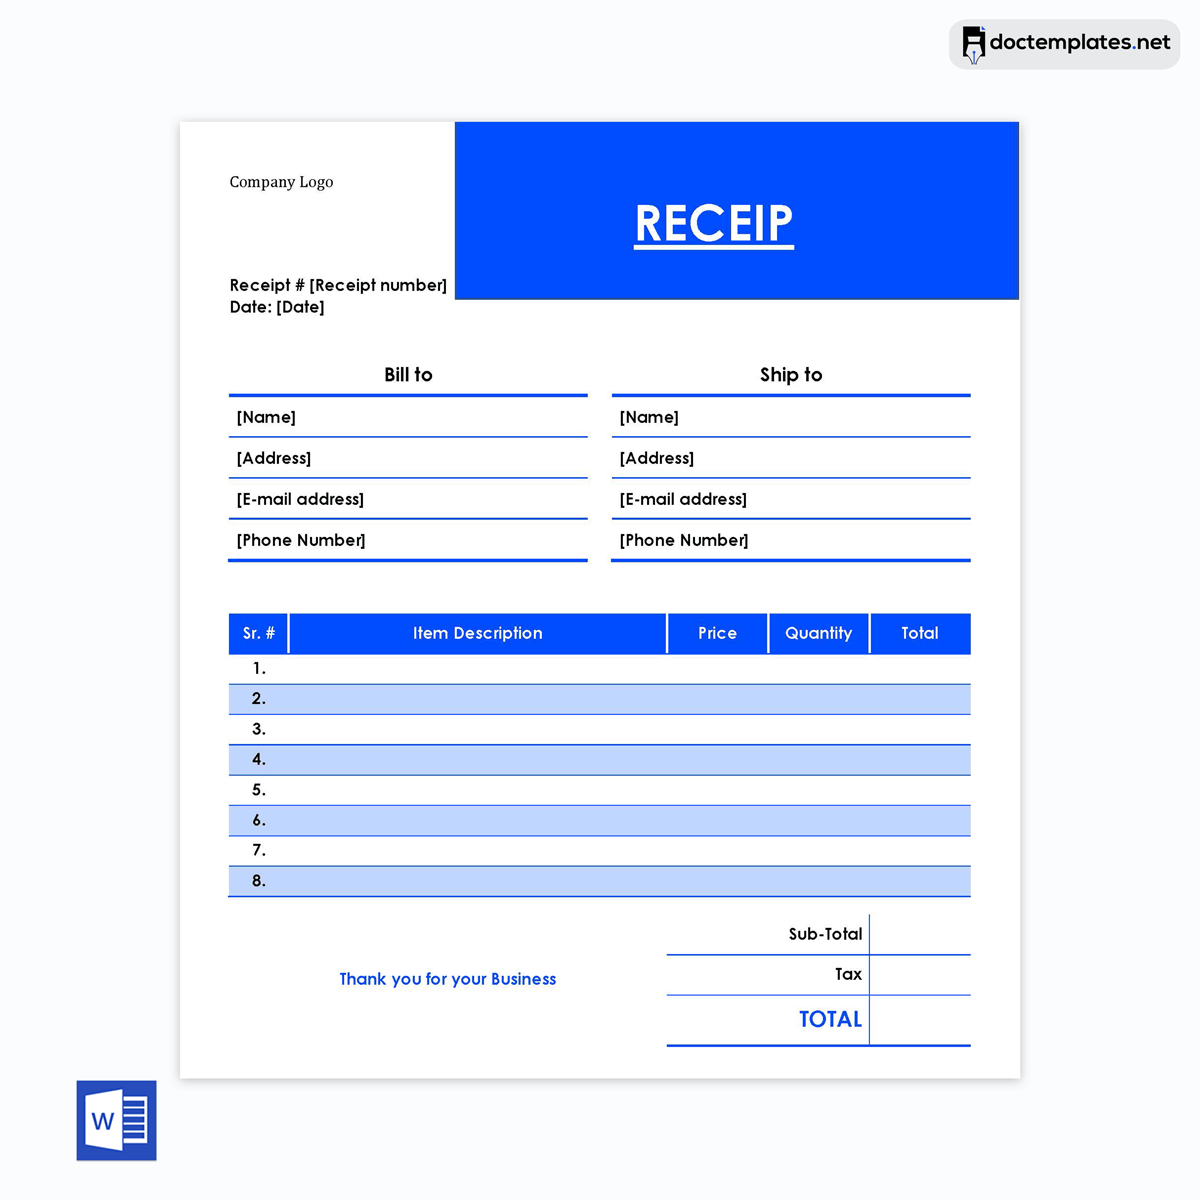
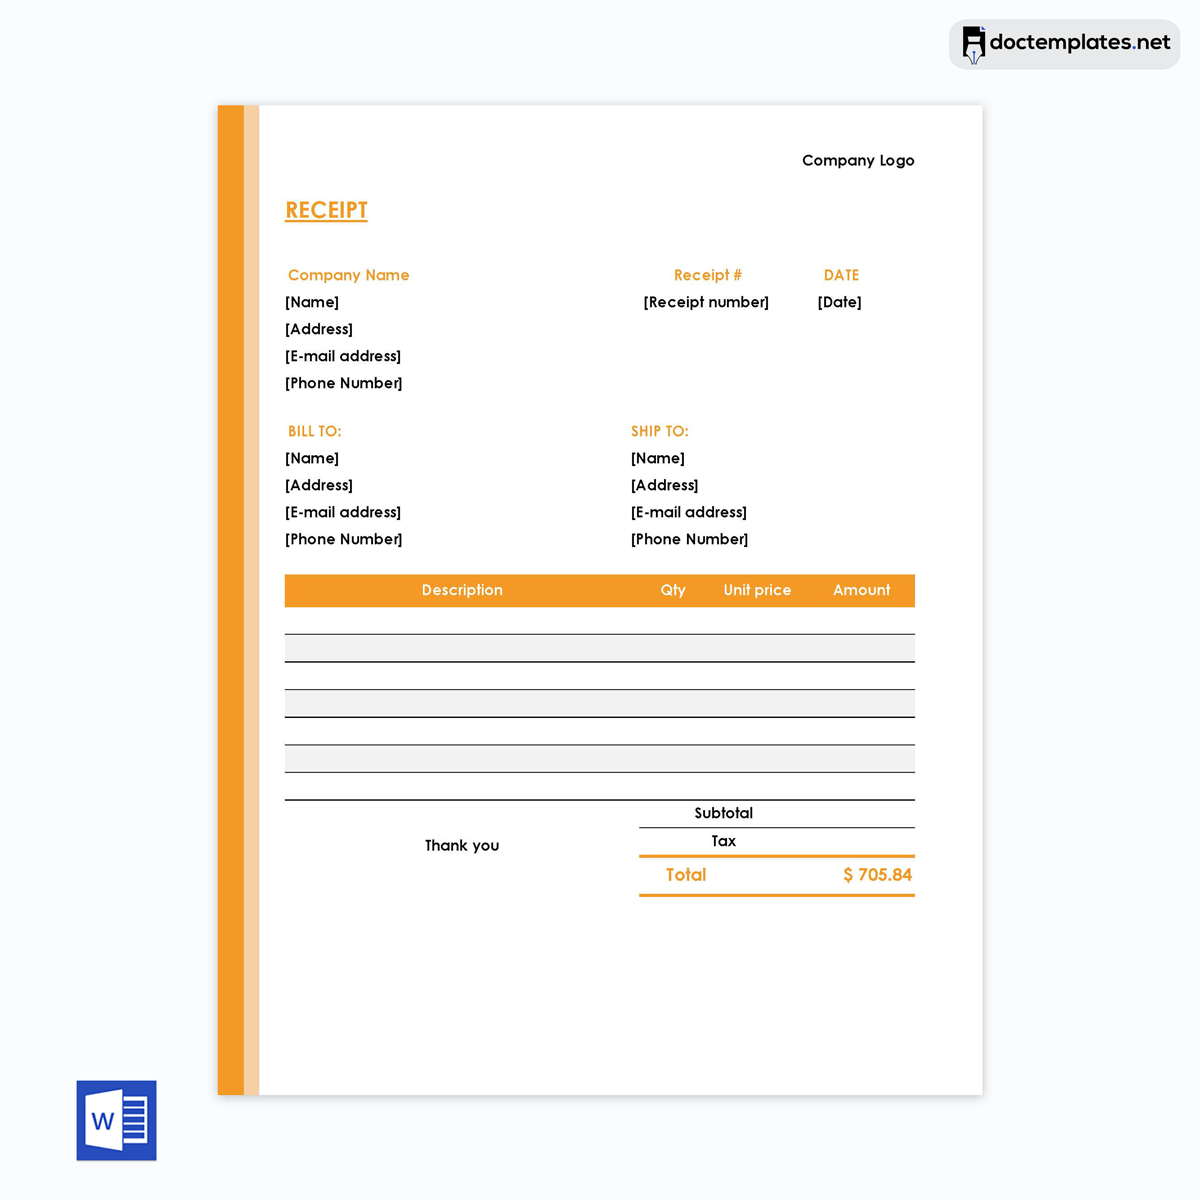
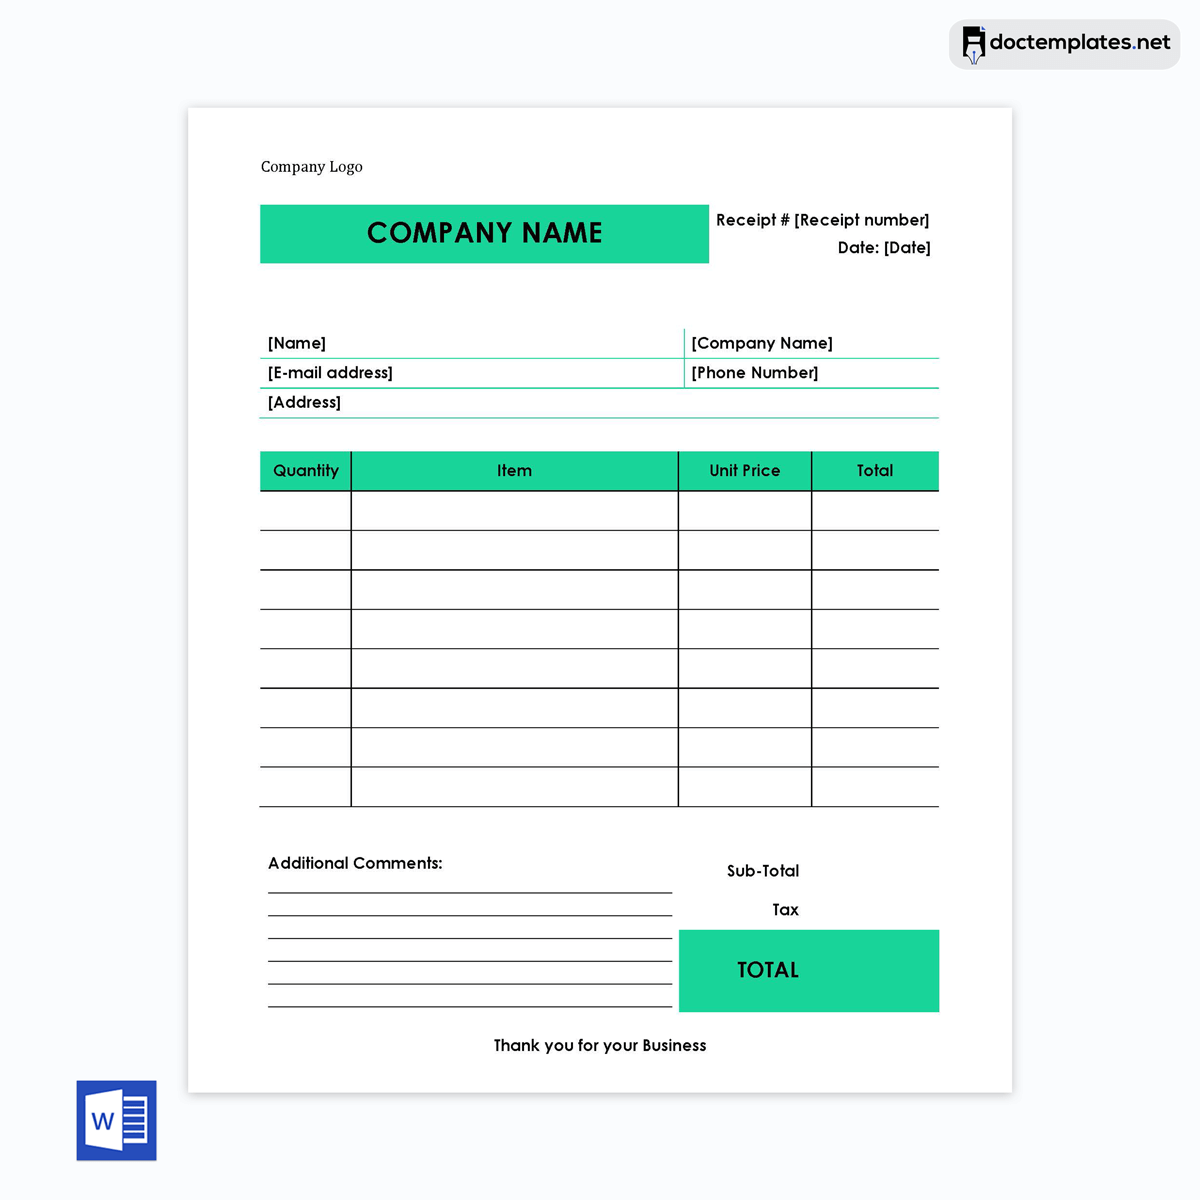
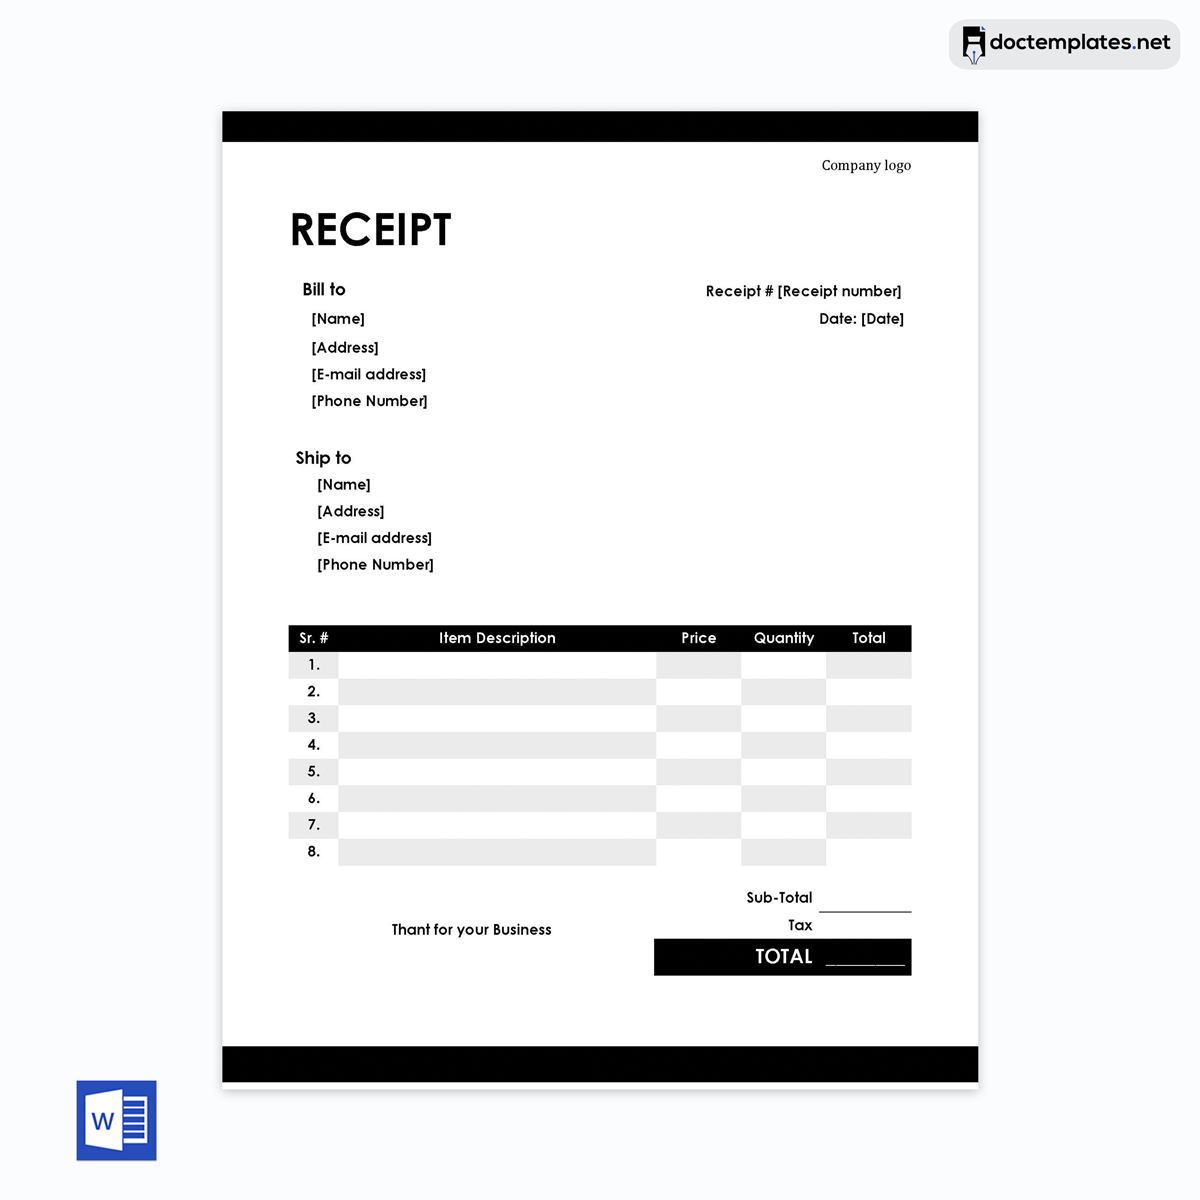
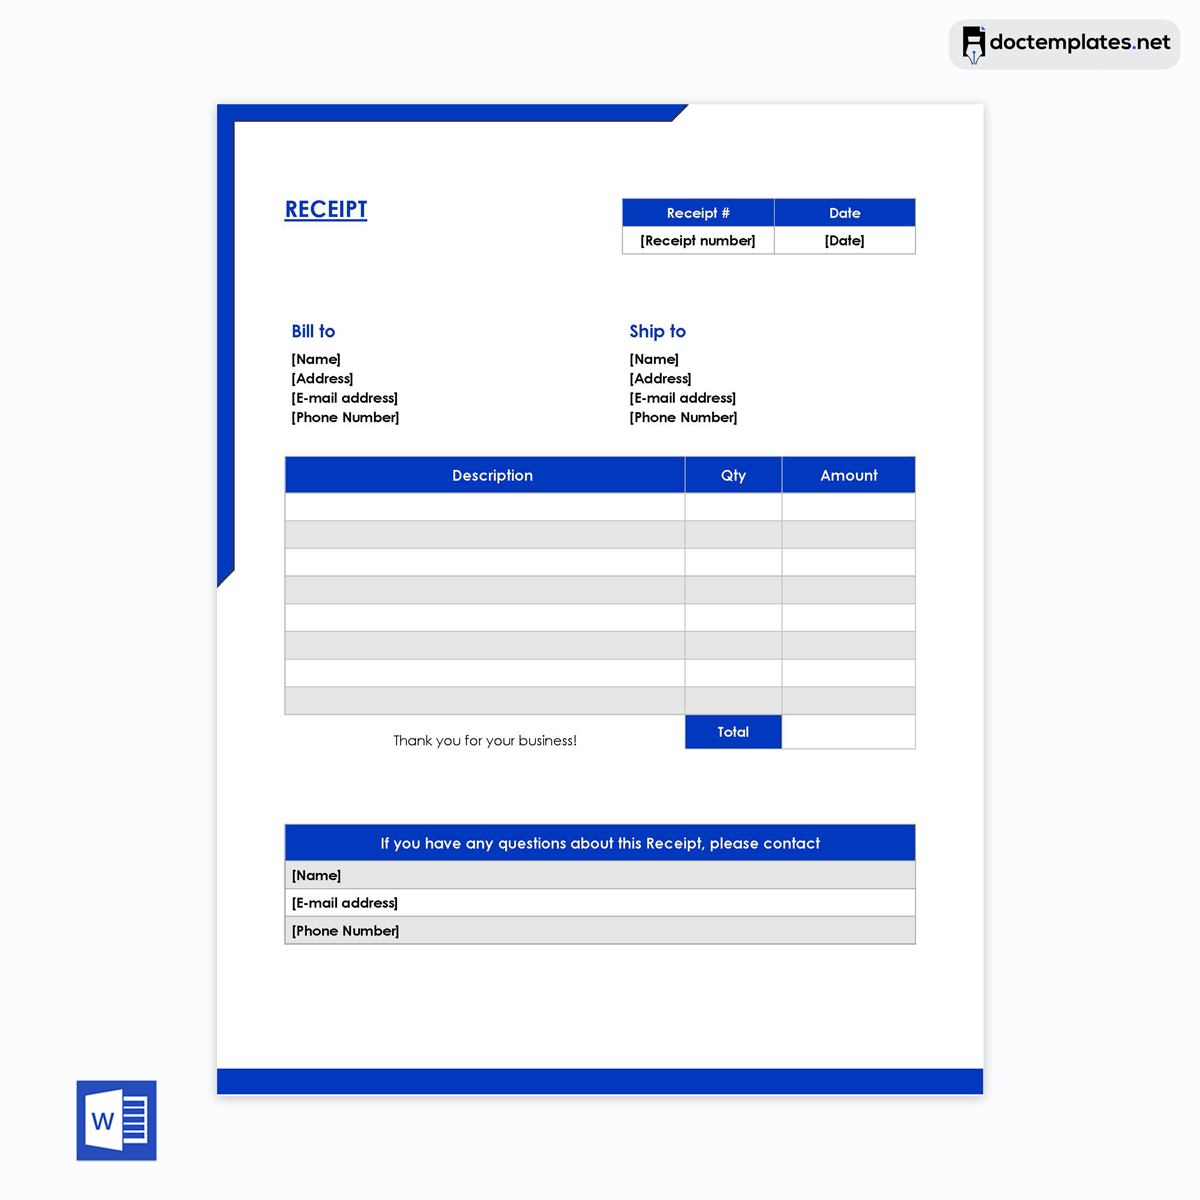
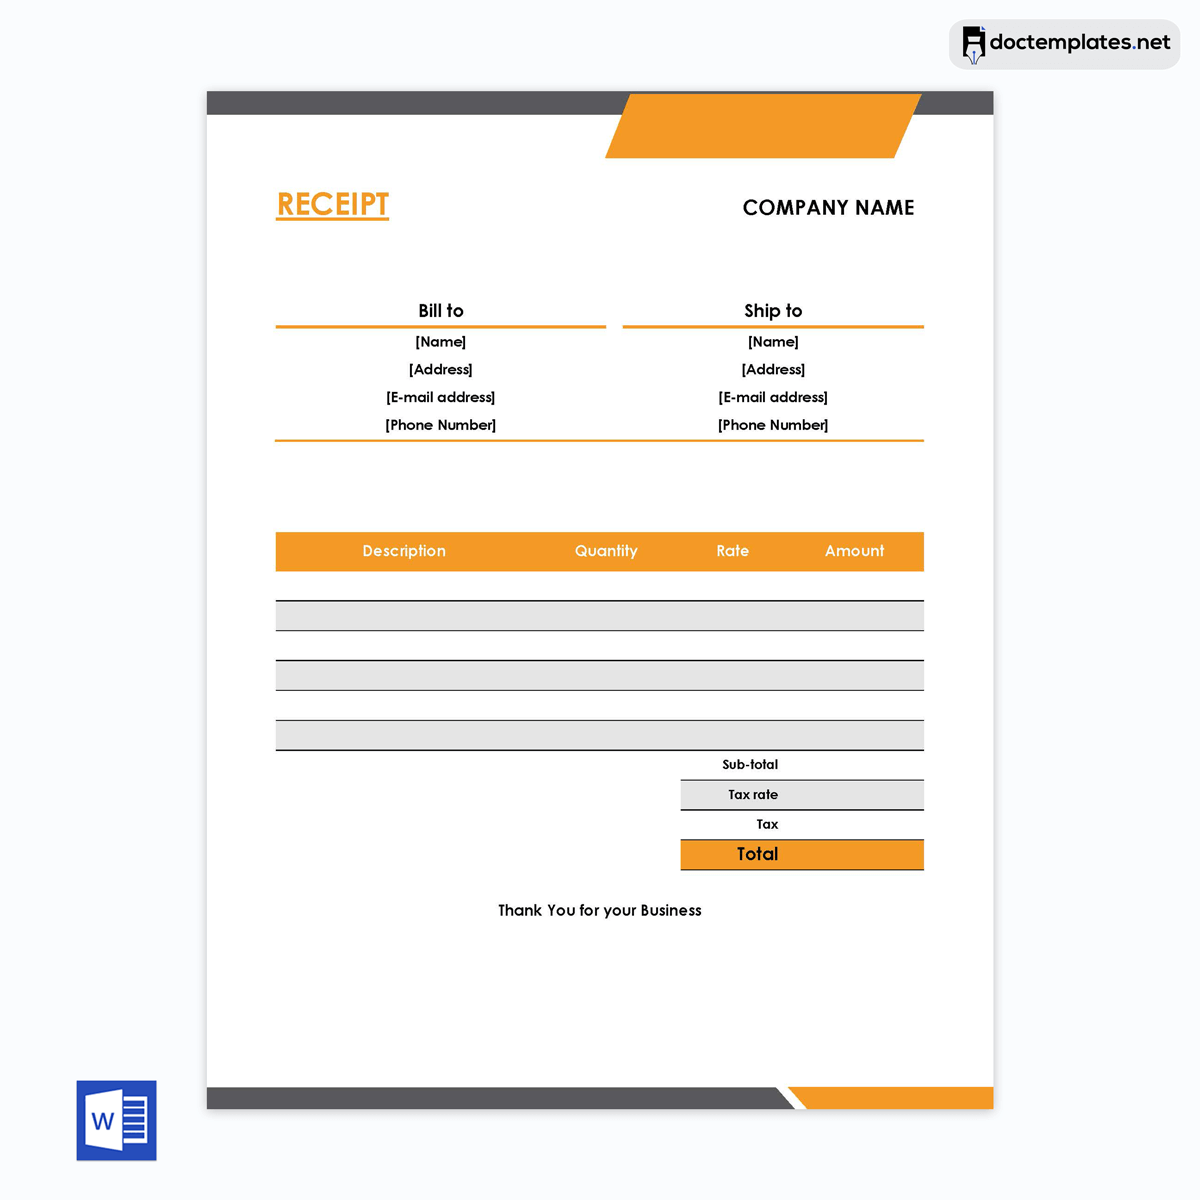
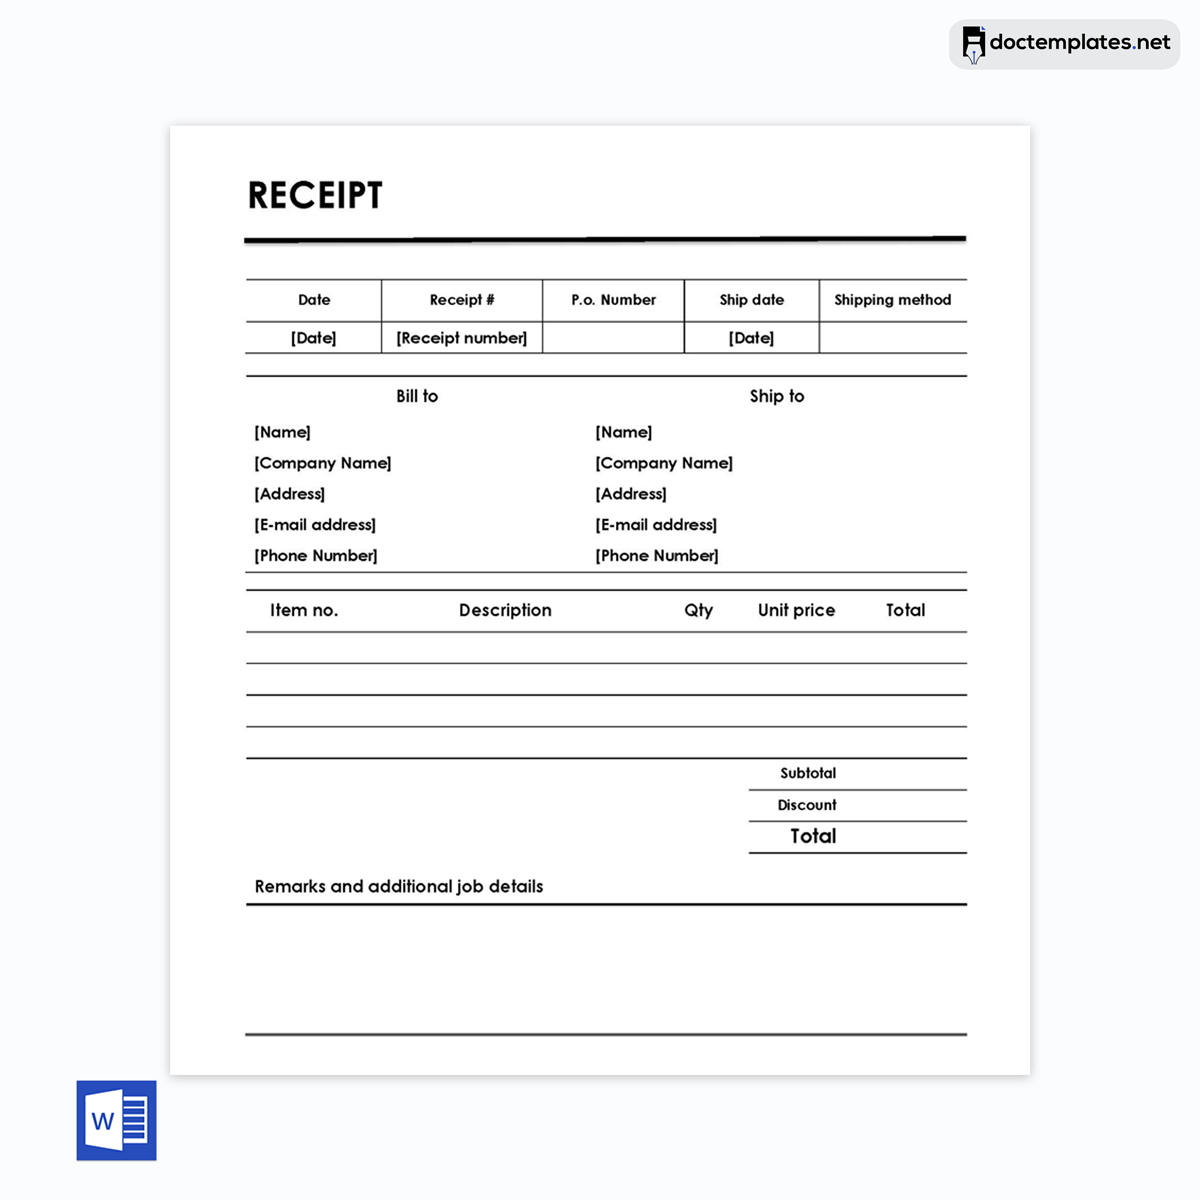
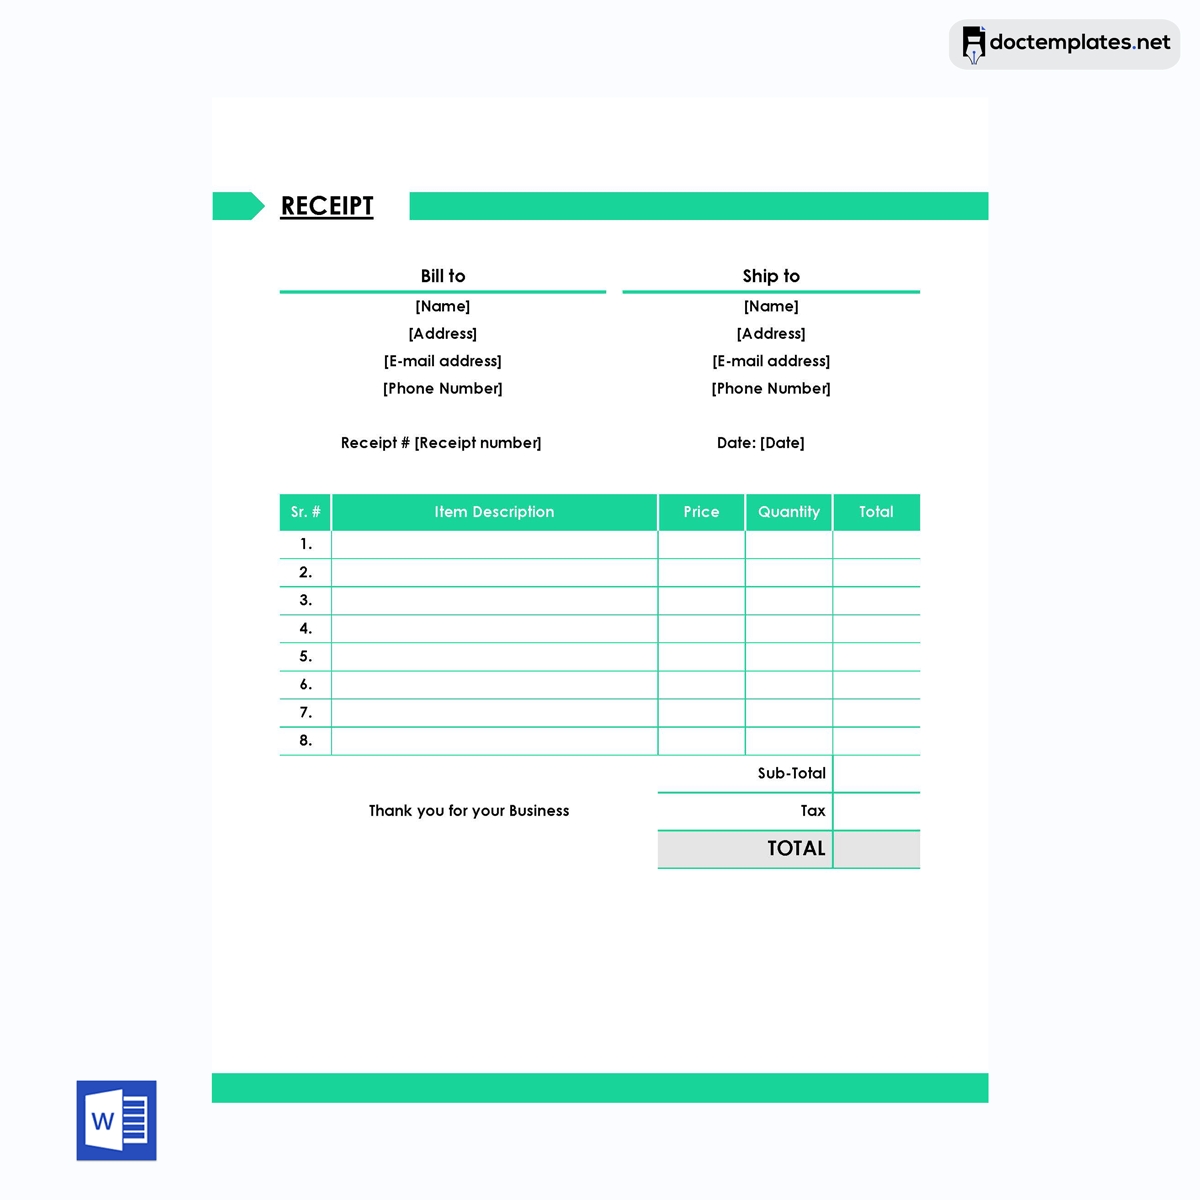
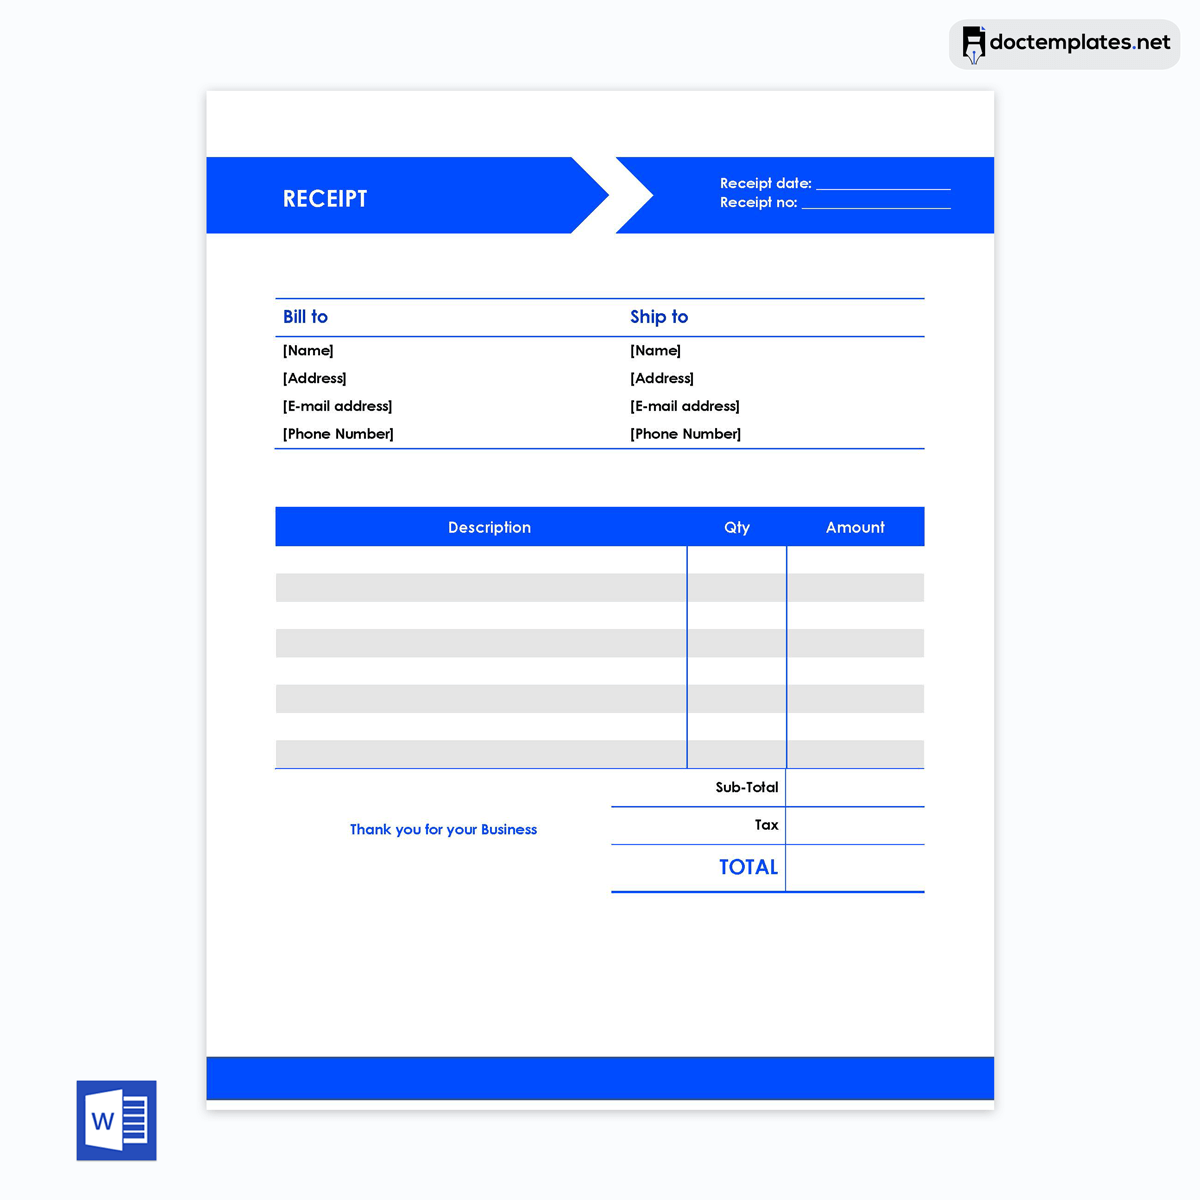
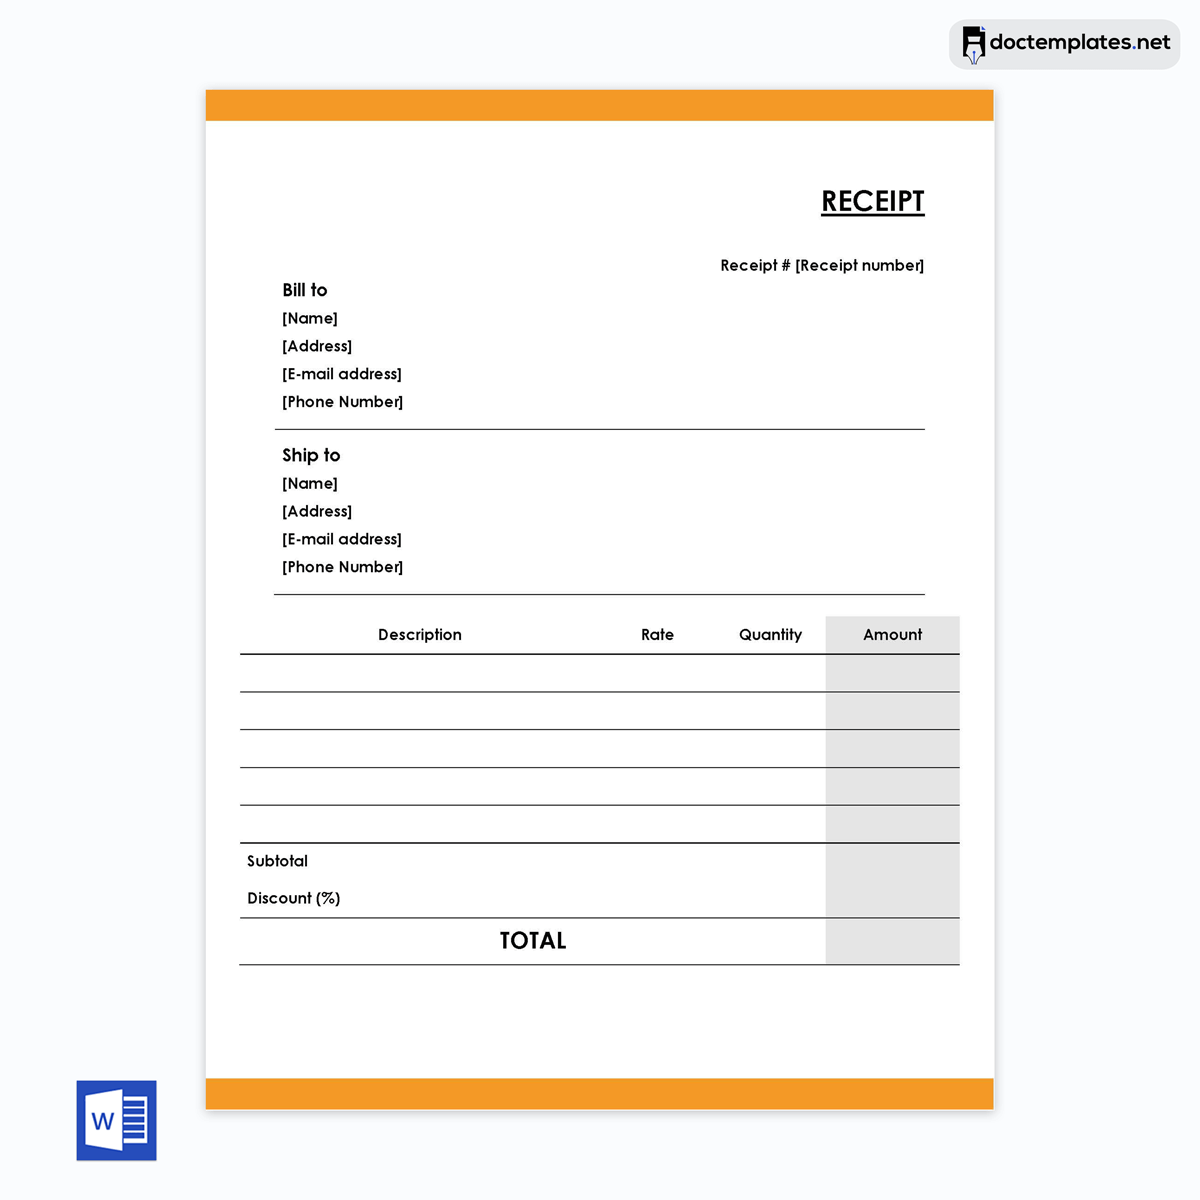
Following are that payment receipt templates that you can download for free:
Creating a Payment Receipt Template in MS Word: Step-by-Step Guide
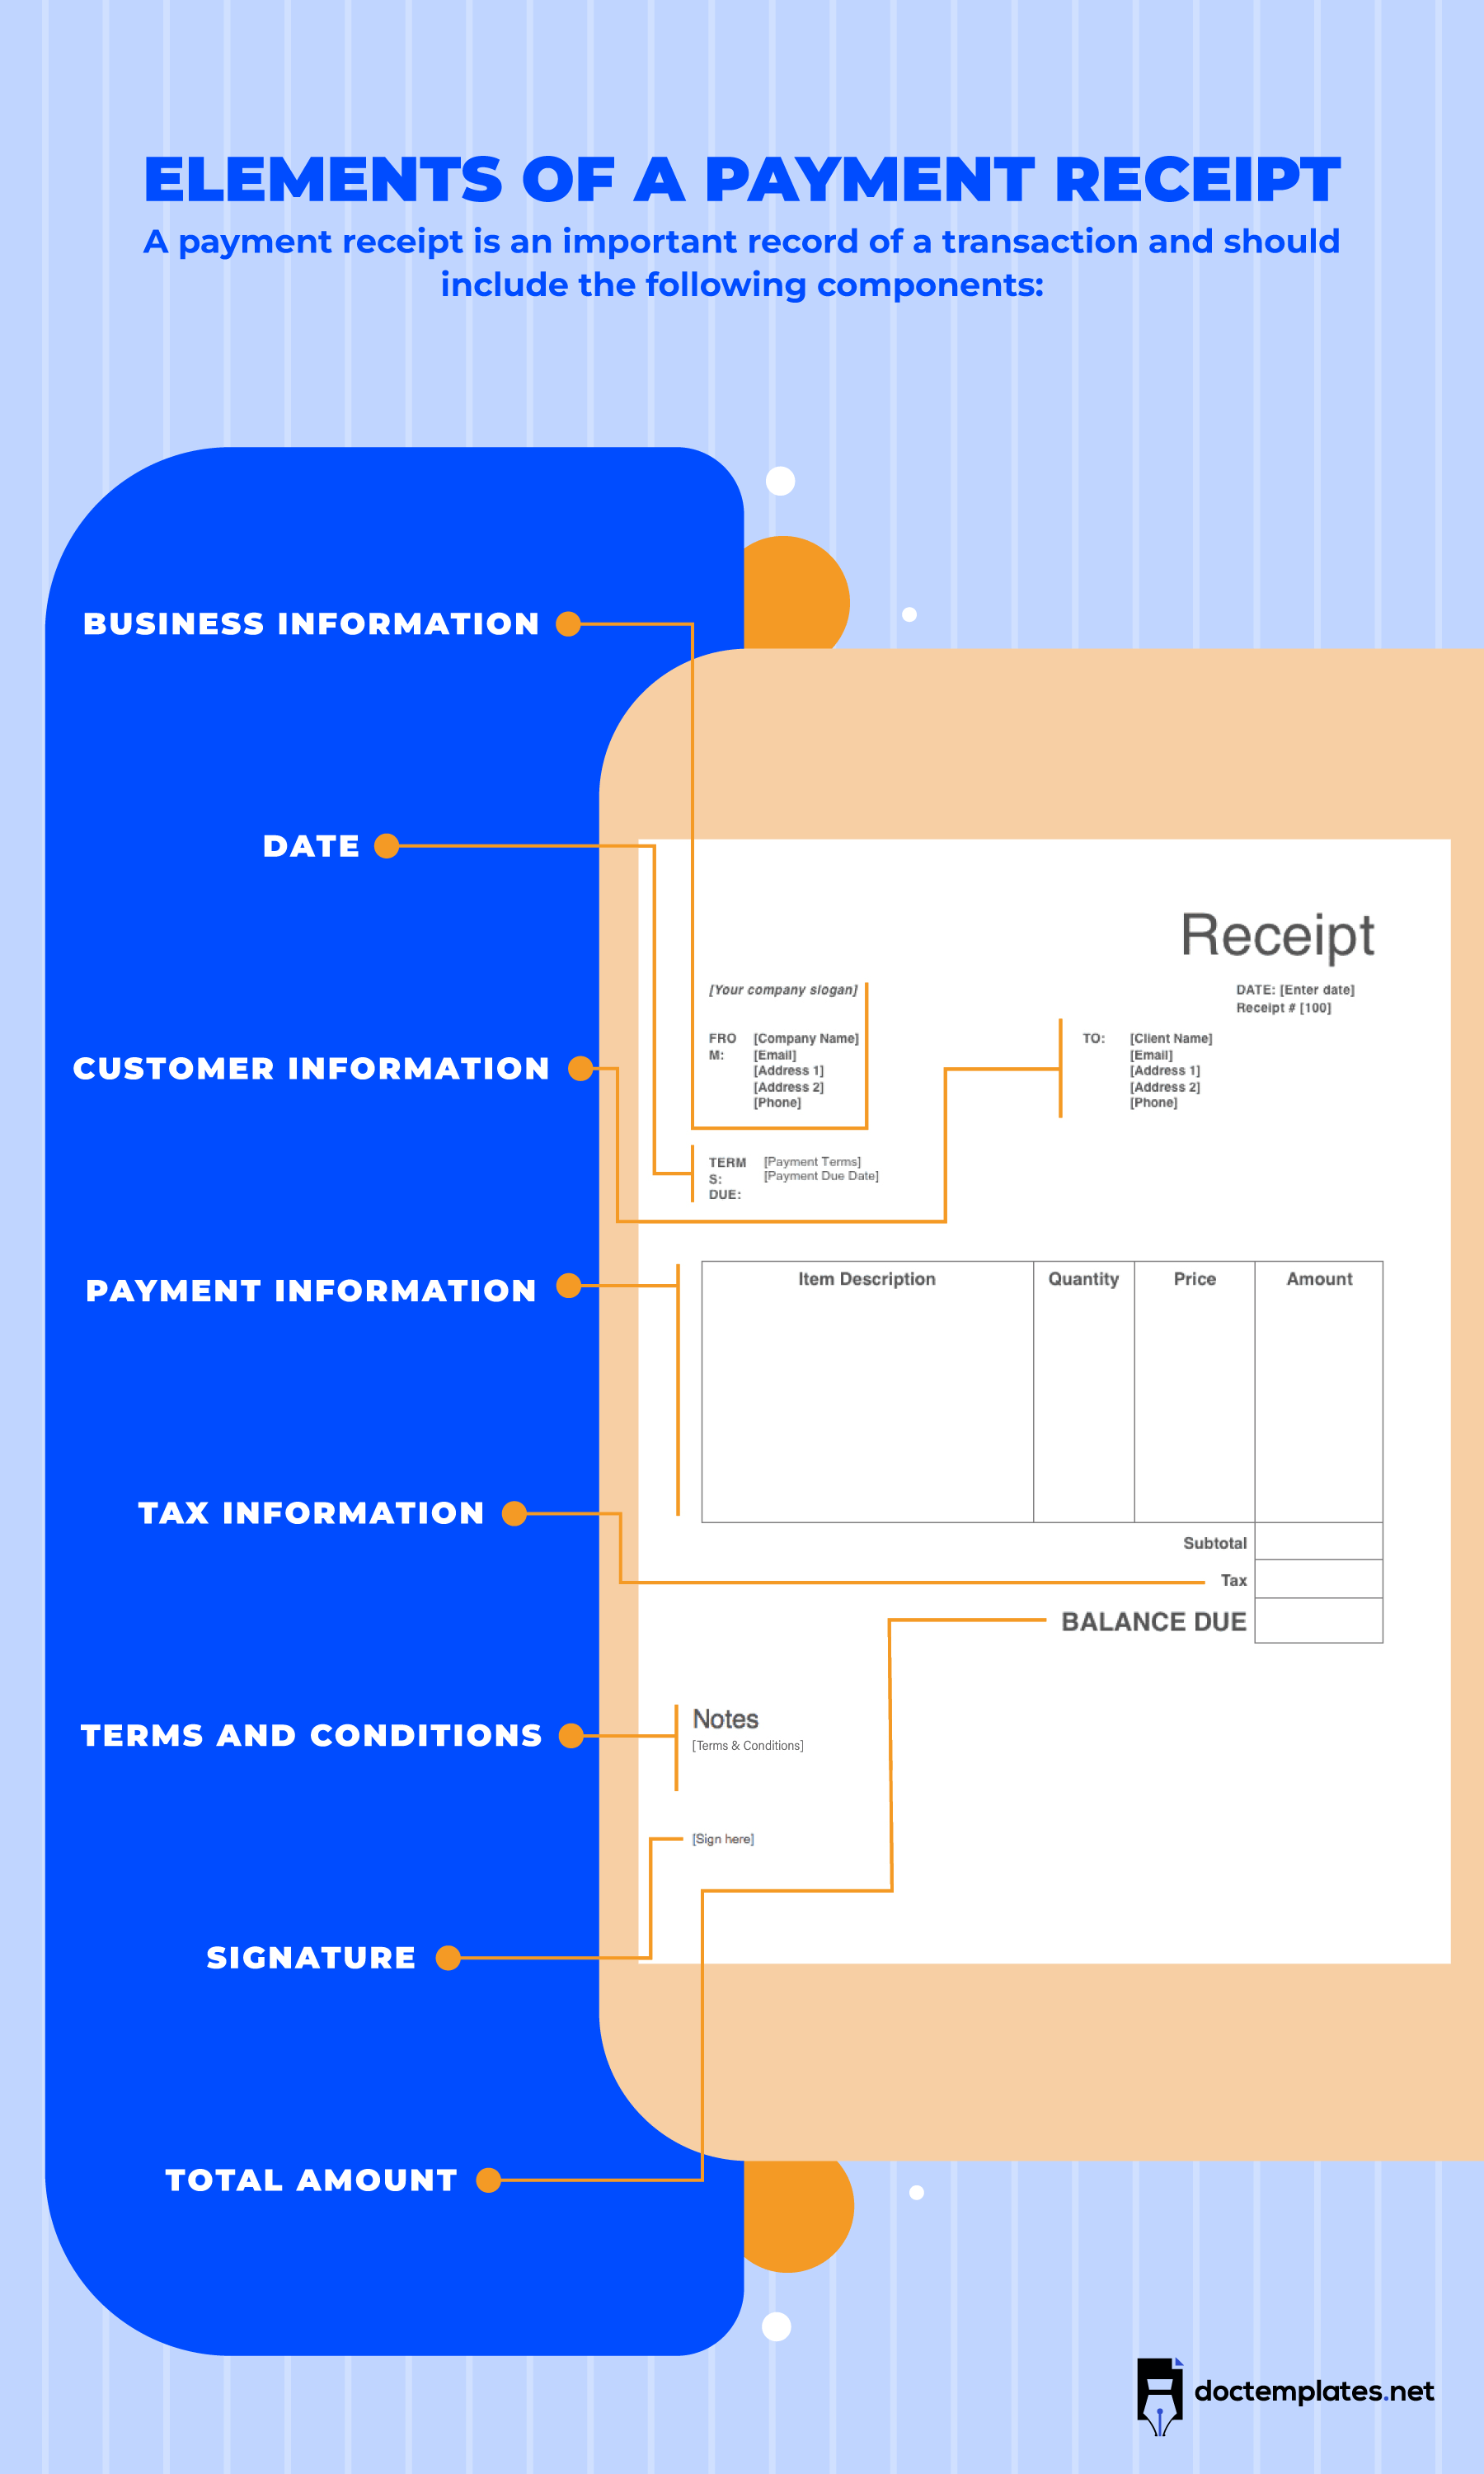
A template offers you a structured and detailed document that you can use to prepare a professional payment receipt for your customers. You can make a template in MS Word with the extensive step-by-step guide below. There are specific elements that you should include in your document.
In the guide below, you will learn more about these elements, their significance, and their placement in the document:
Step 1
Open a blank document on Microsoft Word by clicking Word, then File, then New, and then Blank document. Click File, then Save As and save the document as you want.
Step 2
Select a professional font and font size by selecting Home and then Font. Select the appropriate size in the image below to change the font sizes. You can even change the font color by clicking on the section labeled ‘A’ as indicated in the image below.
Step 3
Using your keyboard, type the company or business details on the left side of the page, such as the company’s name, email address, phone number, and location address. You can also include the logo. This is meant to help your customer identify your business easily. Ensure you also include your contact details to make communication between you and the customer possible.
On the right side of the page, type a clear label of ‘Payment Receipt.’ This way, both parties are aware of the purpose of the document.
Step 4
Click on Page Layout, then Columns, and then More Columns; proceed to select Three and adjust the settings. This way, you can write the Bill to details, Ship to details, and other receipt details such as receipt number, date of payment, the purchase order number, the amount received, and even the due date for the amount remaining, in case it is a partial payment.
Note: If it is a full payment, make it clear in the invoice to avoid confusion. Bill to details refers to the person who is supposed to pay for the product or service that has been purchased. Ship to details refers to where the goods will be delivered. Depending on the customer’s preferences, these details can be the same or different.
Step 5
You can draw a table for this section by clicking Insert and then Table. You should include the description of the purchased goods: the name, quantity, price per item, and the total amount.
Step 6
Finally, type in the payment method used or to be used by the customer. This can include cash payment, credit card, debit card, or bank account. These details should be included on the bottom left side of the page. Ensure that you also include the terms and conditions section.
Step 7
Your template is ready for use. Click File and then Save to ensure that the contents of your document are properly saved.
If you find this detailed step-by-step guide complex and time-consuming, you can access free downloadable templates for payment receipts from our website for your ease. They are easy to use and can be customized to suit your business needs. With templates , you can prepare payment receipts for your customers effortlessly.
Formatting Tips for Creating a Payment Receipt Template in Word
When it comes to creating a professional payment receipt, properly formatting the content is important. Such a receipt helps to communicate professionalism to your clients, encourage trust, and ultimately make your business run more smoothly.
Below are some formatting tips you should consider when creating a template in MS Word:
- Always use a legible and official-style font when preparing your template for a payment receipt. This can include Times New Roman or Arial. Such fonts will make your document neat and easy to understand.
- Using borders and shading for your templates is important since they provide an orderly structure that makes it easy for you and the customer to retrieve information from the payment receipt.
- Always maintain a consistent font and style across your document. Ensure that you use proper headings, white space, margins, and other important elements to make it easier to understand.
- Keep your receipt templates simple by avoiding jargon, unknown abbreviations, and ambiguous statements, especially regarding your terms and conditions.
- Finally, it is advisable to use bullet points as it will allow you to arrange the information in a logical order. This will make it easy to read, understand and review.
Final Words
A payment receipt is an important document for any business. Whether it is cash or any other form of payment, providing a receipt for your customer is necessary. That is why you need to know how to prepare a simple yet professional receipt for your customers. This document is important for you and your customers as it is proof of payment. Also, remember that a receipt signifies the final part of a transaction process. That means once a purchase is made and the required or agreed-upon amount is paid, the receipt should be provided to the customer to finalize the transaction.
You can use the detailed guide provided to create a template that you can use multiple times to prepare payment receipts for your customers. You can also download the pre-built templates from our website for free. Whatever the case, you will always be prepared with a receipt for your customer(s) once they have purchased any product or service from your business.
