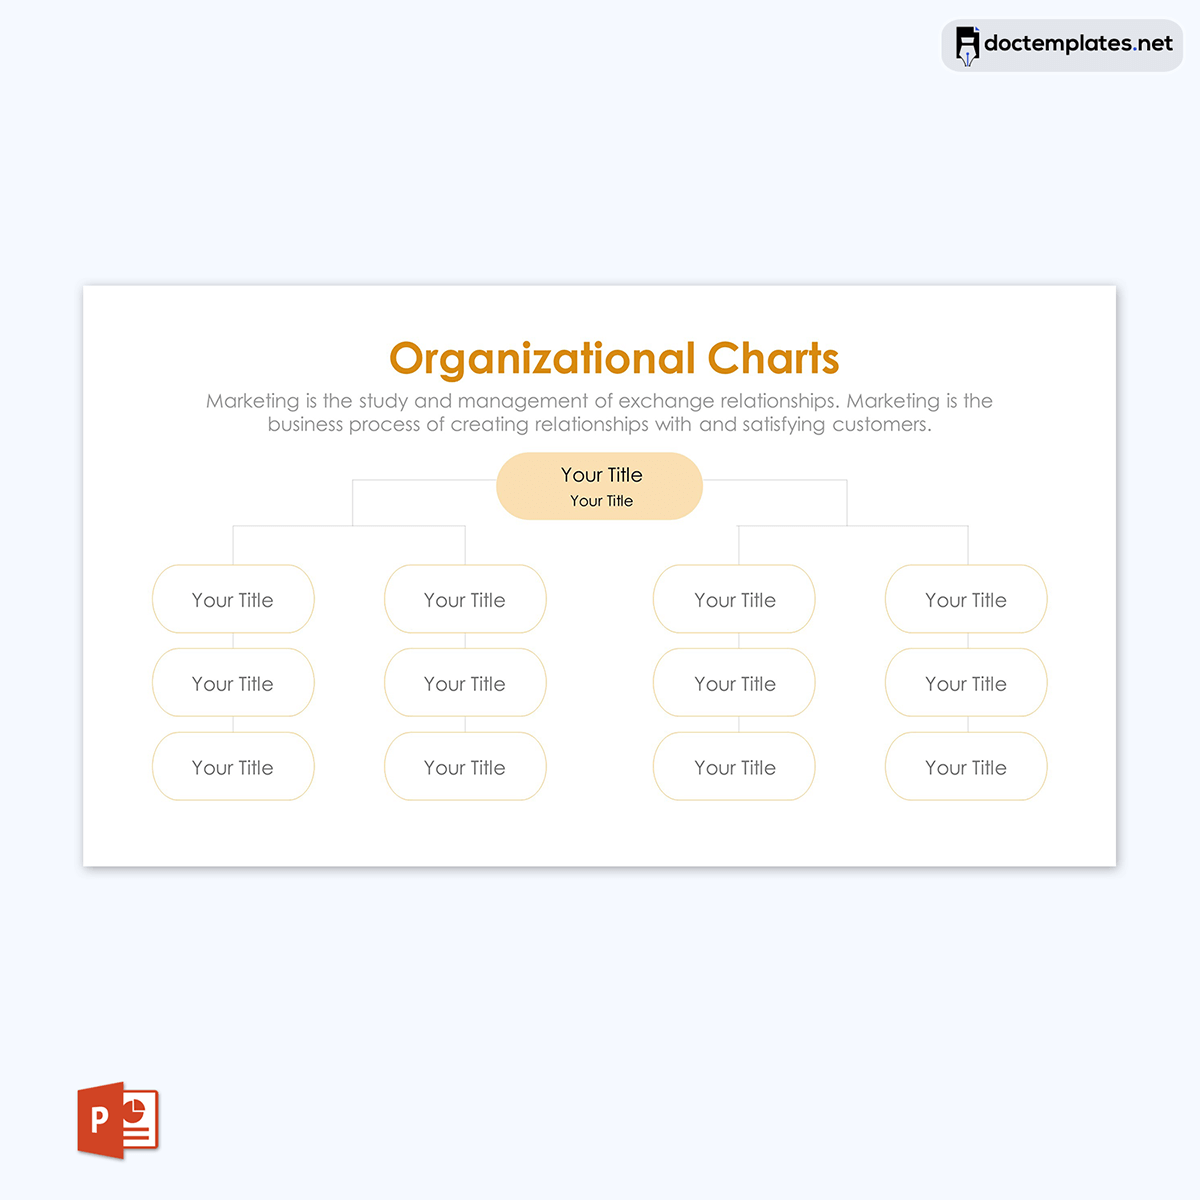
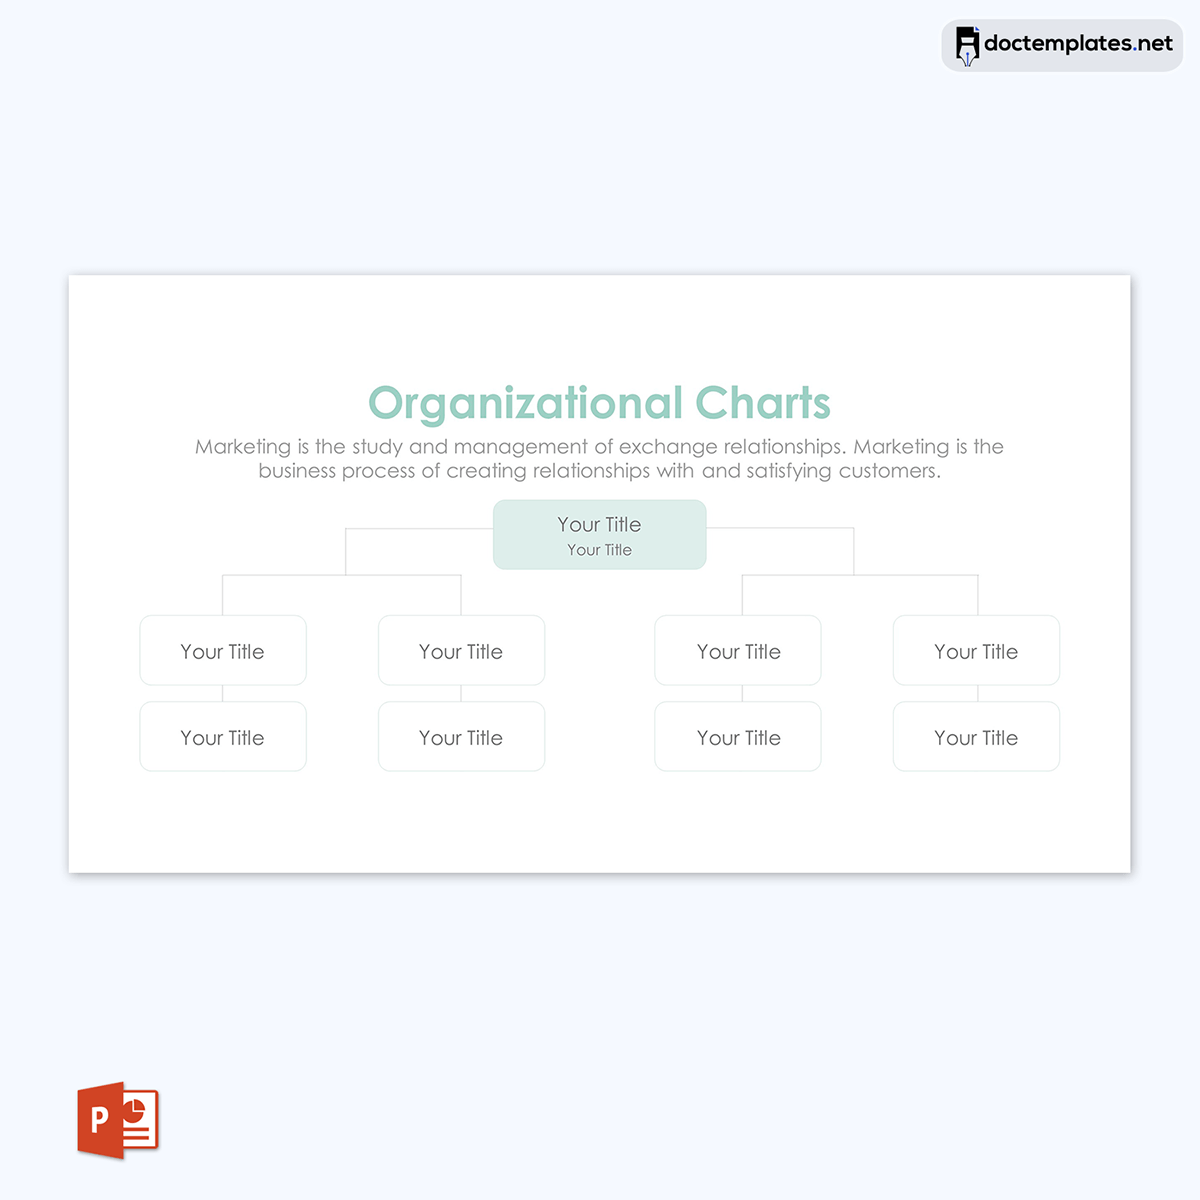
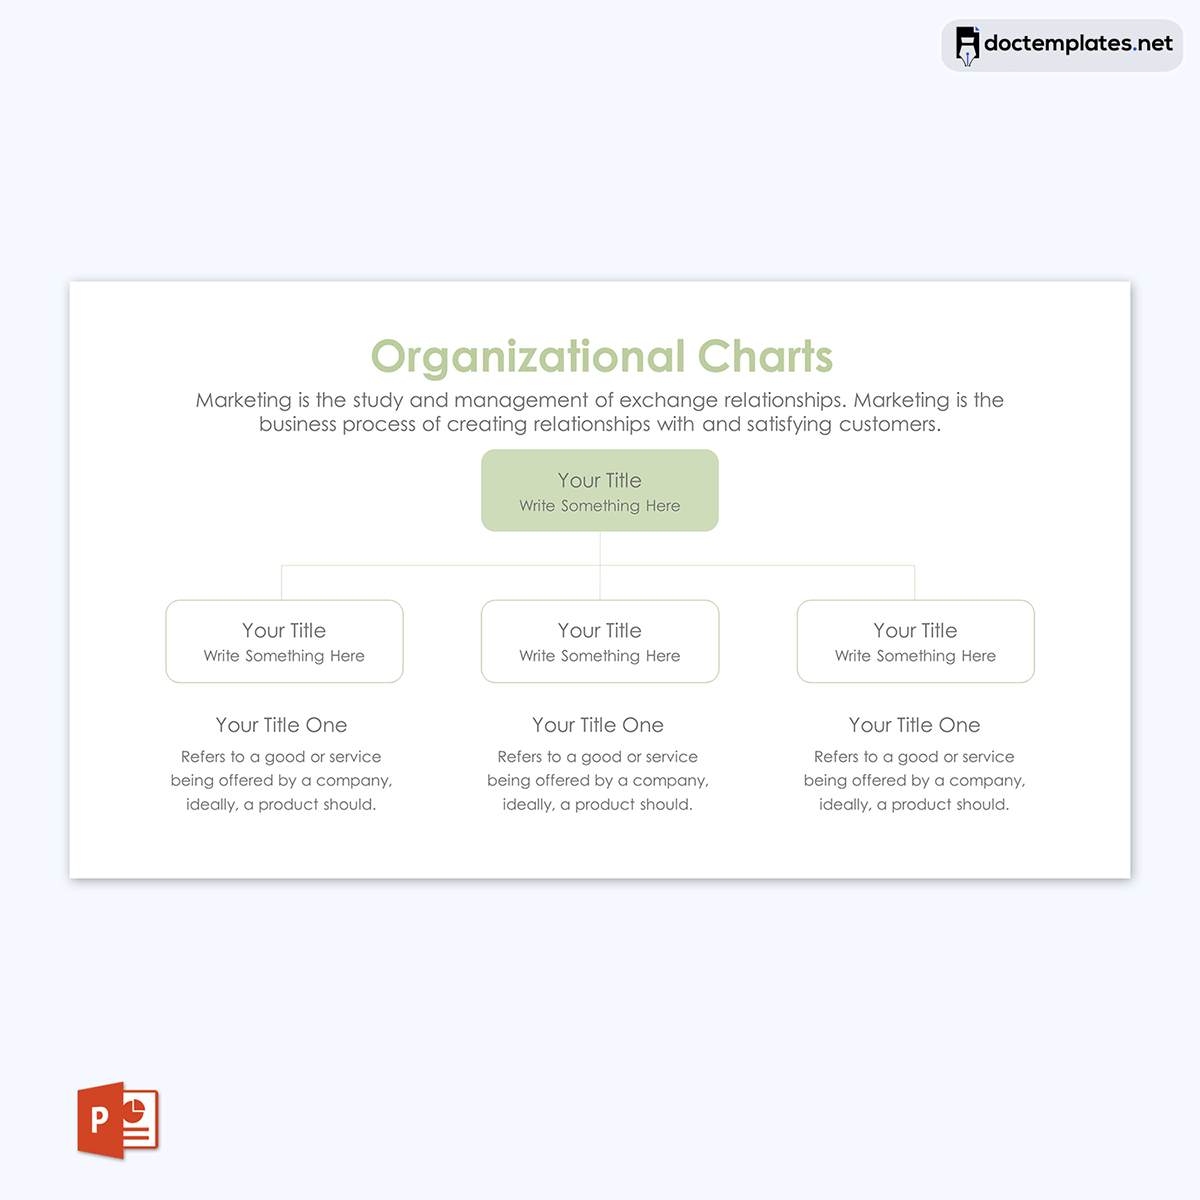
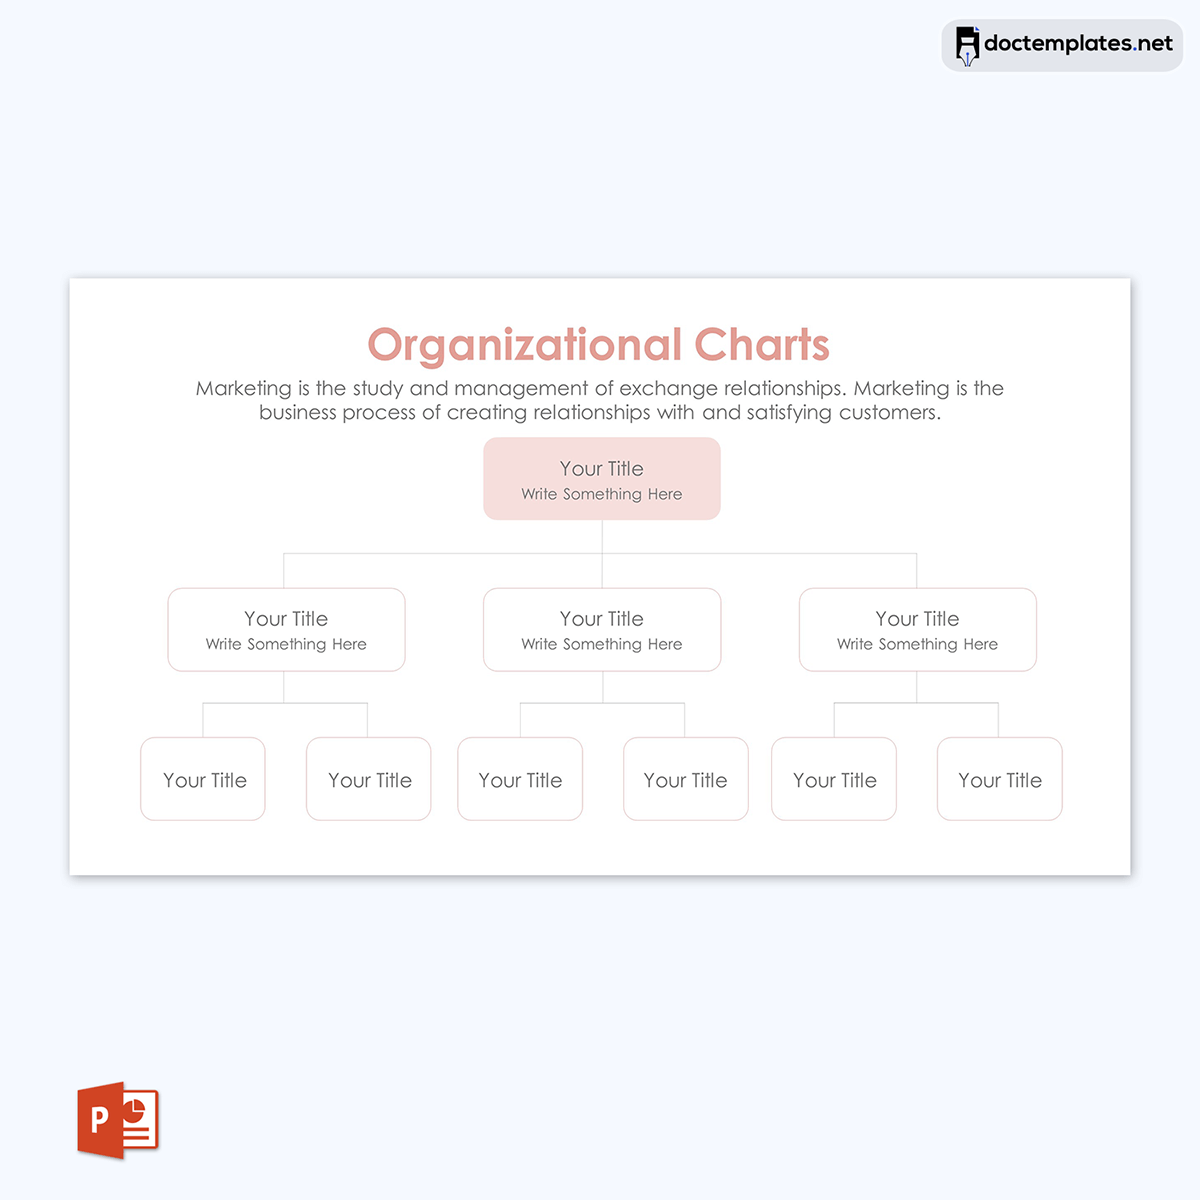
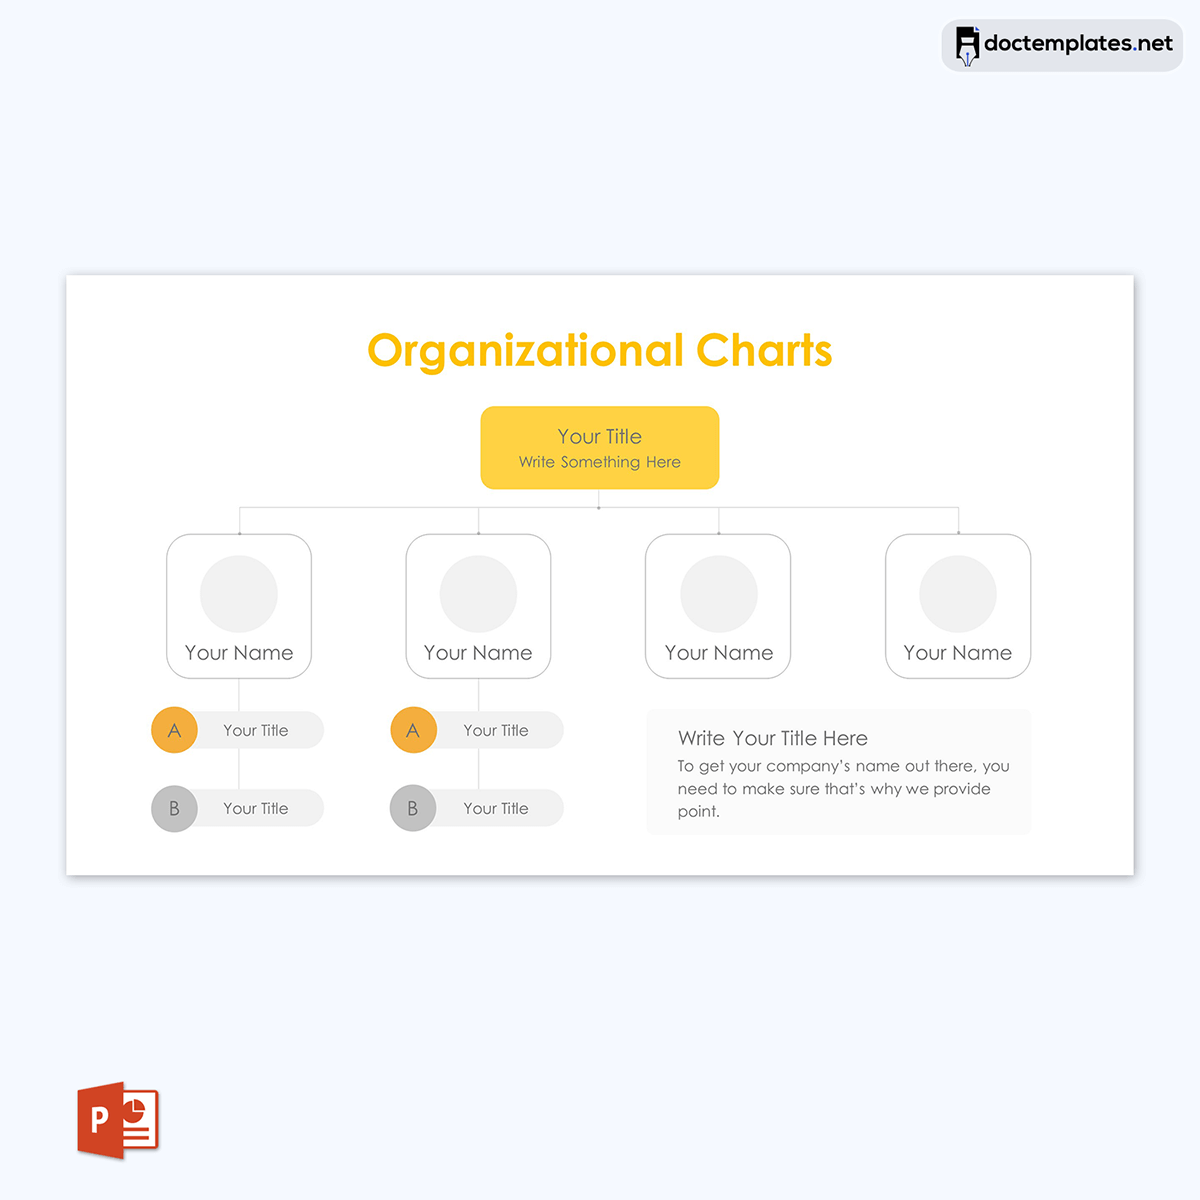
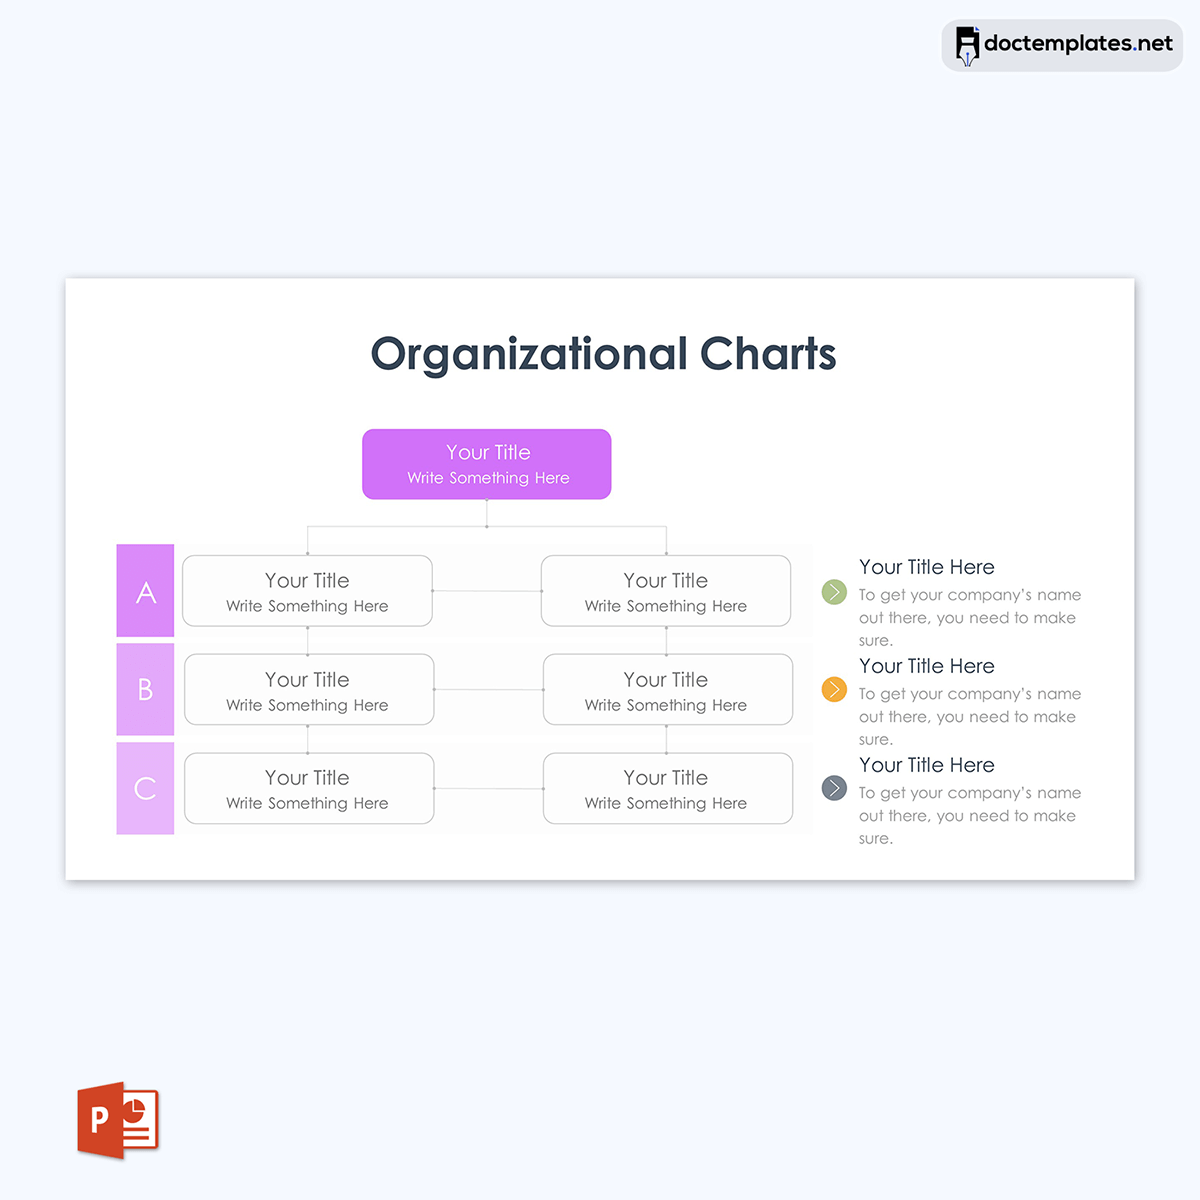
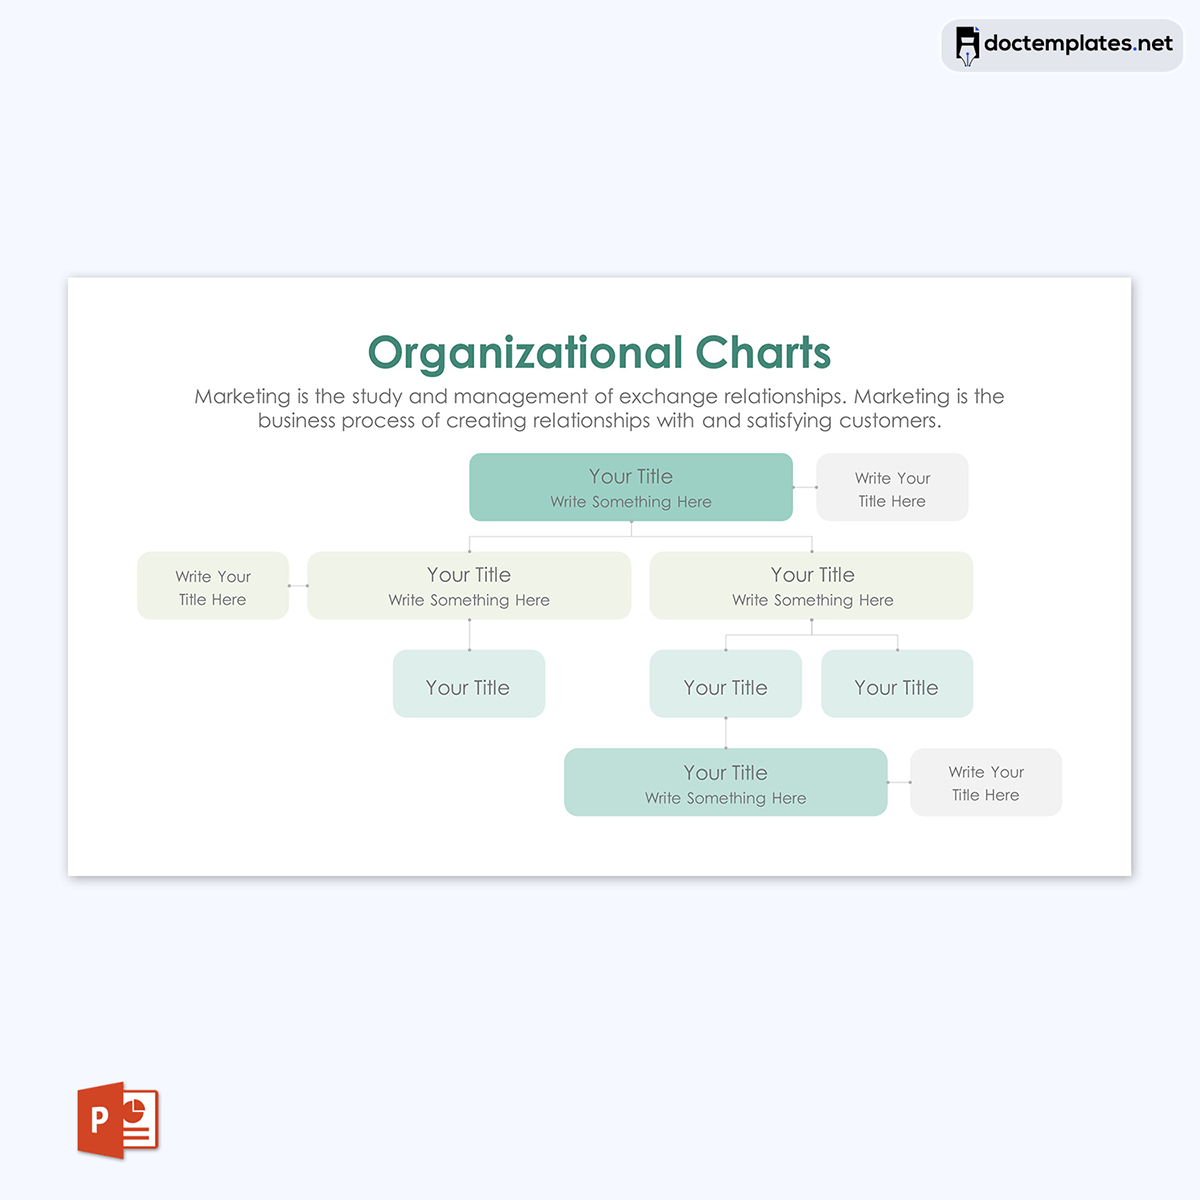
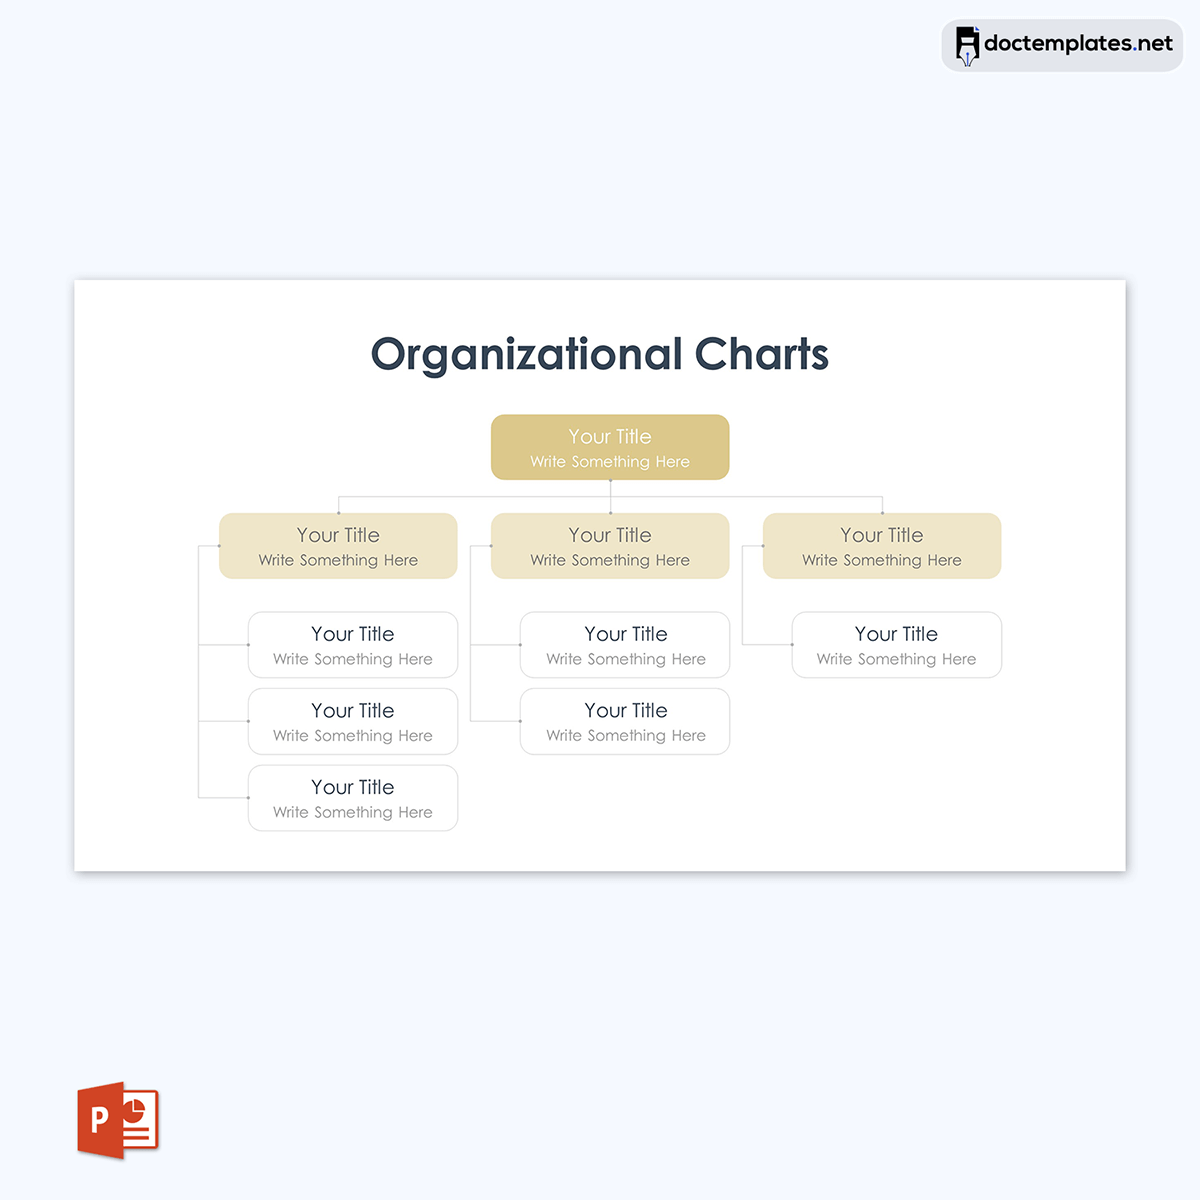
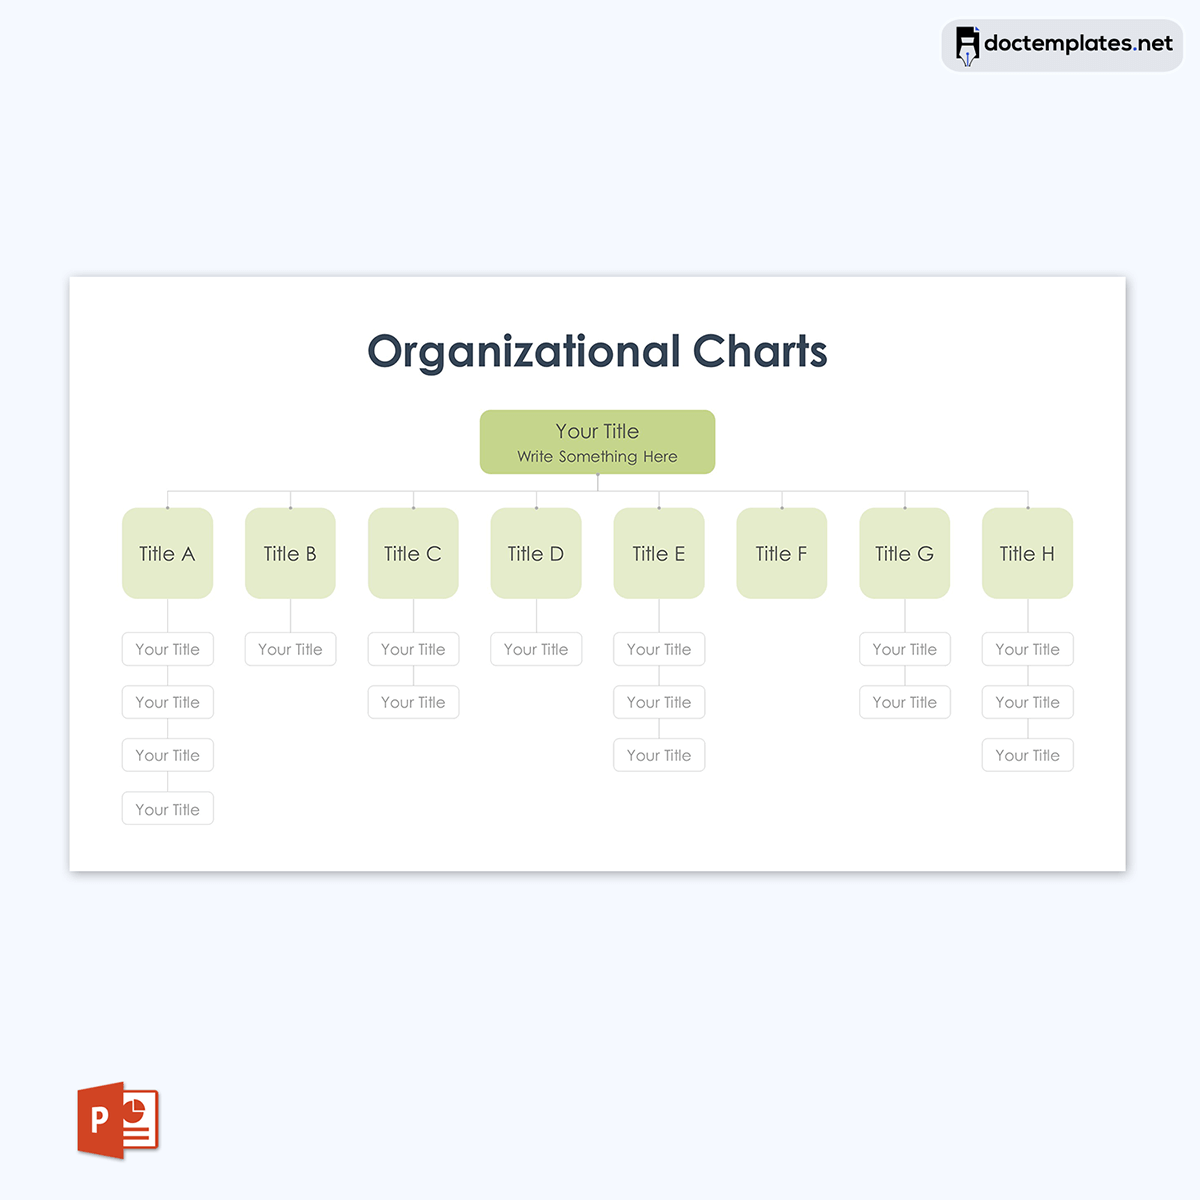
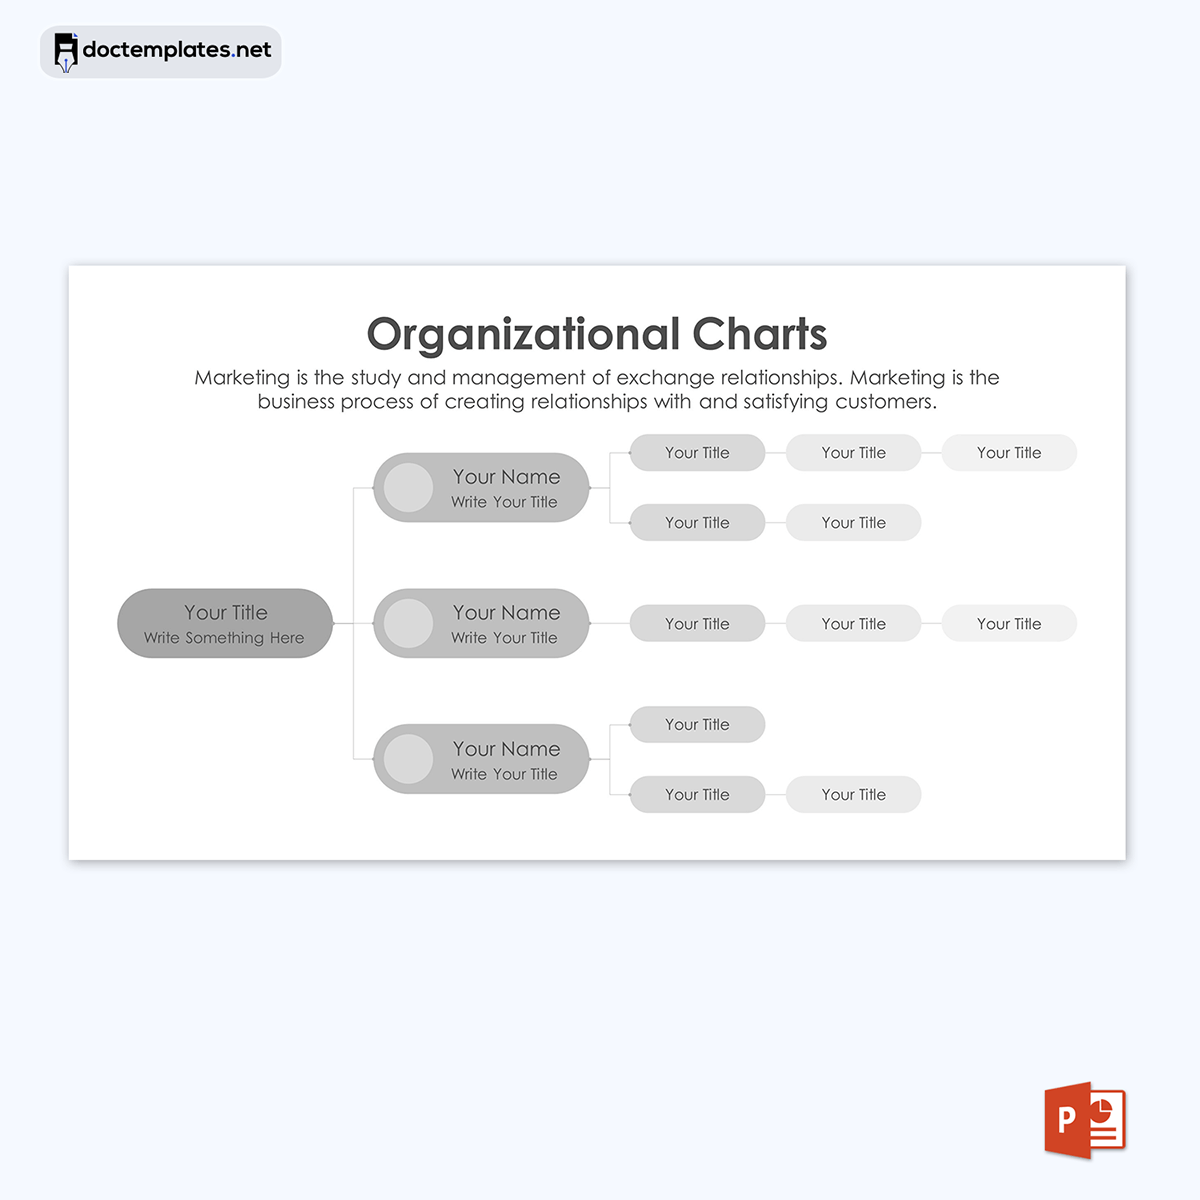
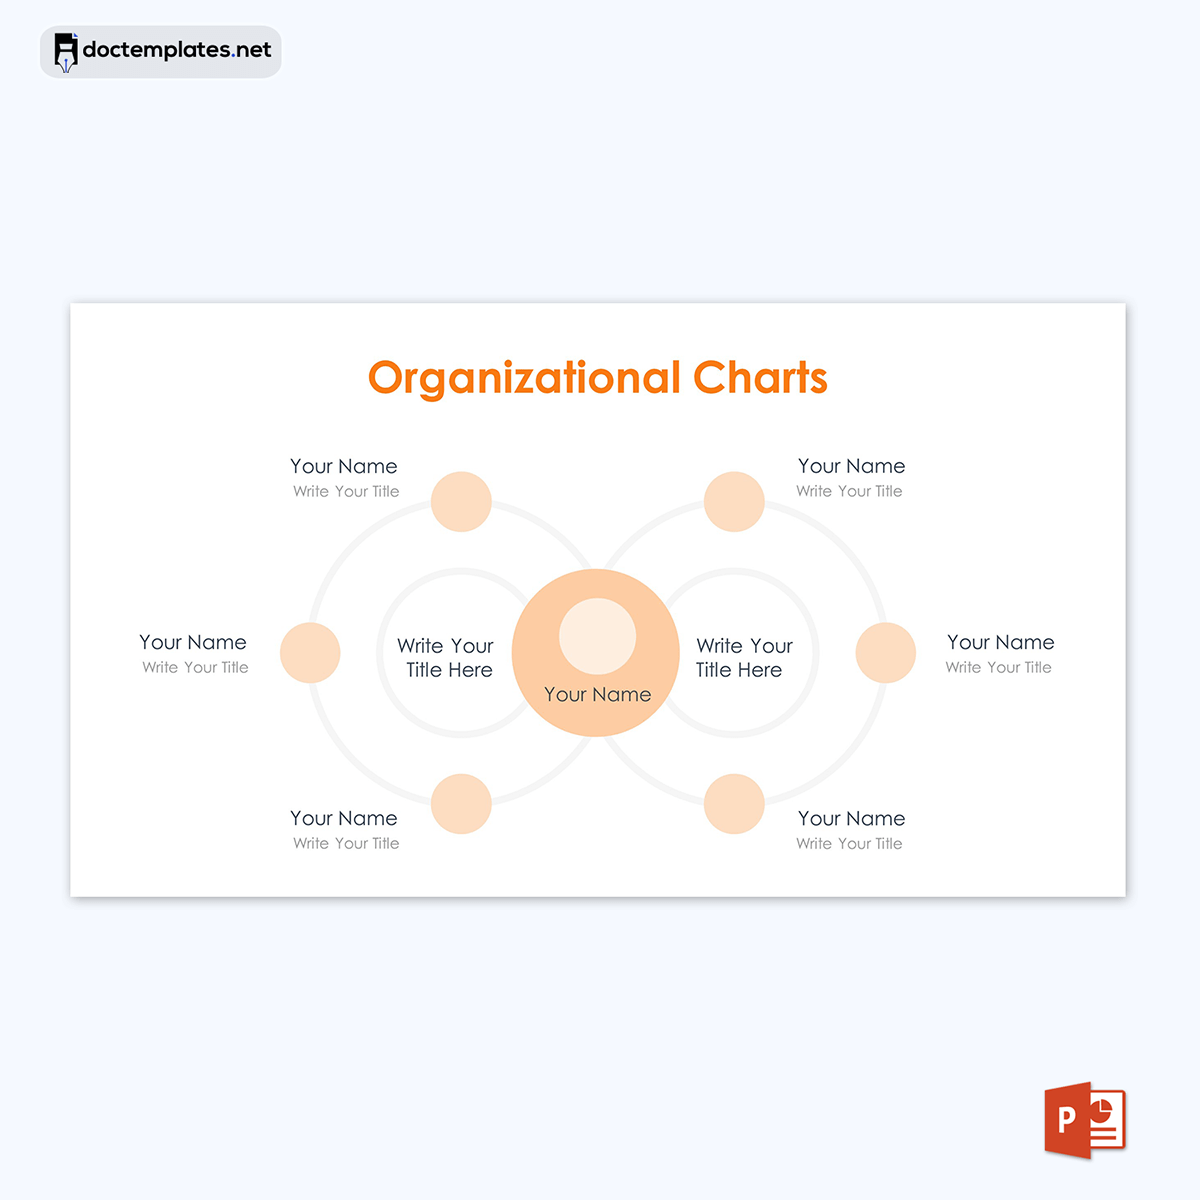
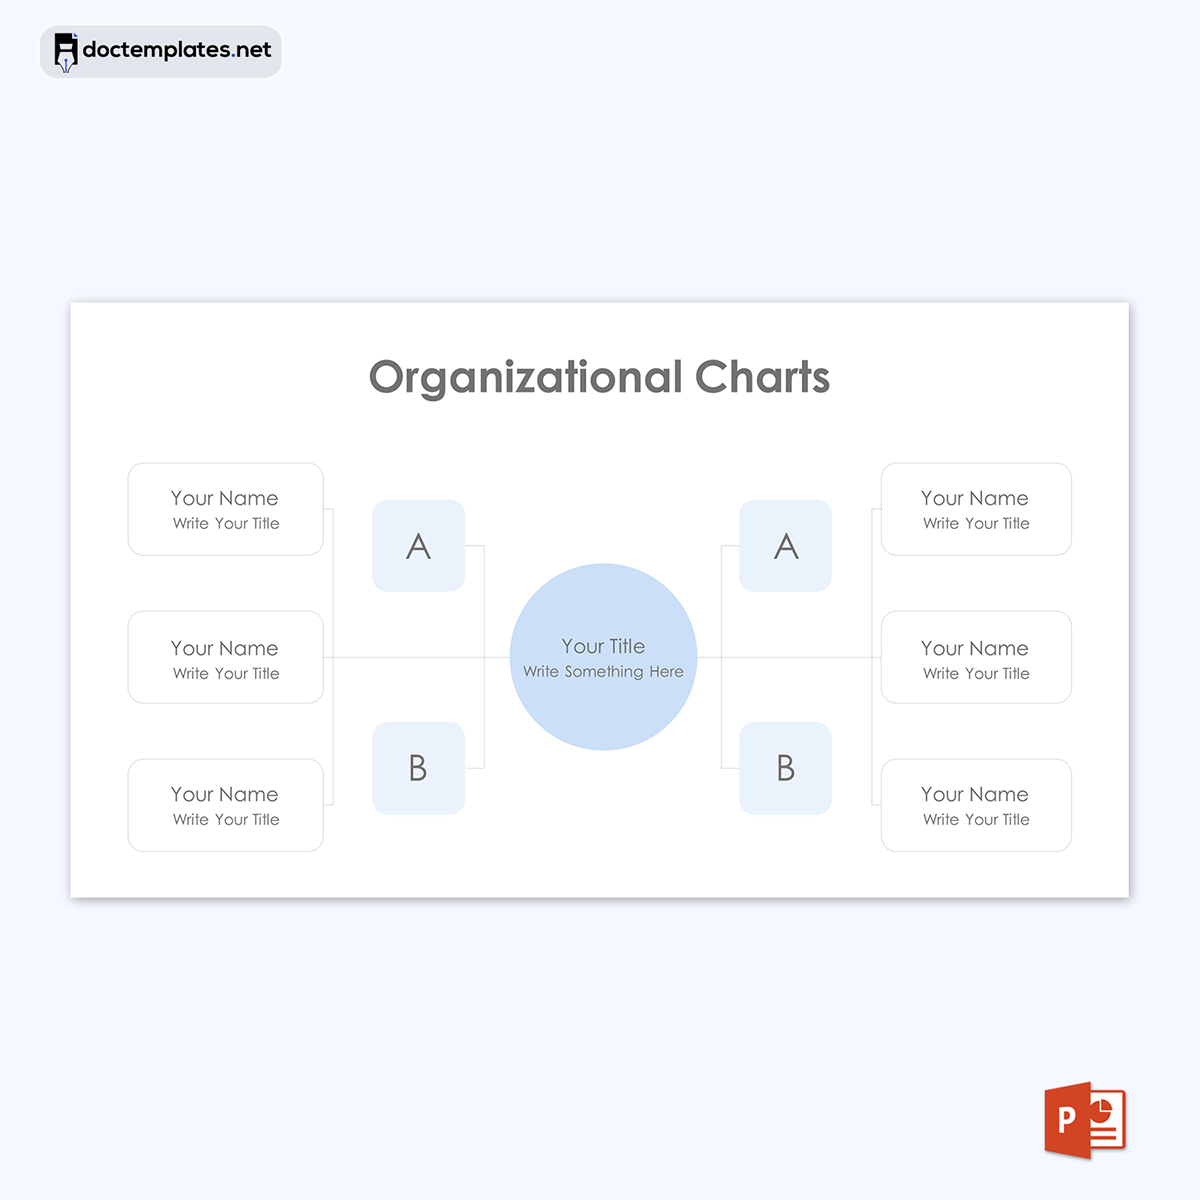
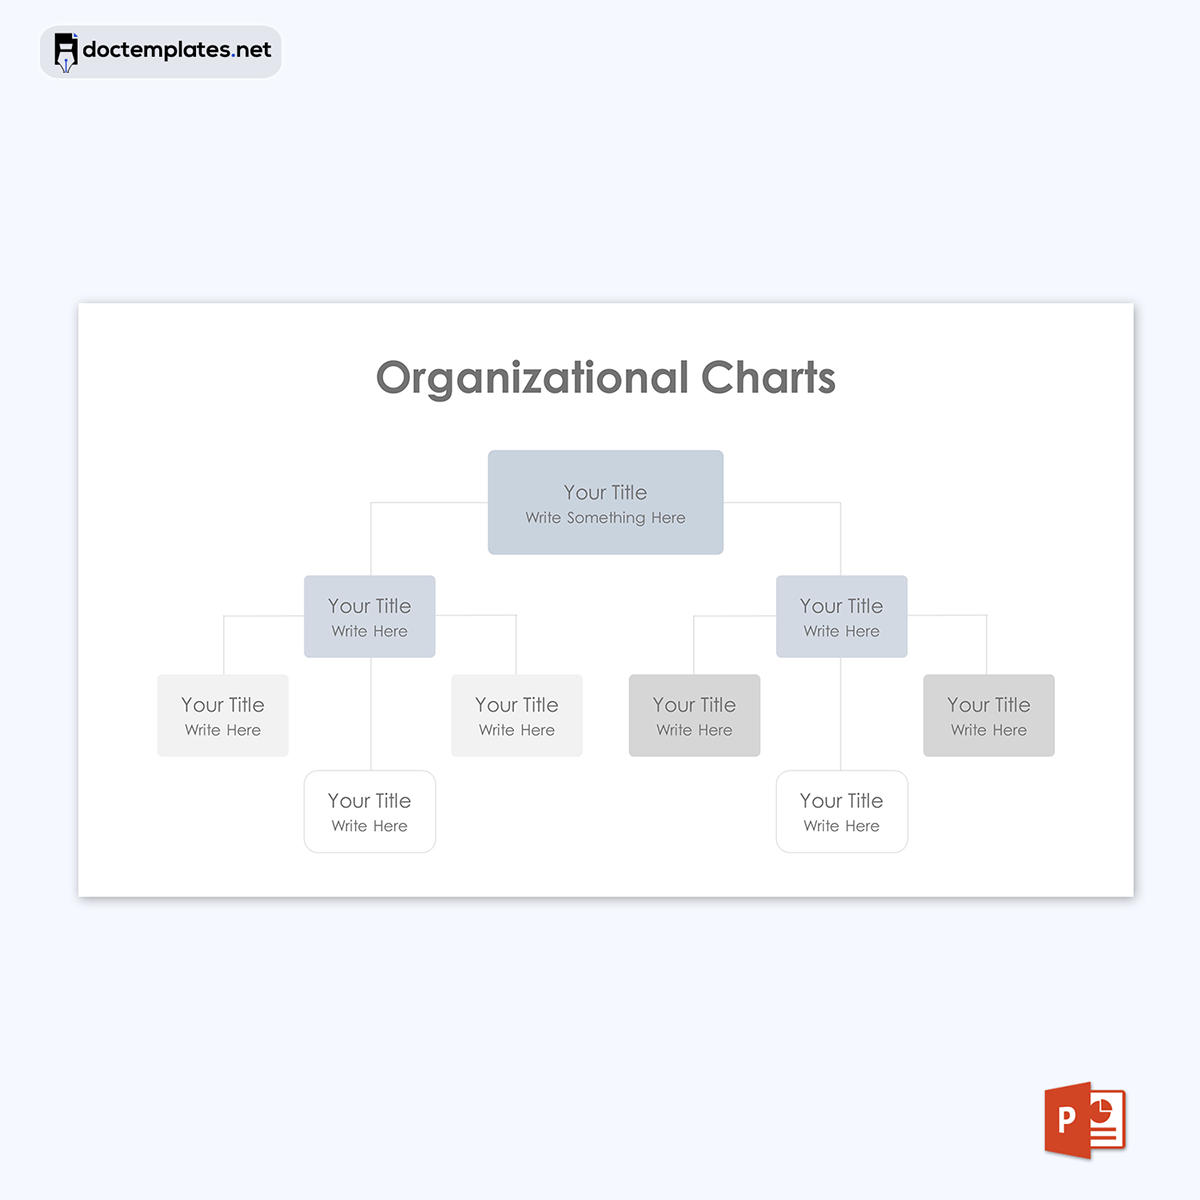
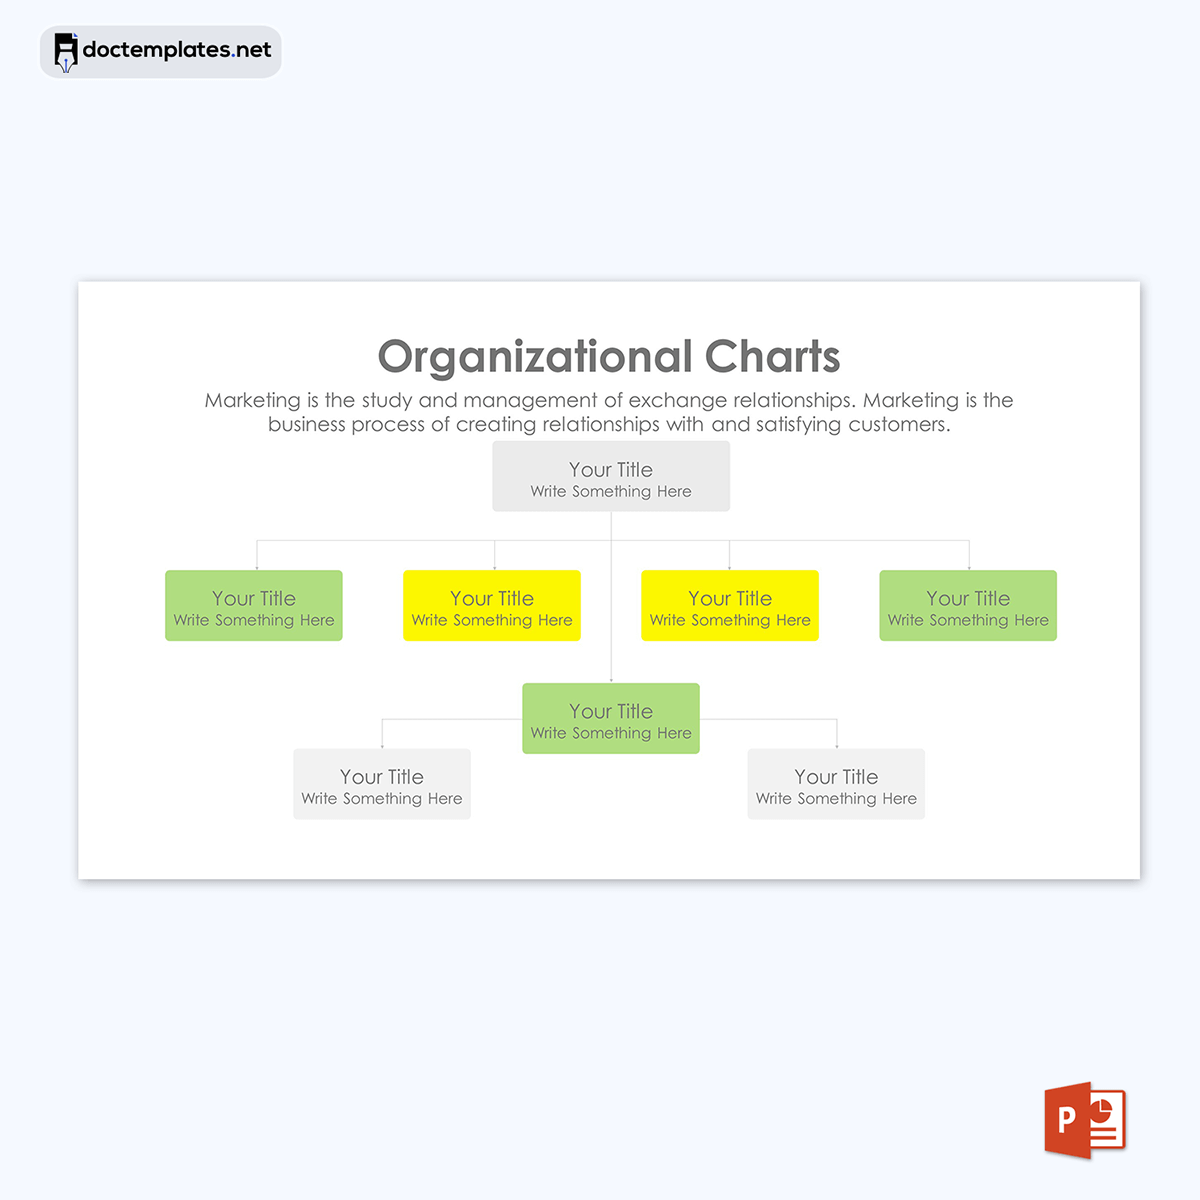
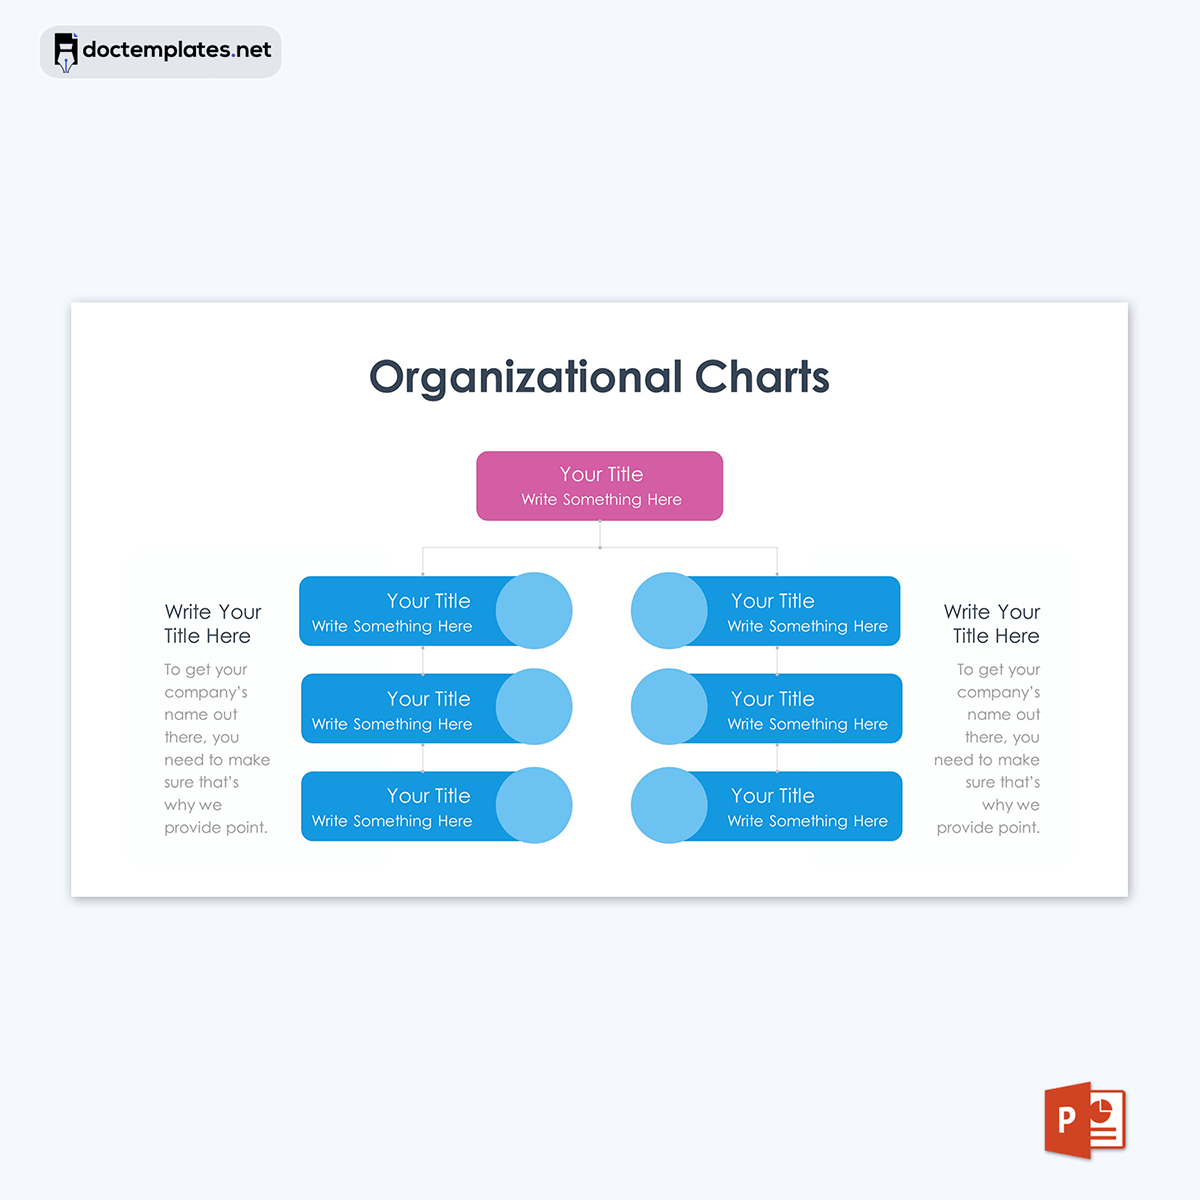
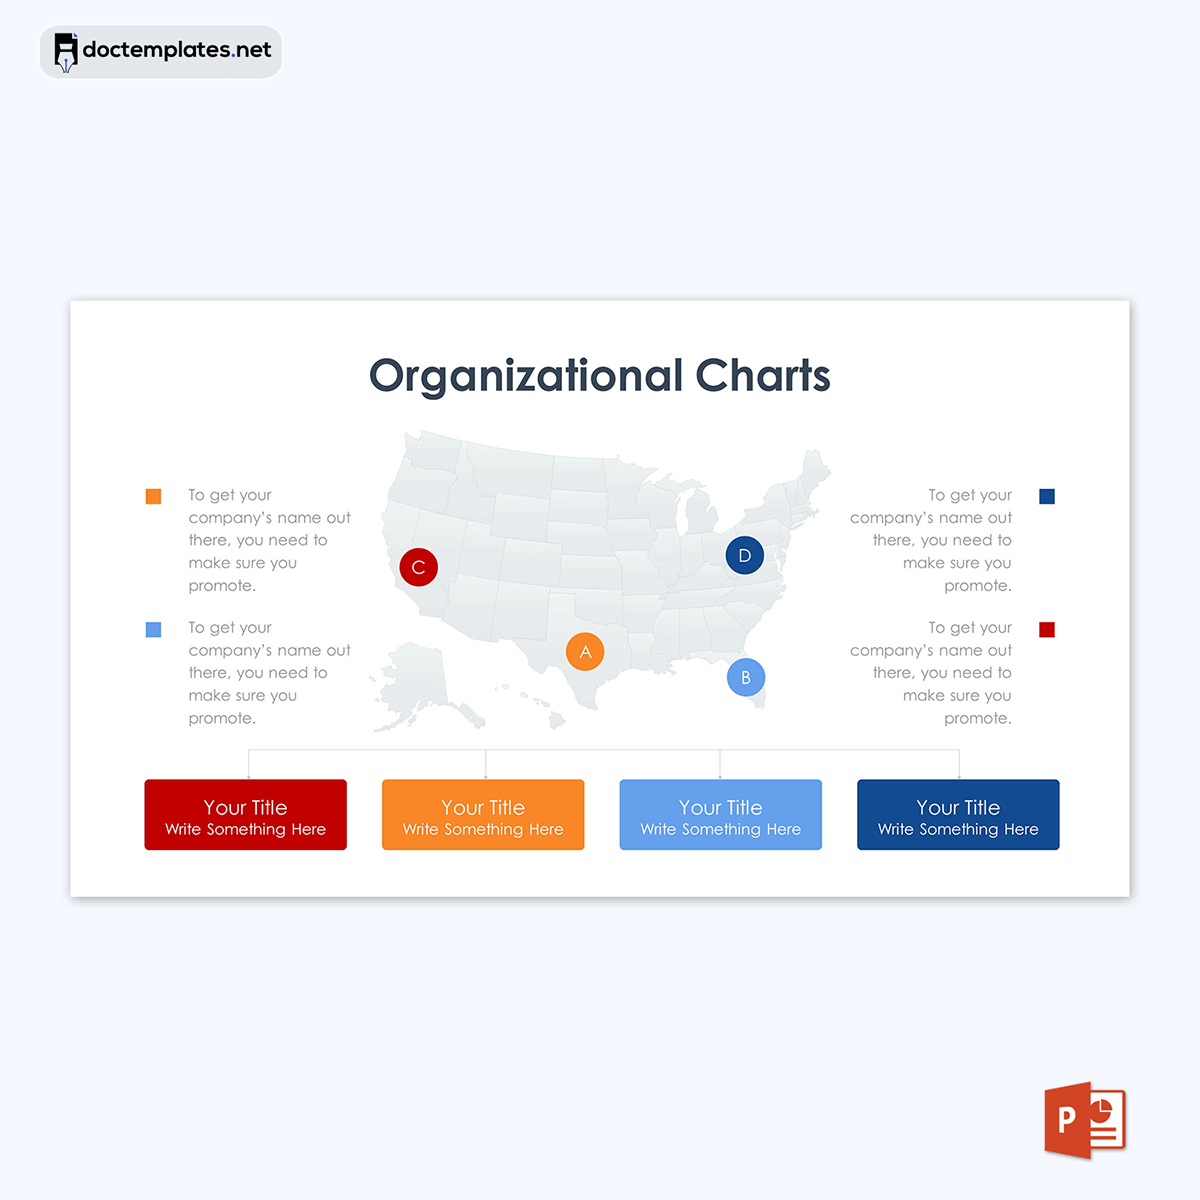
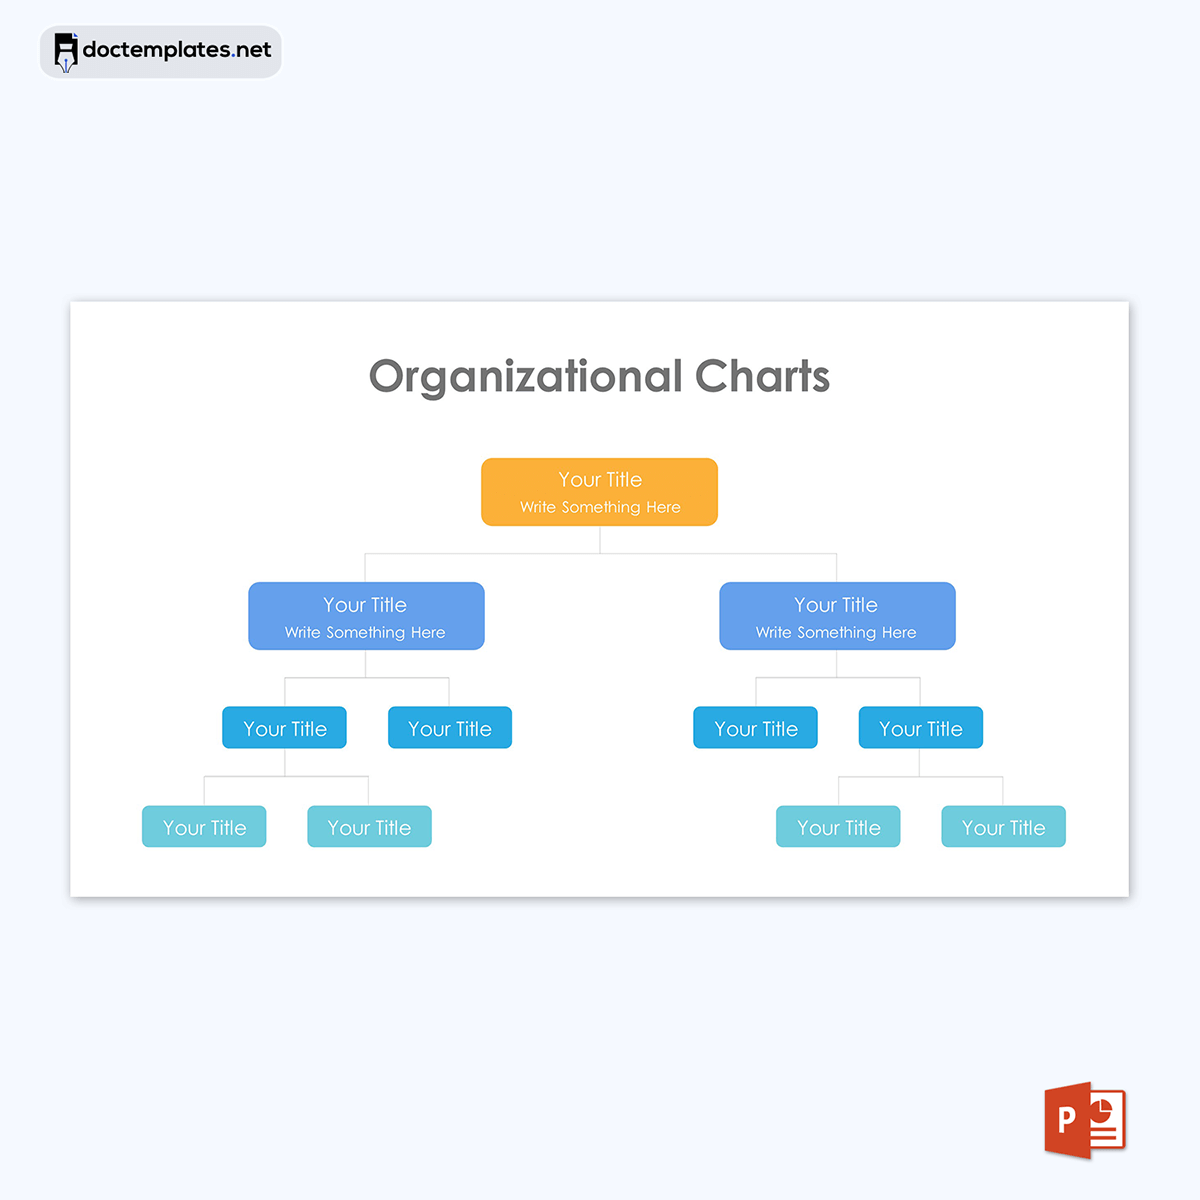
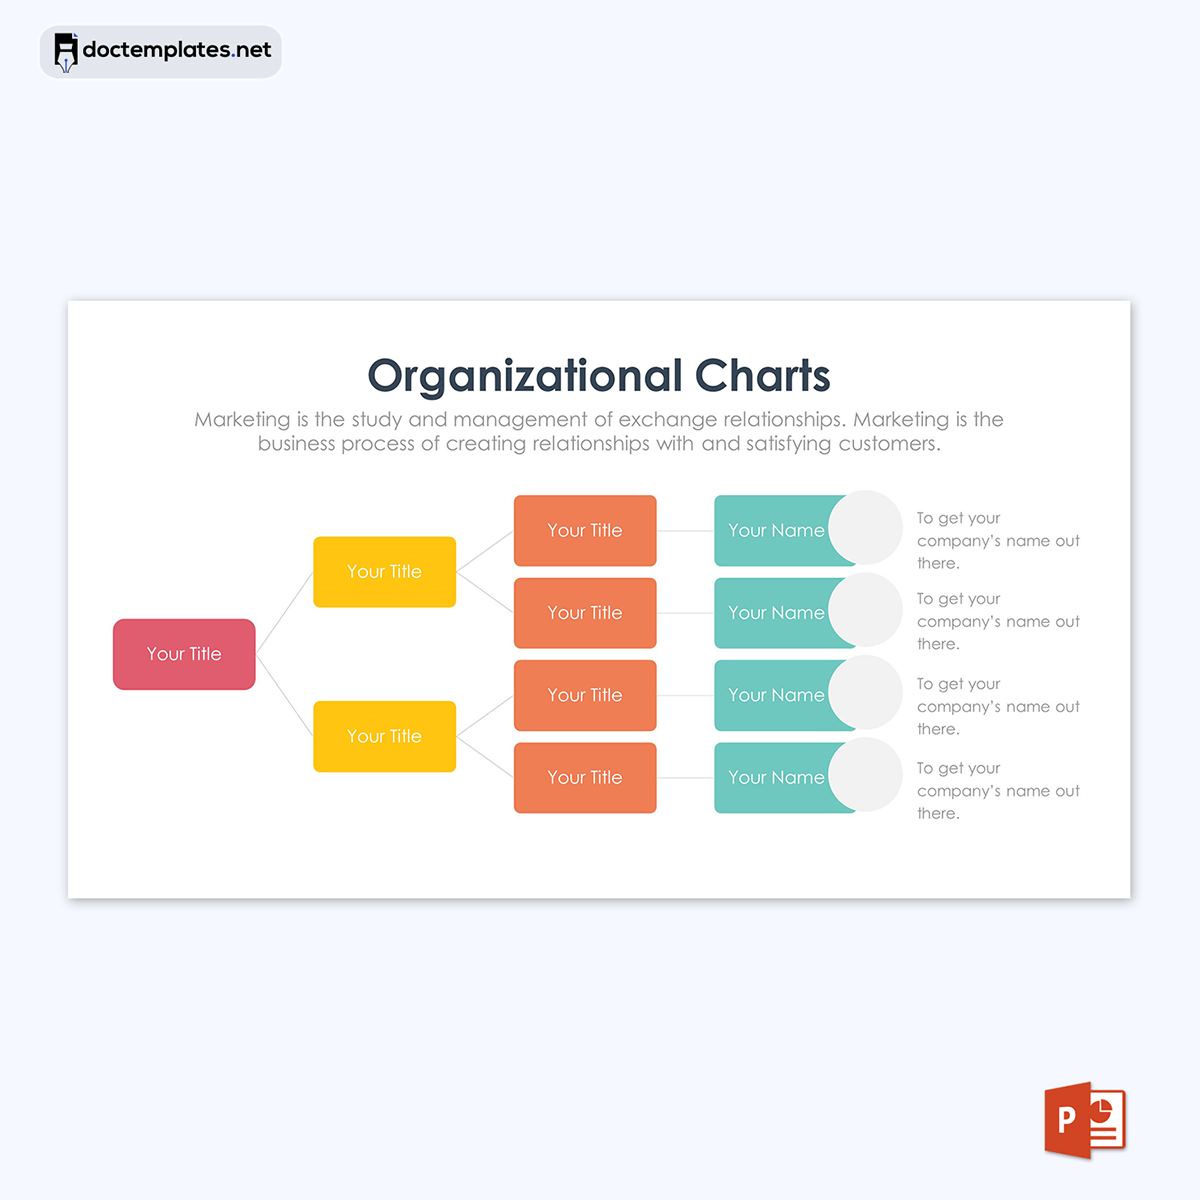
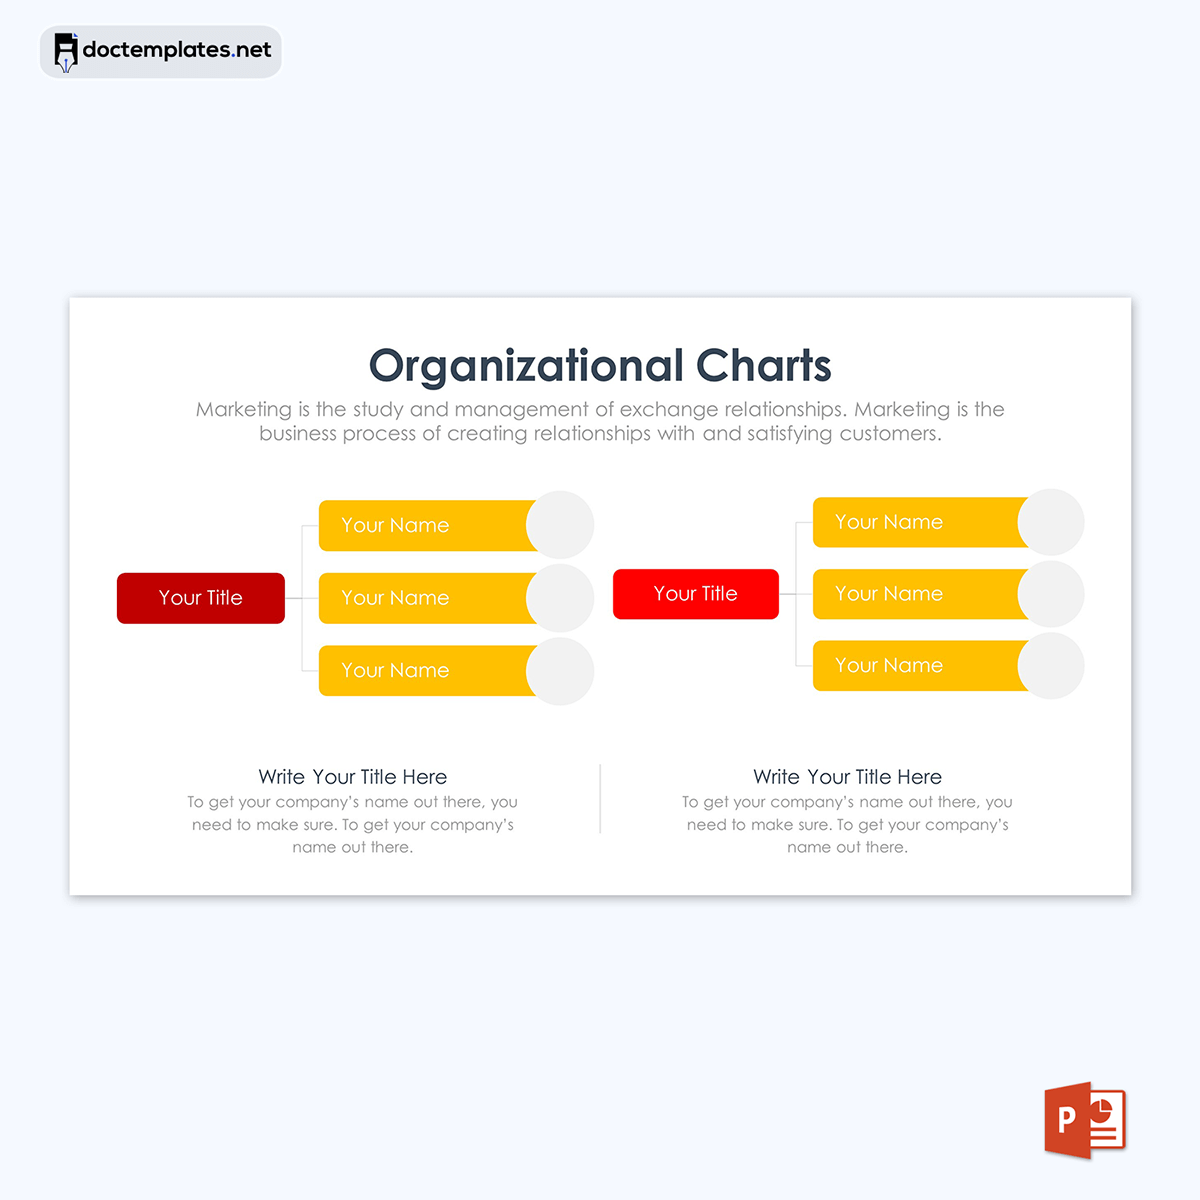
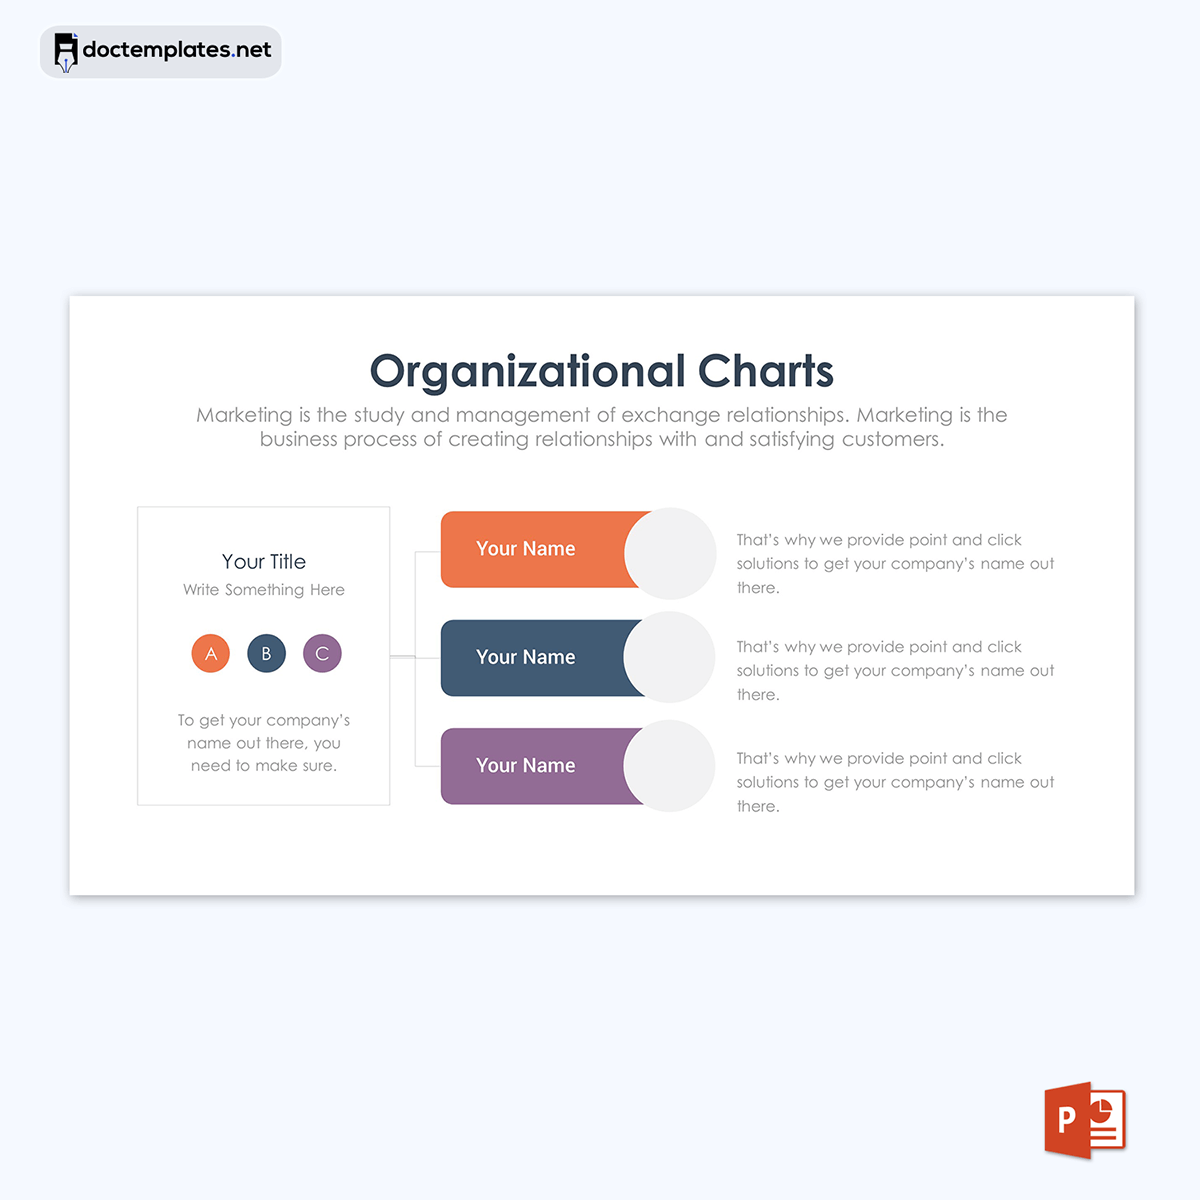
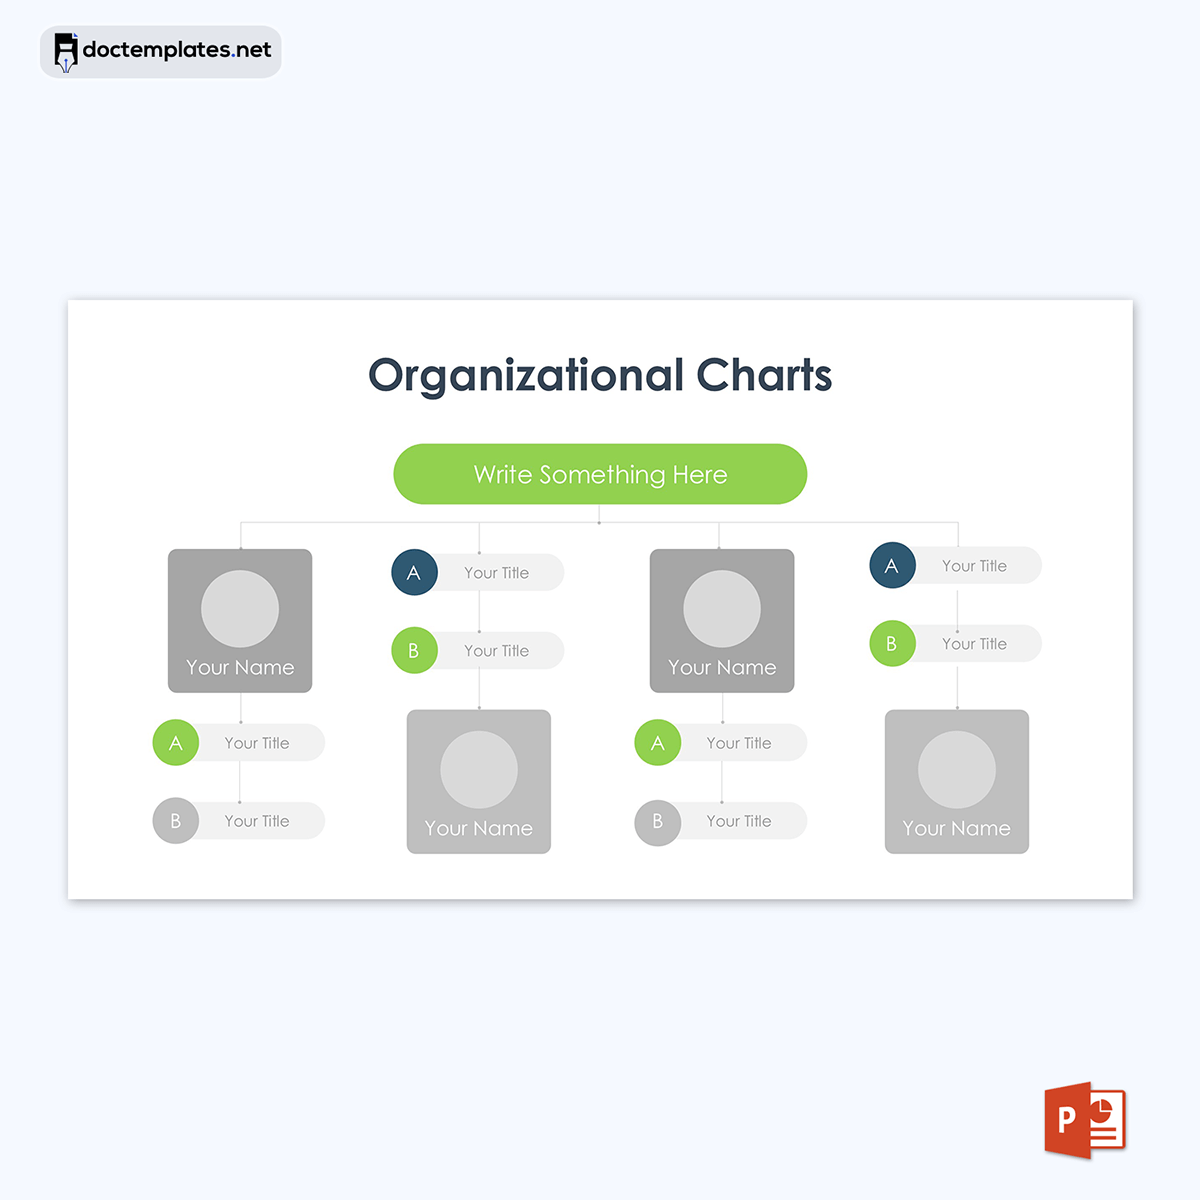
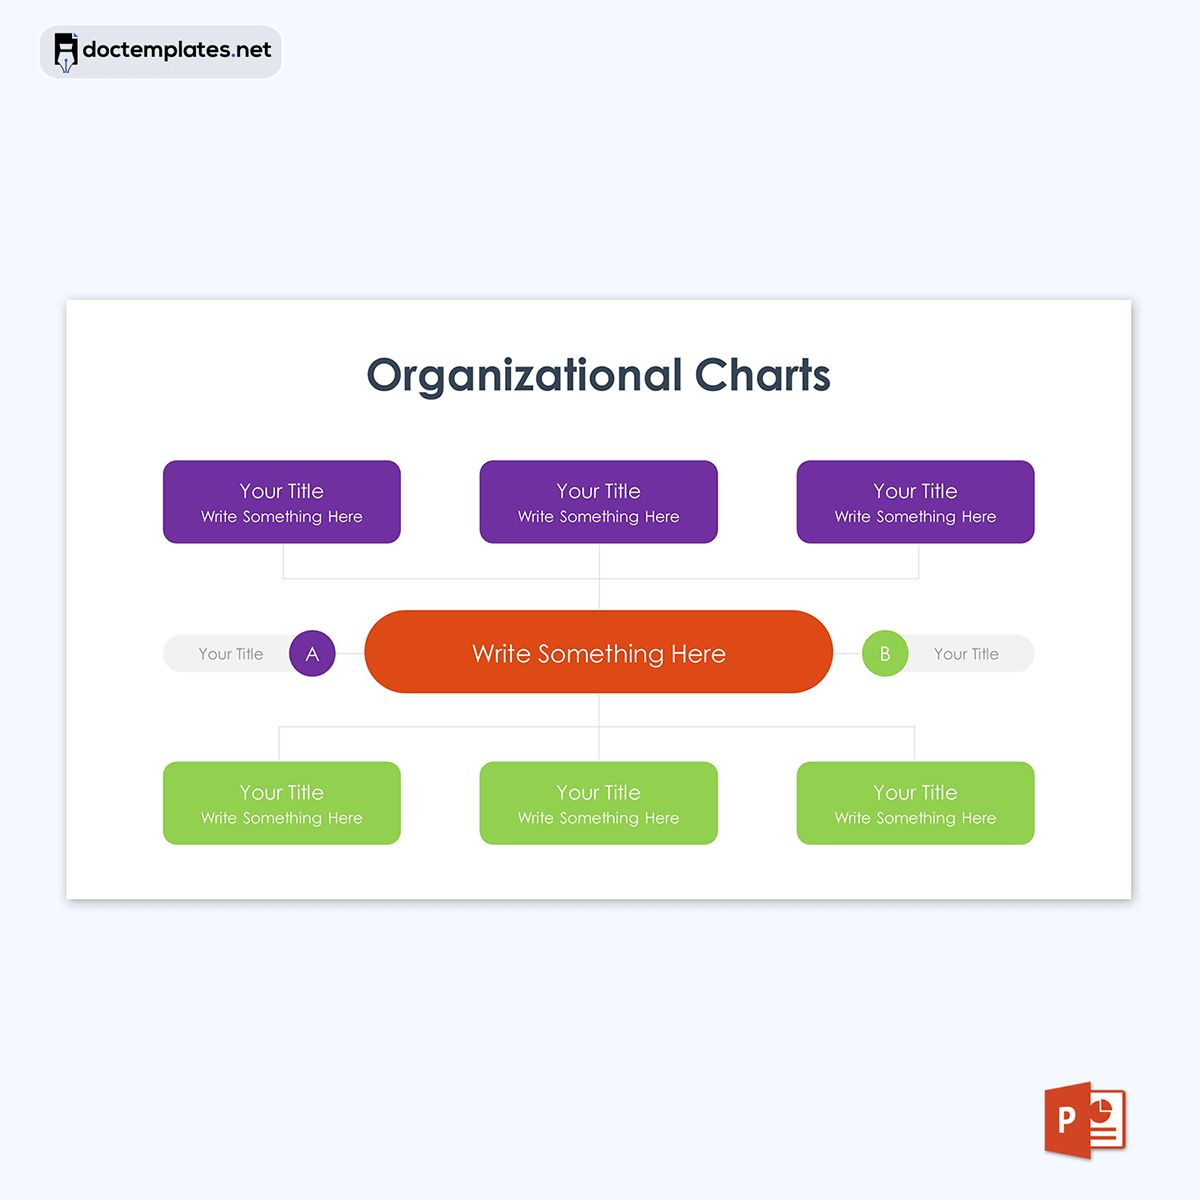
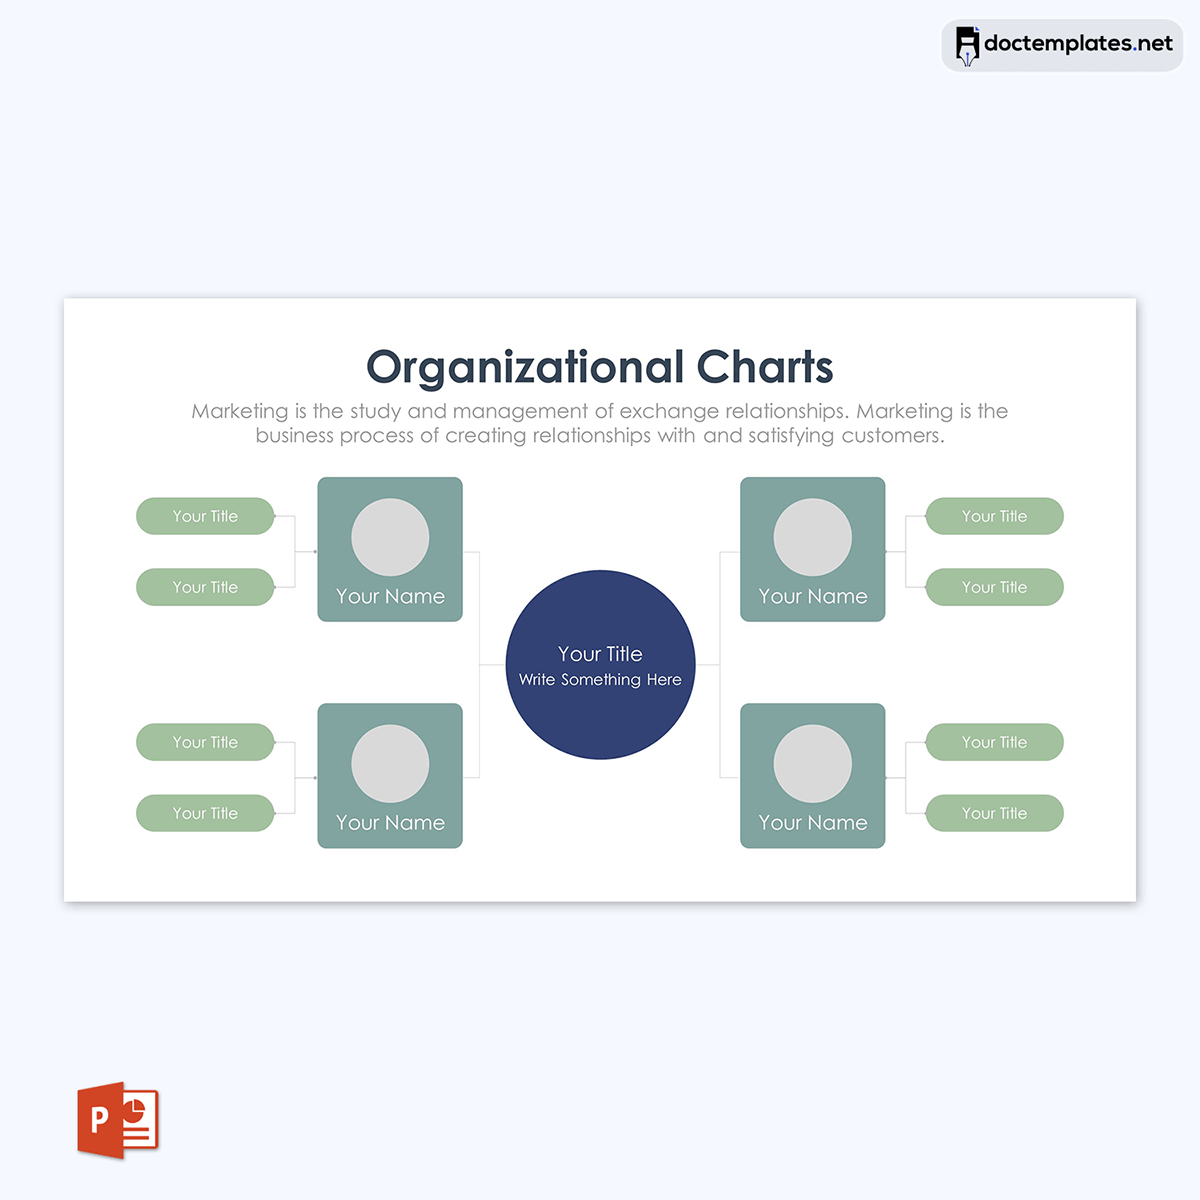
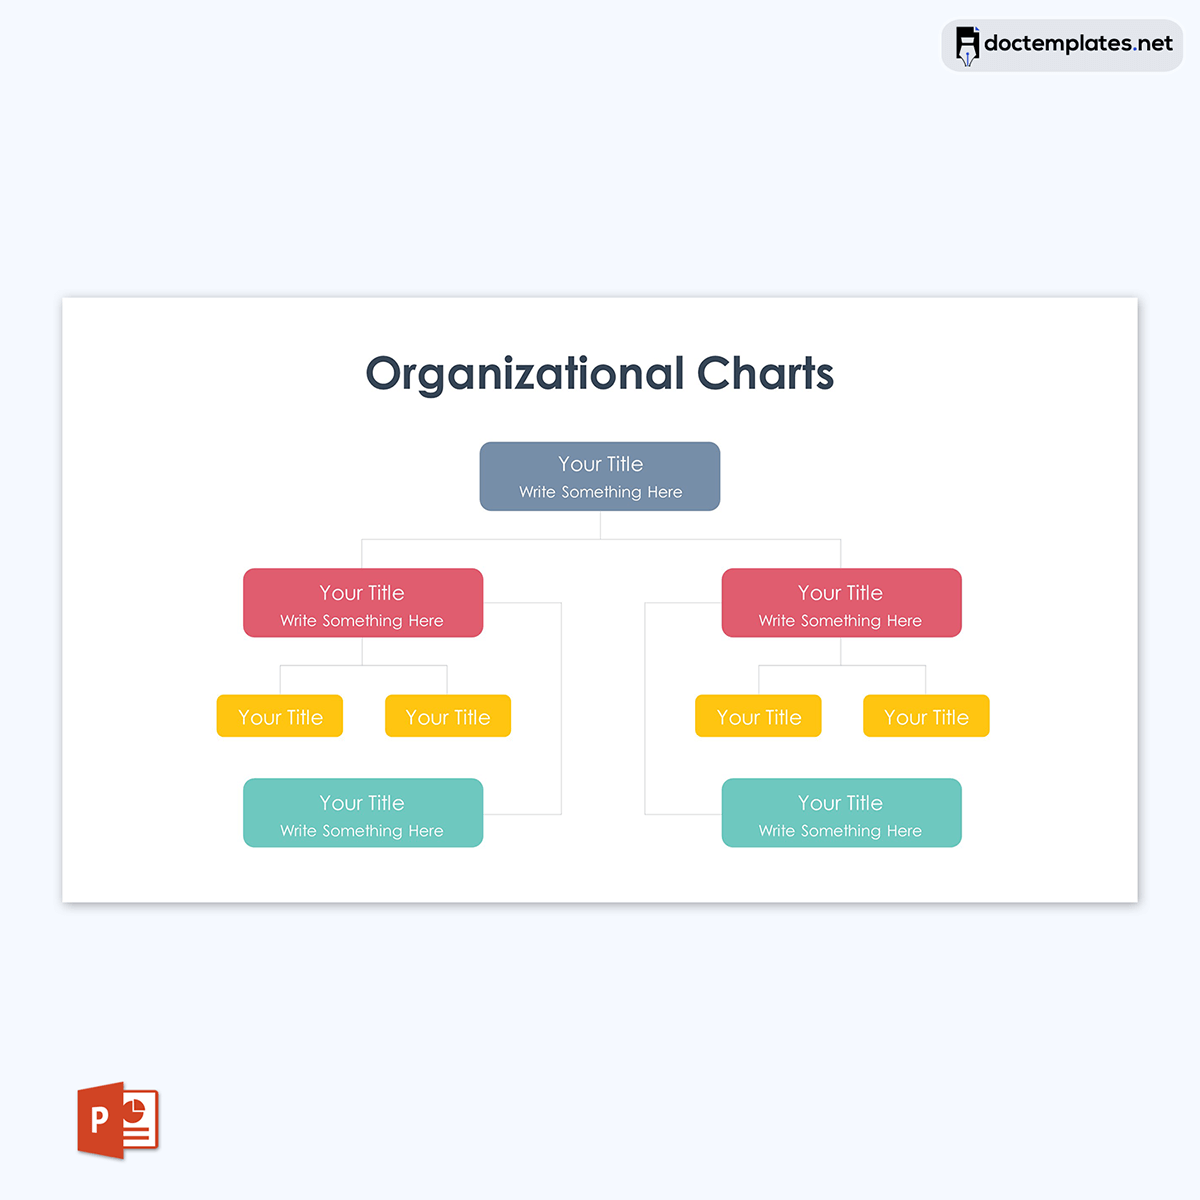
An organizational chart is a graphic representation of reporting relationships in a company, sometimes displaying position titles and holders.
The information displayed may include the staff member’s name, designation, contact information, and associated department. The employees are then enlisted in the appropriate hierarchy. The contents are included in boxes or shapes interlinked using lines.
An organizational chart is also known as an org chart or organogram. It can have sections to include employee pictures as a way to assist staff members in getting to know each other better. It can be created for a department or the entire company.
It can be used as an internal document. As a communication tool, it visually shows employees and the staff members in charge of different departments and their roles in the company. This streamlines the flow of information among employees as new recruits can identify who they are to report to.
Also, through the chart, employees can identify their new colleagues and supervisors after a restructuring. It must be updated regularly to incorporate changes in the hierarchy and lines of authority to ensure accuracy and relevancy.
Organizational Chart Templates
You can download the following templates for free:
Significance of Preparing Organizational Chart Template
Templates provide a fast and straightforward way to create organizational charts whenever needed in the company or department. They illustrate all the existing positions in the organization and the people occupying them. Employees can refer to it to determine who they should contact for different business needs.
Additionally, they are easy to update. Therefore, the changes can be incorporated into the chart immediately after a restructuring or recruitment exercise. This ensures communication channels are kept intact as employees can identify replacements and obtain their contact information from them.
This article offers a detailed guide on making templates for creating organizational charts in Word and PowerPoint. Additionally, they will be provided for readers to download for free if they find the process of creating them long and complex.
Designing Effective Organizational Chart Template in Word and PowerPoint: A Step-by-Step Guide
A template for an org chart can be created using Word or PowerPoint for free. You can use whichever software you prefer. Both platforms are effective, and the respective procedures are straightforward.
Below is a detailed step-by-step guide on creating it using both software:
Using Word
Here is a detailed step-by-step guide on how to use Word to create your template:
Step 1: Insert SmartArt
Open MS Word and create a new blank document. Then, go to the “Insert” ribbon, and under “Illustrations,” click “SmartArt.” This is the tool you will use to create and edit your template.
Step 2: Insert the organizational chart
Next, insert the chart structure. In the SmartArt pop-up window, select the “Hierarchy” option. Then, select the first structure under hierarchy, which is the “Organizational Chart” structure, and select “Ok.”
The chart will appear in your document. This structure contains boxes interlinked with lines. It forms the foundation for the template.
Step 3: Add the contents to your template
The next step is to add the contents you want to appear in your company’s organizational chart. While this information varies based on intended use, the following details can be included in it:
- Name of employee – The names are used to identify the employee assigned the specific role.
- Job title – Job titles are important in defining the hierarchy and lines of authority. Also, the titles can be used to determine the associated responsibilities and duties.
- Contact information – You can add each employee’s email, phone number, and mail address. Contact information is needed to facilitate communication and correspondence between employees.
- Department – A chart can illustrate the department each employee belongs to. This information is important in categorizing the employees and determining the functions of different designations.
- Responsibilities (optional) – You can add employees’ duties and responsibilities in your template. This information is essential in specifying an employee’s role within the company.
To add content to the template, edit the text in the SmartArt Text dialogue box that appears next to the structure. Click “[Text]” and type in the information you want. Alternatively, you can type the information directly in the chart boxes. To add another line of text, place the cursor in the respective chart box and Press “Enter.’
Step 4: Add new shapes
Next, create new shapes in the template for other employees to be added to the organizational chart. How you add the shapes will depend on the relationships between the employees. For example, employees at the same level of authority or management will be in the same horizontal line while assistants are below their superiors. To add new shapes, go to the box you want to create a relationship from, right-click and select “Add Shape.”
Use “Add Shape Before” and “Add Shape After” to add shapes horizontally. You can also add boxes horizontally through the dialogue box. Go to the “[Text]” bullets and press “Enter,” and a new box will be added horizontally.
To add boxes vertically, use “Add Assistant.” You can also select the boxes and move them to the desired position.
Step 5: Format the template
Then, you can format different elements of the organizational chart. You can change the color and design of the boxes through the “SmartArt Design” ribbon.
You can also edit the shapes by right-clicking on a box and selecting the “Format Shape” option.
You can also go to the “Format” ribbon in the toolbar and find different formatting options for your text and shapes.
Step 6: Modify the layout and center the chart
Lastly, you need to modify the layout of your template. Go to the “Layout” ribbon, and in the “Orientation” tab, change to “Landscape.” A landscape layout gives you more space to add boxes and information to the chart. Then, center it by placing your cursor before it to select it, then go to “Home,” and under “Paragraph,” select the “Center” command.
Step 7: Save the template
After modifying the template’s layout, it is ready to use. Save it for future or current use. Go to “File,” then “Save As,” and save the file with a name that identifies and distinguishes it from your other files – for example, “Company X Organizational Chart Template.”
Using PowerPoint
PowerPoint is an alternative software for creating your template. Here are several steps to guide you if you opt to use this option:
Step 1: Launch PowerPoint
Firstly, open PowerPoint and create a new document. Go to New and select New presentation.
Step 2: Insert SmartArt
Then, navigate to Insert > Illustrations and select SmartArt. A pop-up window appears.
Step 3: Add the organizational chart
Next, in the dropdown list, select Hierarchy and select the Organizational Chart SmartArt Graphic and click “Ok.”. It will be the first option under the Hierarchy category.
Step 4: Create the organization structure by adding boxes
Then, add the boxes you require to represent your company structure accurately. To do so, right-click on the box to which you want to add a box and go to the “Add Shape” option in the drop-down list. You can add a shape before, after, above, below, or an assistant box per the hierarchy you want in the structure of your template.
Step 5: Input employee details
Lastly, add the employee details you want to record in your organizational chart. You can add the job title, name, and contact details. To add text, click on the respective boxes and type the information you want to add. You can also copy information if it is outlined elsewhere and paste it in the Text pane next to your org chart.
Step 6: Save the template
Once completed, save your template for future use. Go to File>Save As to complete this process. Make sure to save the file using a name that is easily traceable in your folder – for example, Company X Organizational Chart.
Final Words
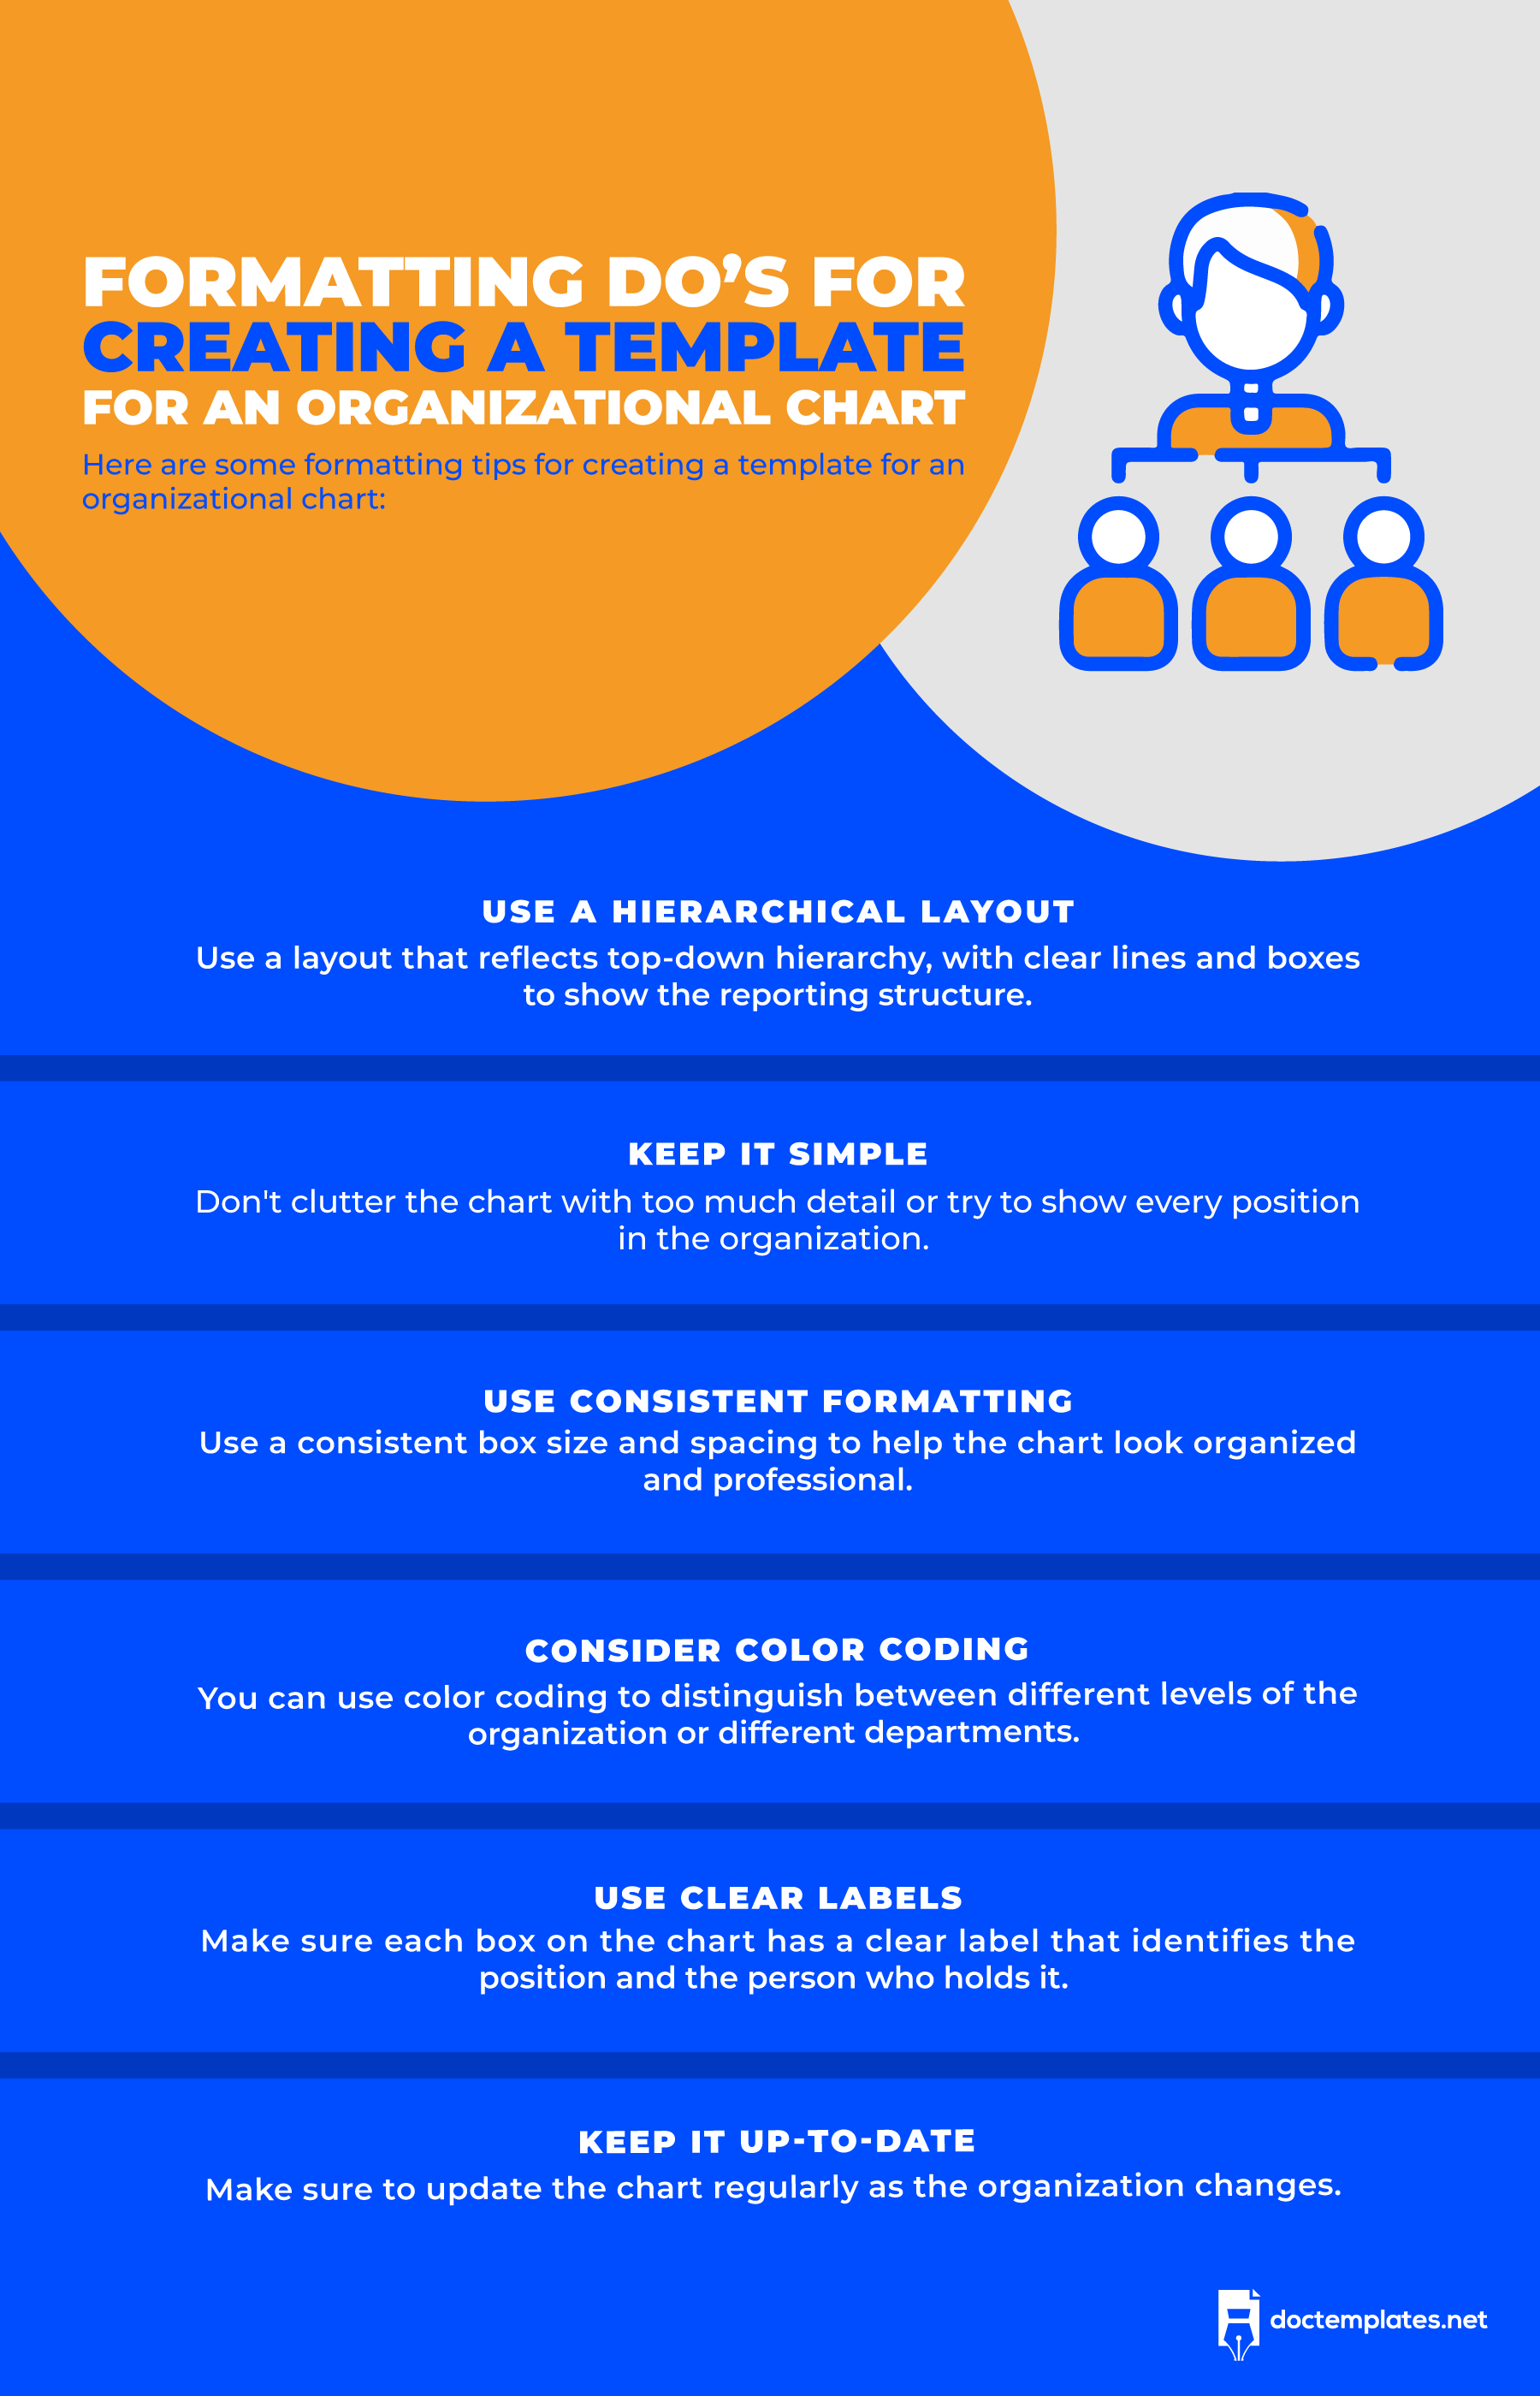
An organizational chart is a useful tool that allows users to see the structure of a company in a single glance. It is advisable to create a template that can be used to represent your company’s structure in a few minutes without starting from scratch. While the key components of an org chart are the staff members’ names, designations, and contact details, it may also include details such as duties and responsibilities, department, and other visual elements such as pictures.
The org chart should indicate the formal relationships only. Colors can be used to show the different departments, job levels, or other categories. To create it in a useful manner, you should define its purpose and scope (departmental or organizational), collect employee information, and identify the most convenient tool to create the chart. Lastly, it must be updated to reflect the company’s structural changes. So it is important to select a platform that facilitates this feature and simplifies sharing the chart with employees.
