Field trips are an exciting experience for students, but preparing for them can be challenging for teachers. Teachers often have to undertake a lot of activities when planning field trips. Besides planning, they have to select activities for the students, get permission from the school administration, and get consent from the parents.
Balancing all of the above aspects of a field trip is hectic, but it can be achieved with good planning. Teachers often have to prepare these slips to get permission from the parents, which the parents will sign as consent. They are forms or documents the school issues to students for their parents or guardians to sign as authorization for a field trip. Simply put, they show the school administration that they approve of their child going on the field trip.
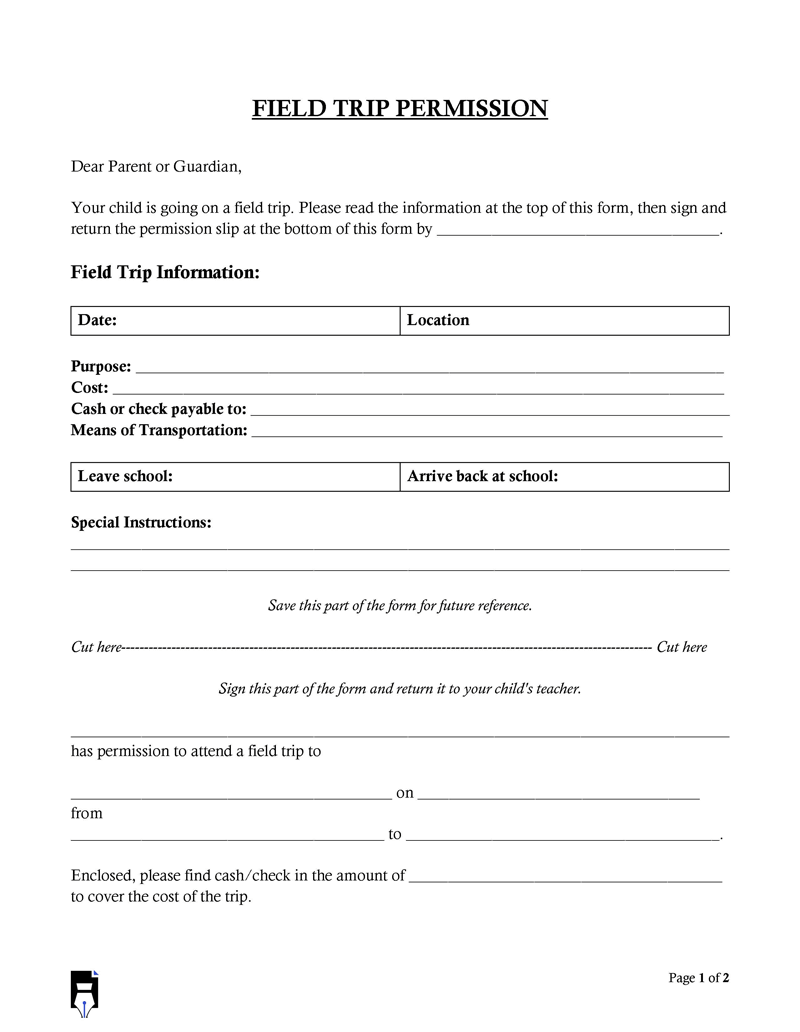
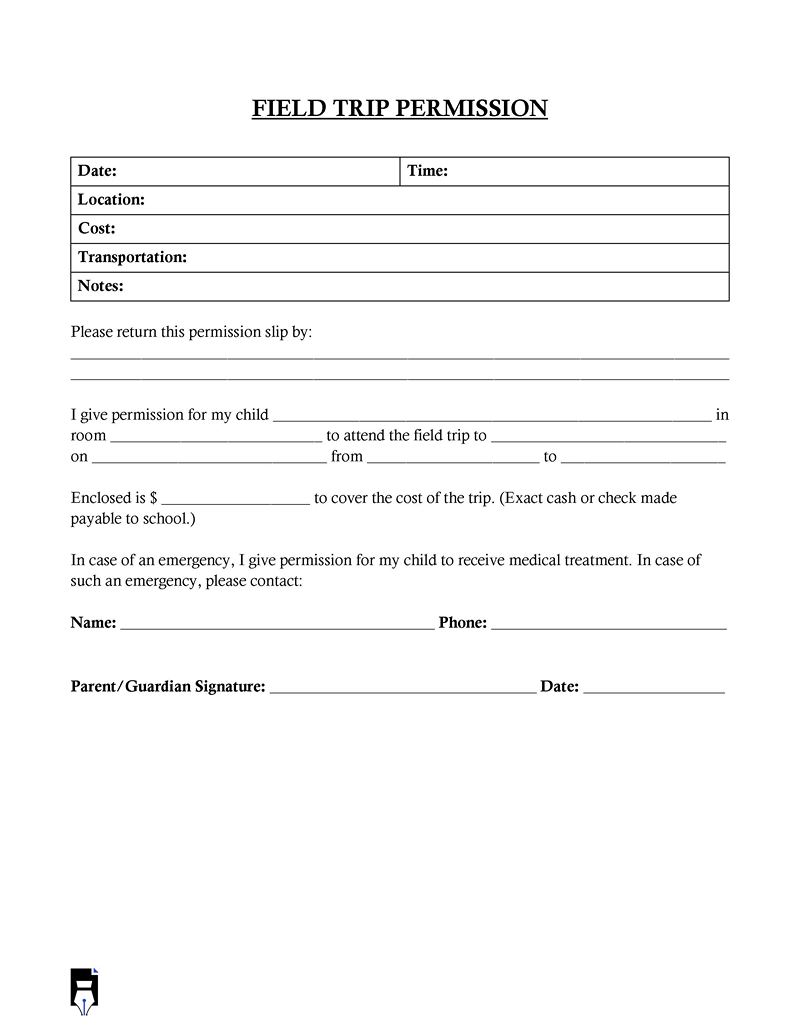
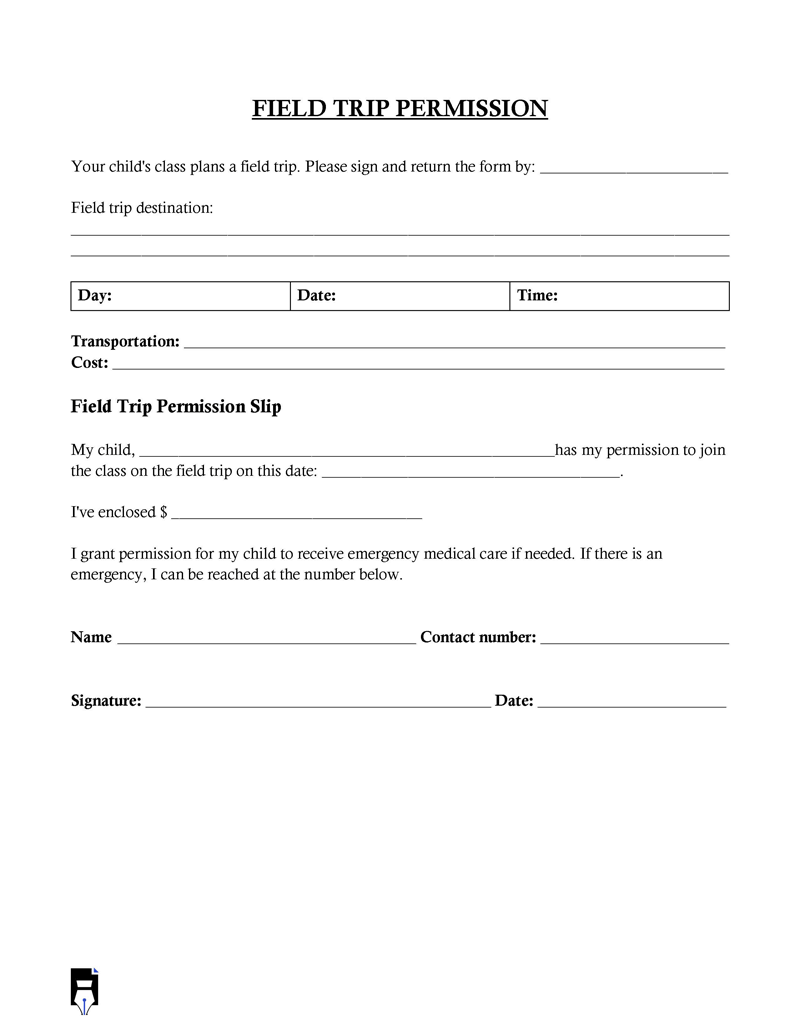
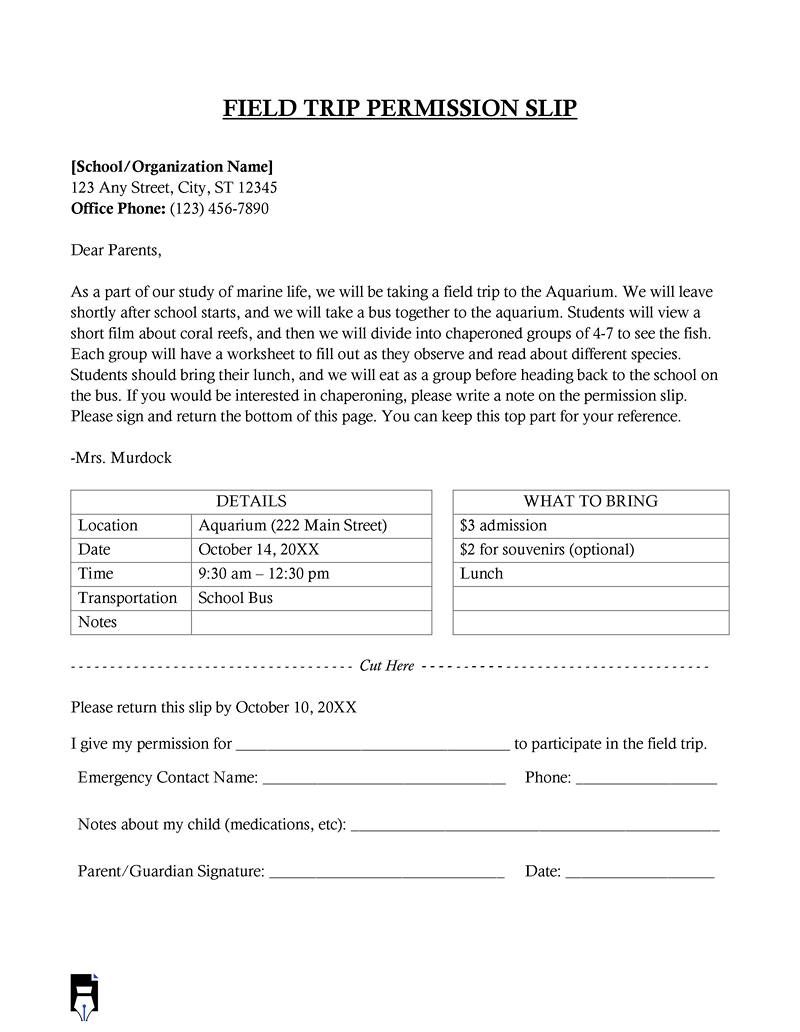
The field trip permission slip should contain information such as the cost of the trip, location, and activities to be undertaken. It lets the parent understand what their child will do on the trip. From the information provided on the slip, parents can assess whether there are special provisions that the school needs to provide for their child or whether they approve of the activities.
The permission slip should also contain information on the lunch arrangements and due dates for submitting the slips. With all this information, the parent can make an informed decision when signing the slip and consenting their child to attend the field trip.
Field Trip Permission Slip Templates
Given below are the field trip permission slip templates that you can download for free:
Why Field Trip Permission Slips are Essential for Student Safety
When students are within school premises or undertaking educational activities, the school administration is responsible for their safety. On the other hand, activities outside the school, like field trips, require additional parental approval. Since the slips are written documents, they provide a formal record that a parent-approved their child’s participation in the field trip.
Child safety and learning are the essential aspects of the field trip. On the one hand, the teacher must consider the best way to engage students in the planned activities to help them learn. On the other hand, the teacher needs to ensure the child’s health and safety are not compromised. The best way to ensure it is through permission slips. In essence, the collaborative effort of the teachers and parents helps ensure the students are safe on site.
This article provides a step-by-step guide to preparing an effective template for a field trip permission slip using MS Word. The template can be helpful as you will only need to adjust it to create a new one in the future.
Creating Perfect Field Trip Permission Slip Template in MS Word: A Step-by-Step Guide
You can create permission slips manually using word processing programs like MS Word. With this program, you can prepare an editable template to adjust the information whenever needed. Further, you can create a simple document with the information outlined in bullet points, as they are easy for parents to read and understand.
You can follow the steps below to prepare your permission slip in MS Word:
Step 1
Open the MS Word document by searching the program on the taskbar. You should then select a blank document. Once you open a new document, you can adjust the page size to narrow or wider margins by selecting the Layout tab on your menu. It allows you to customize your document to a specific size; you can even select your preferred layout.
Pro-tip: Since permission slips are meant to obtain consent for a specific activity, you should ensure they are brief. The recommended length is, at most, one A4 page long for an effective permission slip. This length is best as it helps you organize your papers, especially using hard copies.


Step 2
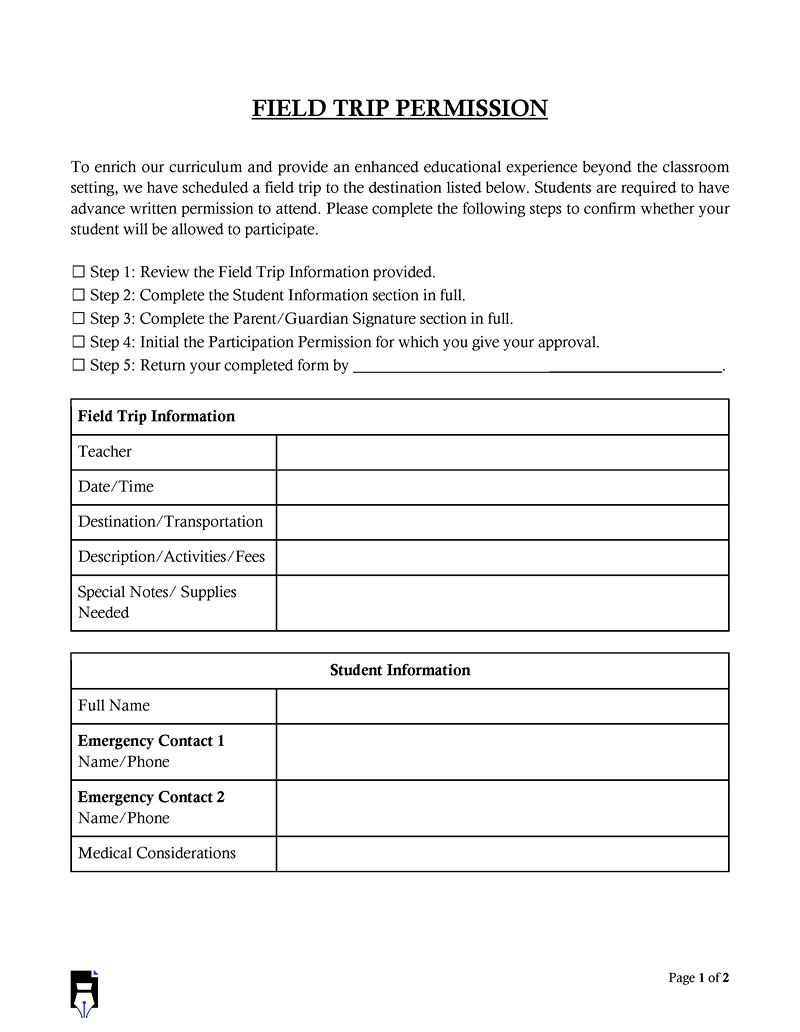
Write the title at the top of the page. You should center align it by selecting the ‘center align’ option on the ‘home’ tab. You can also increase the font size to your preference. Besides the title, you may include instructions on how the form should be filled at the top of your document. These instructions should contain a guide on the general outline of the form, the information that must be provided, and the date the form should be returned to the school.


Step 3
You can then create tables for the different fields. Select the ‘insert’ tab and select your preferred dimensions to make one. When selecting the dimensions, consider the number of items and detail you want to include. Each column represents the information the parent should provide. The first table should be for field trip information, the second for student information, and lastly, a table for signatures and other participatory permissions.
Step 4
The field trip information section should mention the name of the teacher in charge, the date and time when the field trip will start, the location of the trip, lunch arrangements, and the activities and costs that will be incurred. There should also be a section for special supplies if the parent needs to purchase anything for their child.

Step 5
The student information section should have a slot for the student’s full name, emergency contacts, and any medical considerations the teacher should know before the trip. Including the name and contacts lets the teacher know whom to call in case of an emergency. Medical considerations help the teacher plan ahead for emergencies.
For example, if a student is allergic to a certain type of food being provided, the teacher may call the parent and make arrangements for an alternative meal for that student.

Step 6
Once you create your table, you can customize it by merging the cells in the first row. Highlight the two cells and right-click to get the drop-down menu. Select the merge cells option. To shade the row, select ‘shading’ on the ‘table design’ tab on your top menu, and choose the color you want to shade your first row.


Step 7
Lastly, there should be two sections, one for the parent to indicate their name, sign, and date when they signed the document, and the other for participatory permissions. Participatory permissions should be included to inform the parents of potential hazards or injuries during the trip.


You can customize the ‘participatory permissions’ section by using italics. Select the ‘home’ tab and then the ‘italics’ option.

Step 8
Save the document by clicking the ‘file’ tab on the left of your screen and selecting the ‘save as’ option on the drop-down menu.

You should save the document in Word format, as you can edit it whenever you need to prepare a permission slip. However, if you intend to share it with parents, you should save it in PDF format. This format is not easily editable and maintains its format across different devices. In this format, you should provide blank spaces within the tables for parents to fill and sign where appropriate.
Pro-tip: You may consider making the consent process paperless by using electronic copies of slips. You can create an online site where you upload the permission slips, and parents can log in and sign the slips. This paperless method helps you save on time and the costs of printing multiple permission slips. Further, it is easier to organize soft copies on your computer than hard copies, which may get lost or damaged.
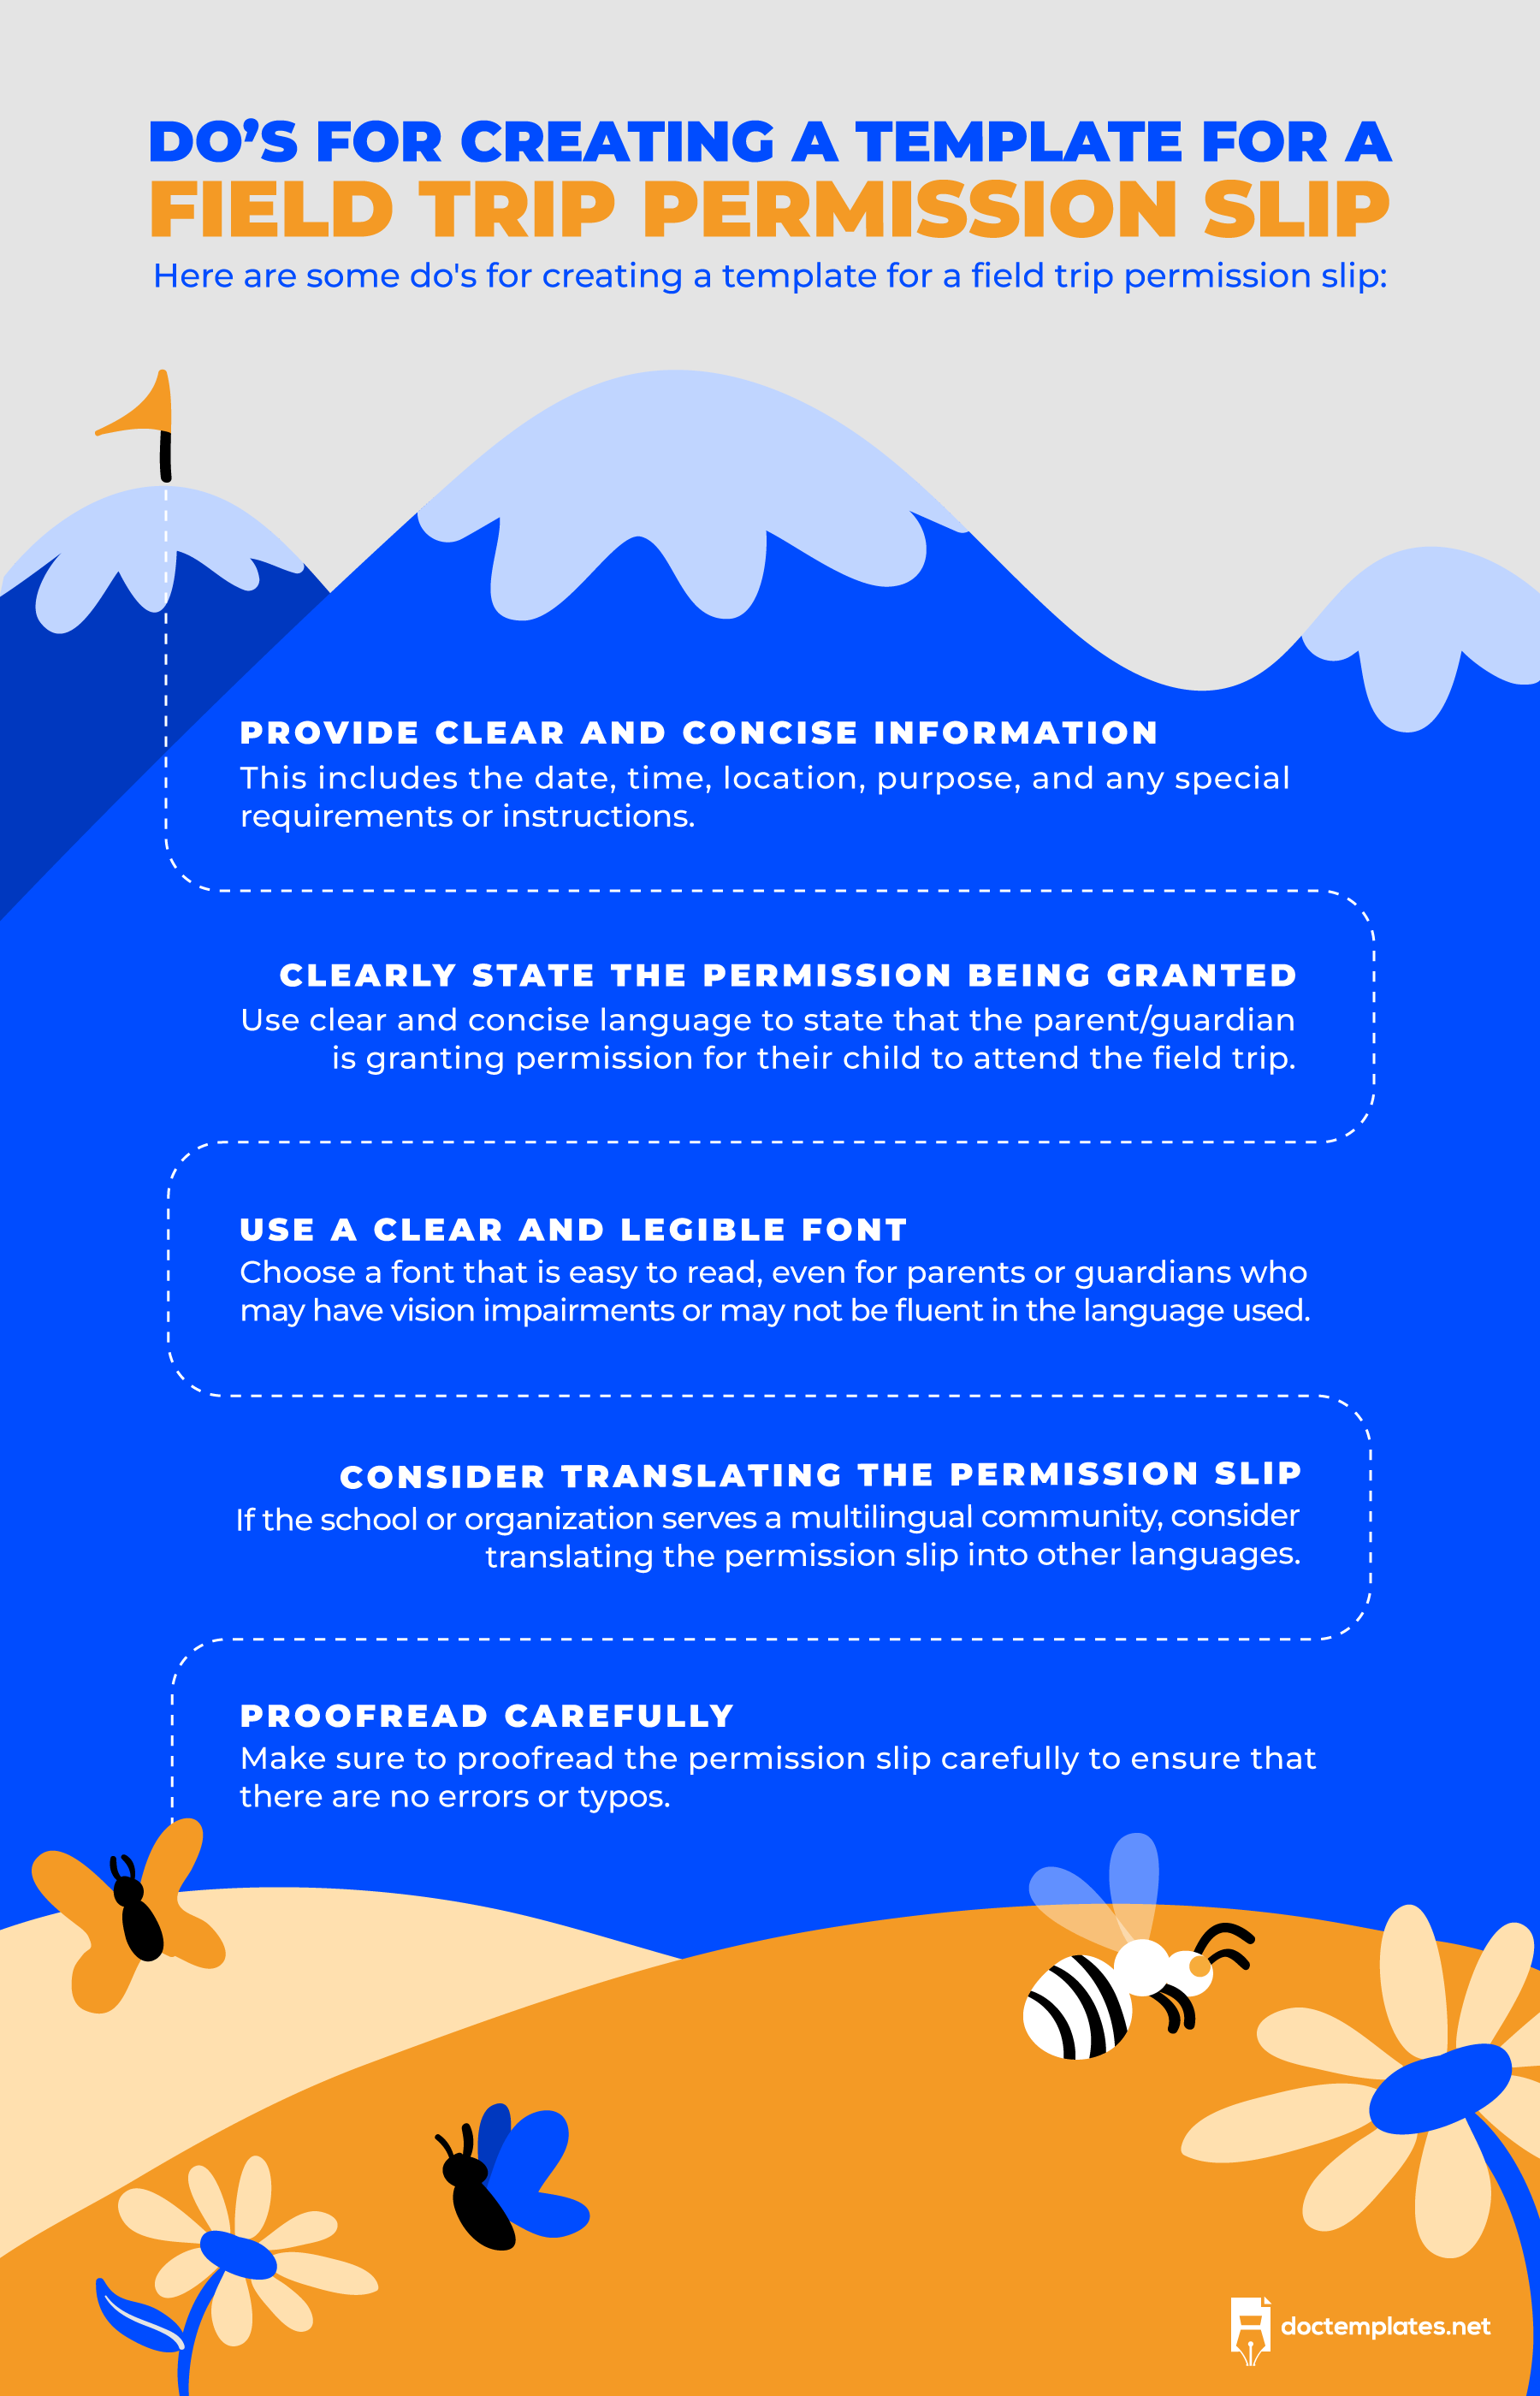
You may use an online template if you find it difficult to prepare your permission slip from scratch each time you need one. It can guide you on what format your slip should take and is also easily editable. We provide free printable templates for field permission slips you can use.
Putting It All Together
When planning a field trip, it is vital to obtain parents’ consent for their child to participate in the specific activities organized as part of the trip. Permission slips are one of the easiest ways to streamline the consent process. You should know how to create an effective permission slip to make communication with parents more efficient.
You should also use proper language and formatting so your slip is comprehensive. You can also consider issuing the slips electronically to save time because the parents must log in online and fill out the forms. If you use online forms, you can use software like Adobe Acrobat to prevent yours from being edited by anyone other than you.
