Planning for an event can be a challenging process for event planners. This is because a great and successful event depends on the planner’s ability to design appealing tickets that intrigue people to attend it. An event ticket is an entrance or access permit that allows one to attend it, such as a concert, a competition, or a party. It is meant to help attendees know more about the event, its date, time, and location. It also lets them easily find their seats and know the fee required to attend.
Whether it is a concert or a movie, an event planner must prepare them and make them available to the attendees. This way, the planner usually limits the number of tickets available for sale and avoids overloading it with too many guests. In addition, the planner can use different ticket sizes to differentiate their attendee’s seats.
Since they are important to the event planner and the attendees, a planner can design a template from scratch in MS Word. This document can be reused multiple times to prepare them for different events. That means the design process becomes simple and still produces accurate results. Also, you can download free, customizable pre-built documents for event tickets.
Event Ticket Templates
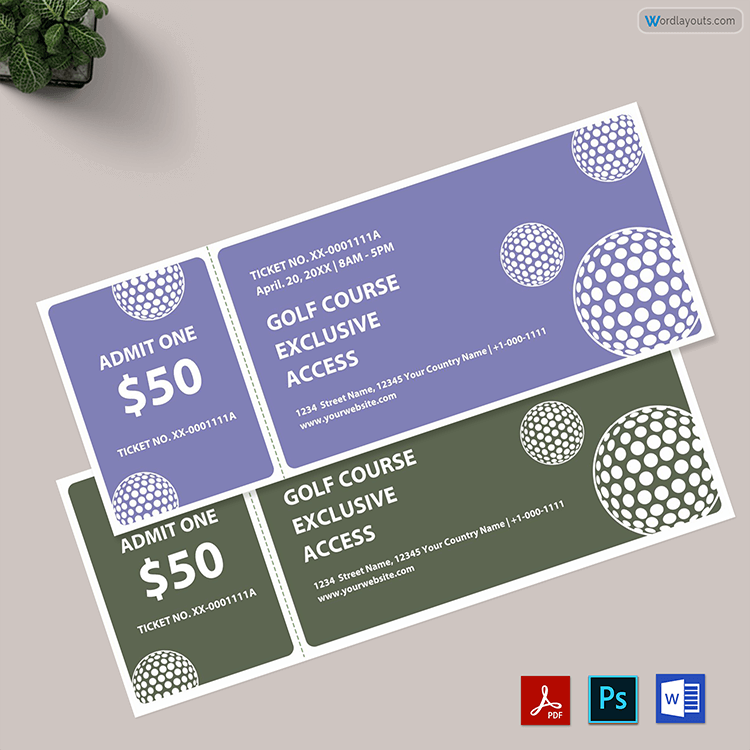
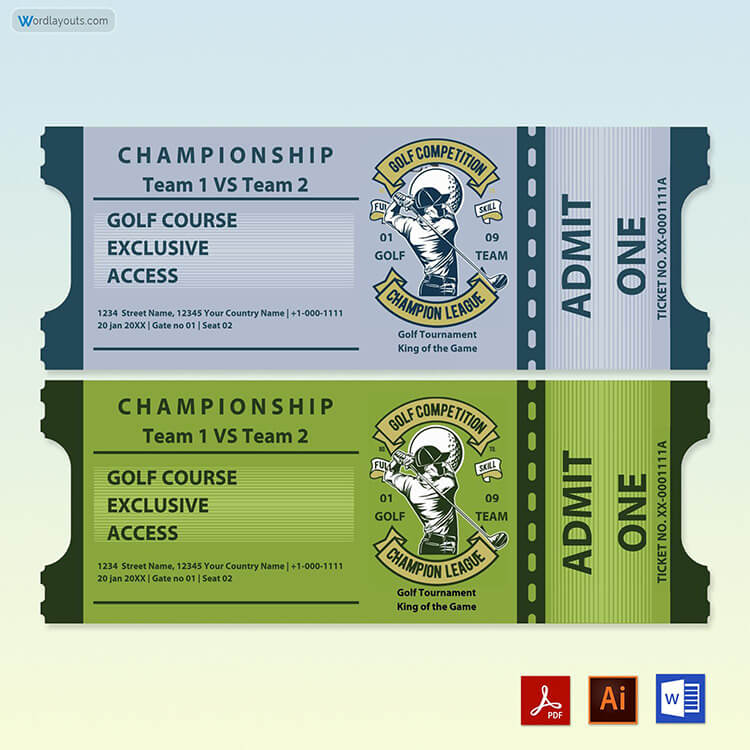
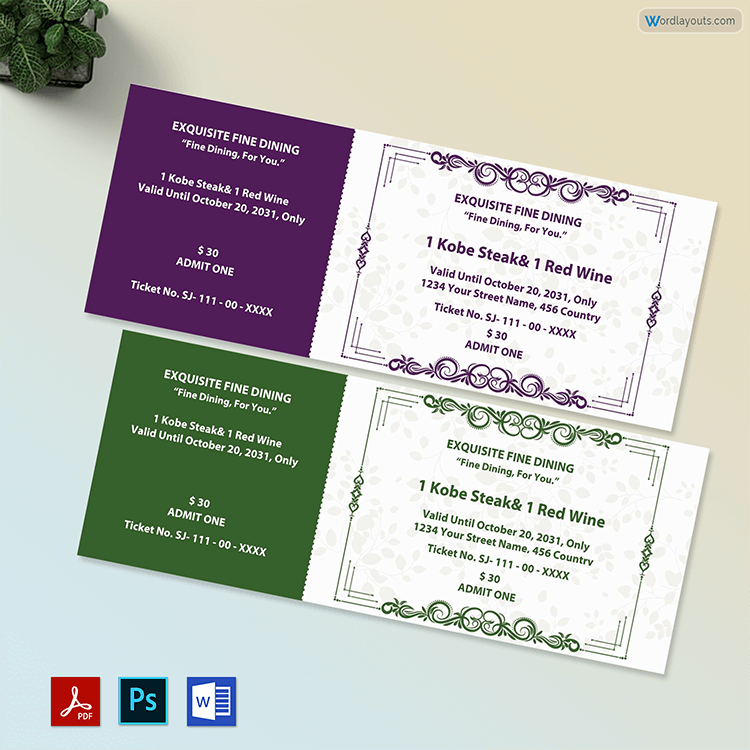
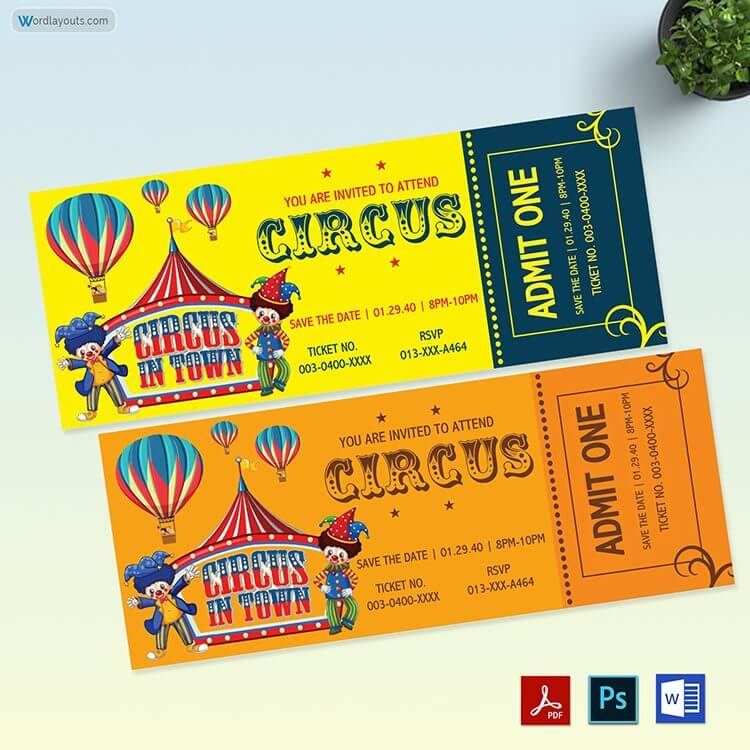
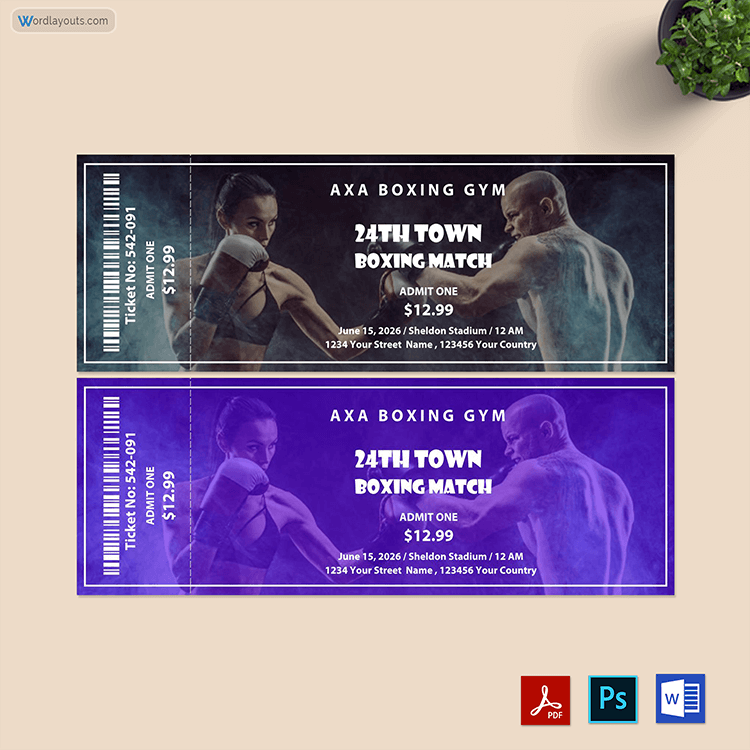
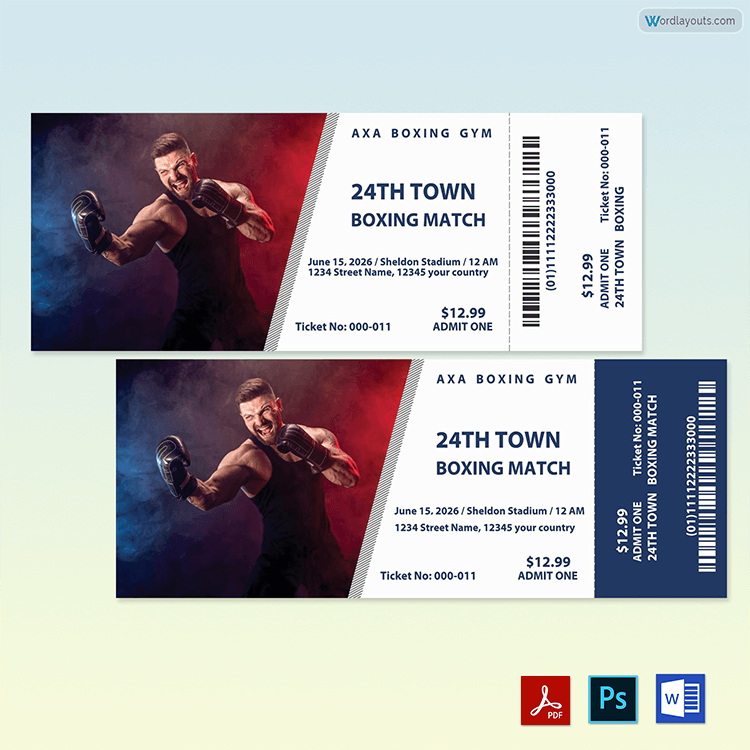
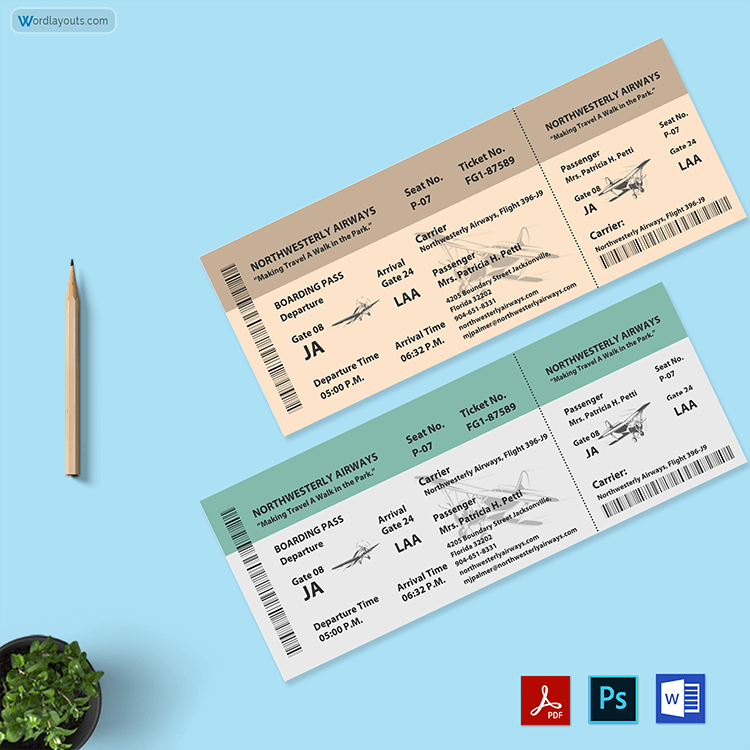
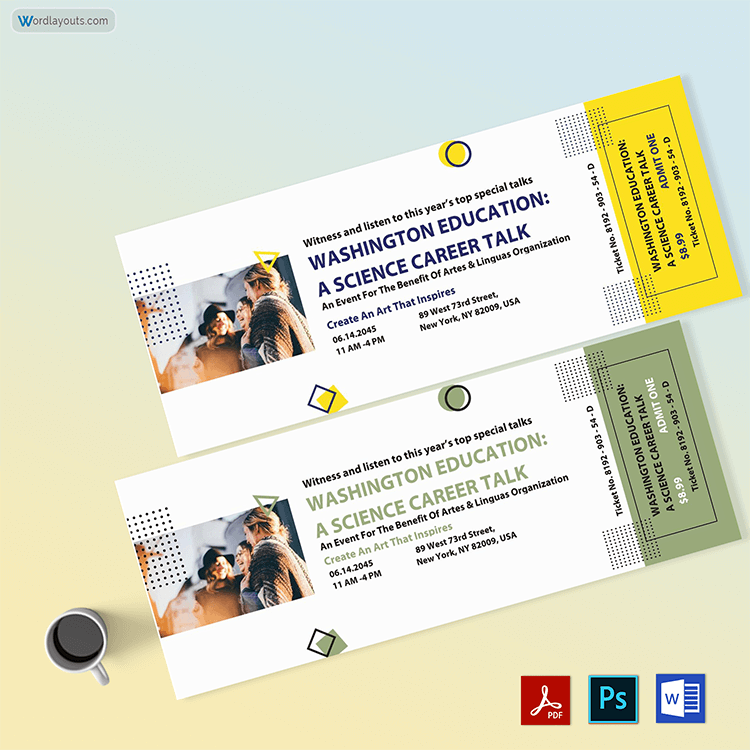
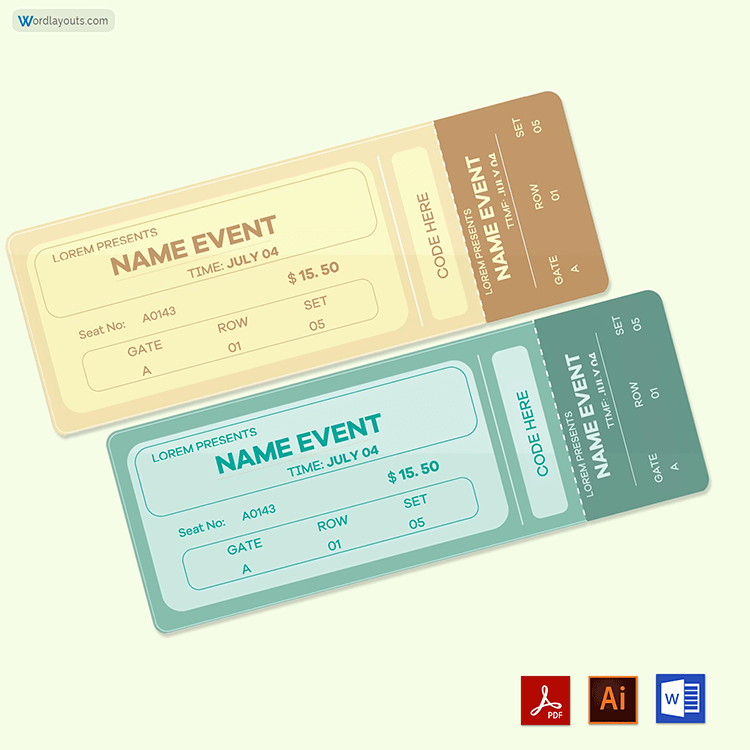
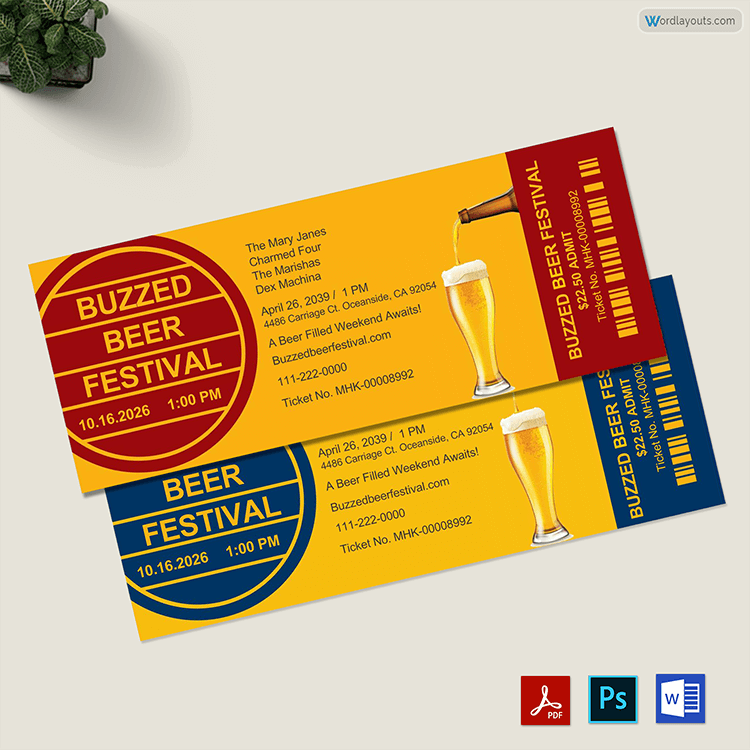
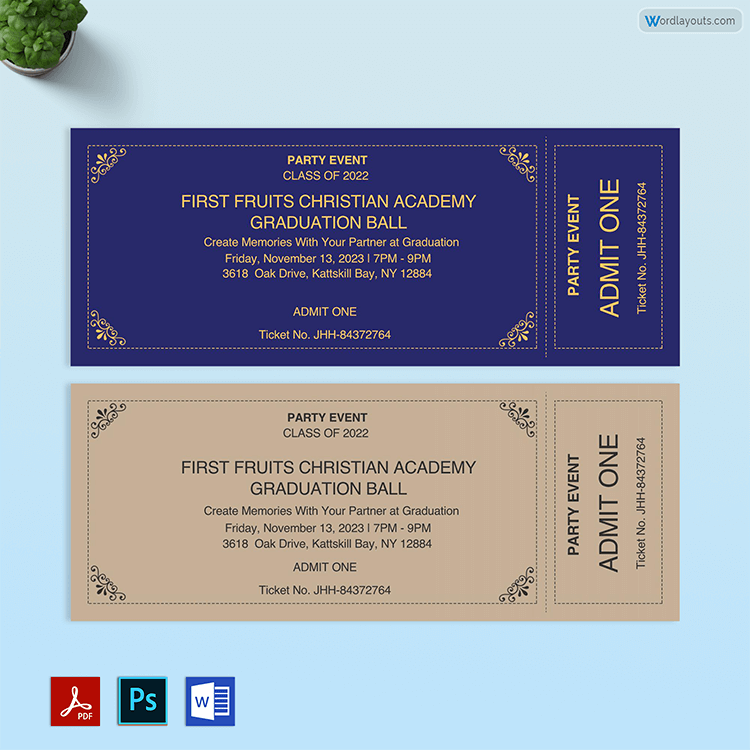
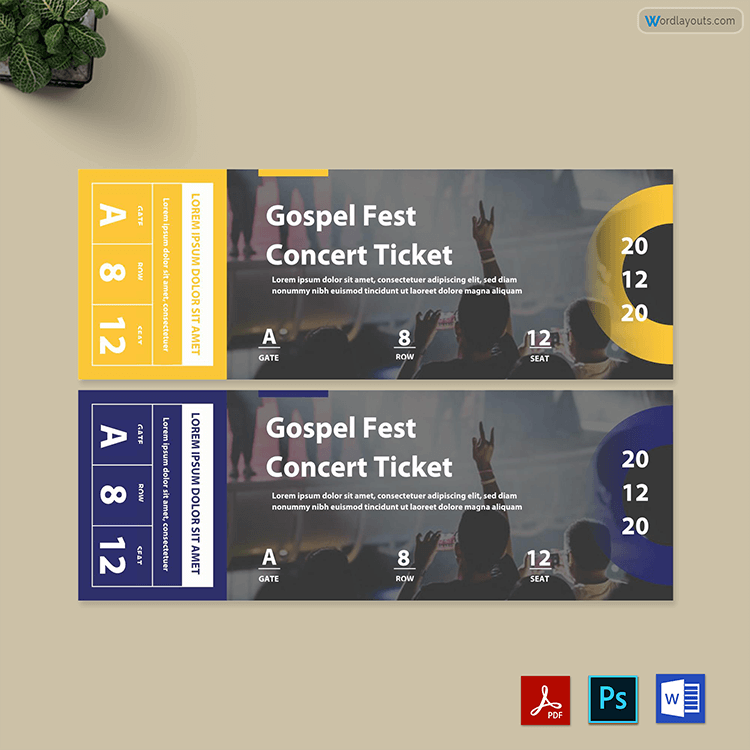
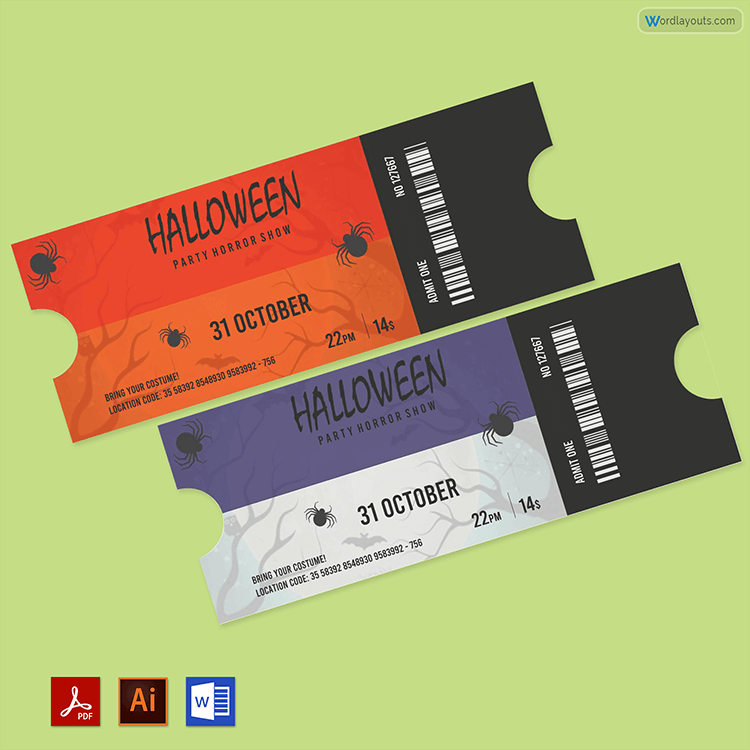
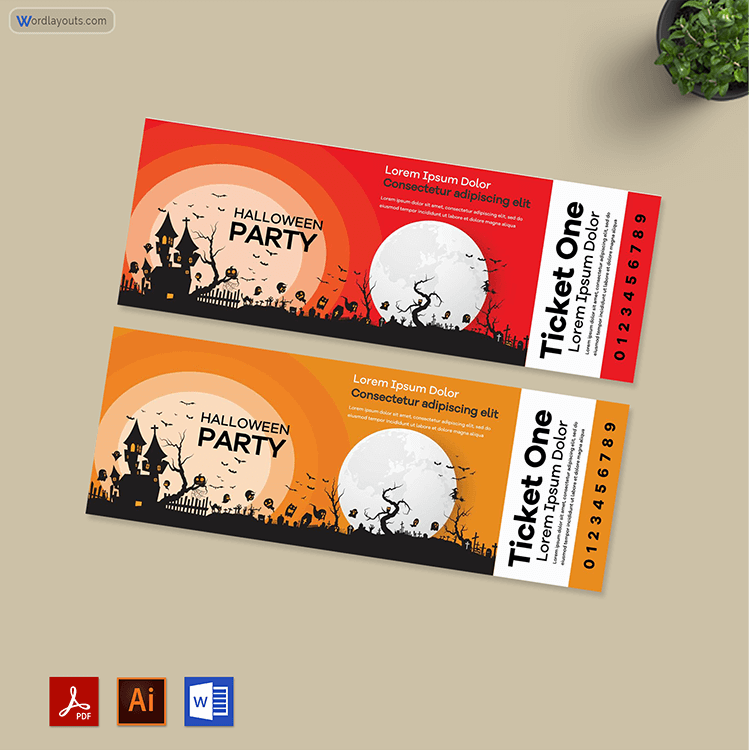
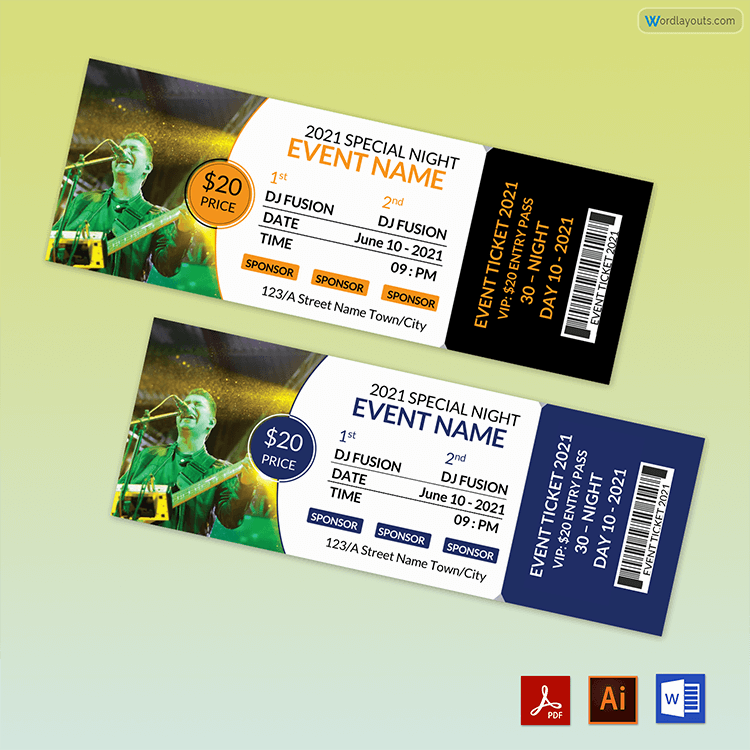
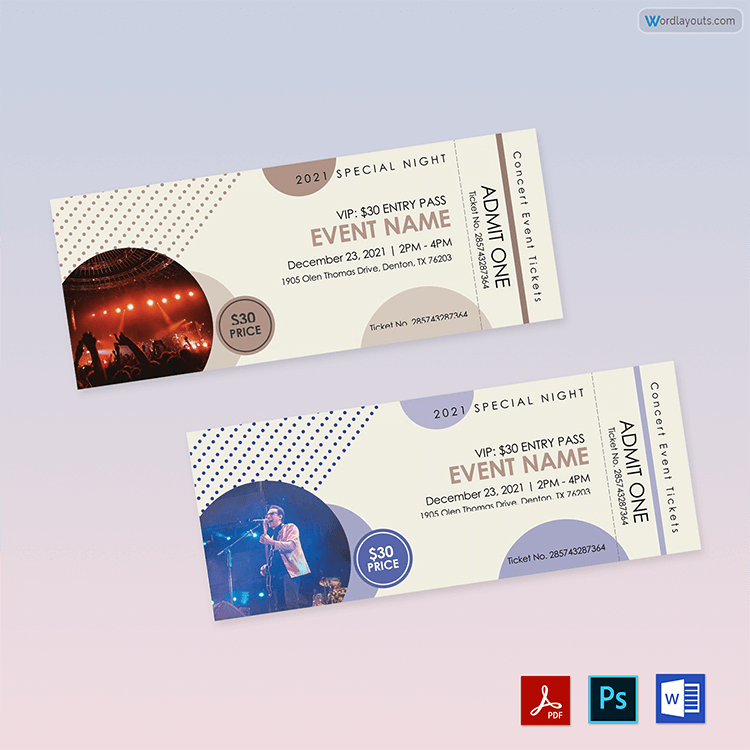
Following are the event ticket templates that you can download for free:
How to Design Event Ticket Template in MS Word
An event ticket can be made in several ways, such as using a template or creating it from scratch using different software. To design it in MS Word, use the steps provided below. You can use this document multiple times for different events. That means you will save time and effort to prepare a proper event ticket.
Remember that the ticket has two parts; the left is for the customer, and the right is for the receipt. You can also include automated ticket numbers on each page while creating that template in the above-mentioned processing tool.
Step 1:
Start by opening a new blank document on MS Word. Click File and Save As to save the document in an accessible location on your computer or laptop.

Step 2:
Click on Page Layout and then Page Setup to set the paper size (1.97 inches [height] x 5.63 inches [width]) under the Paper option that appears on the pop-up window. Then click on the Margins option in MS Word to set all the margins (top, bottom, left, and right) to zero.
Step 3:
For the next step, go to the Insert tab, then Shapes, and select Line to draw a line separating the ticket and receipt.
Format the line to make it dotted by clicking on Format, Shape Outline, and Dashes.

Step 4:
Using MS Word, click Insert again and choose the triangle shape. Format it with the color grey using the Shape Fill option that appears under Format. Also, click on the Shape Outline format and select No Outline.
Rotate the little triangle and then place it on the top part of the dotted line. Proceed to Press and hold the Ctrl key and drag to duplicate. Then click Format and Rotate to flip the little triangle vertically on the bottom of the page. Ensure you click on the dotted line and the two triangles to group them.
Step 5:
Click Insert and select Shapes to draw a rectangle on the left side of the page. This is where you will include the image you want. Ensure that it is a relevant image. With the rectangle, edit the shape by focusing on the edit points.
Click on Format, then Shape Outline, and choose No Outline. Then click Shape Fill to insert the Picture. Click Crop and then the Fill option on the Picture Format to adjust the image accordingly.
Step 6:
Click Insert and Shapes to draw a freeform line next to the edited rectangle in MS Word. For the line, proceed to edit points as you did with the rectangle in the previous step. Once edited, click Format, then Shape Outline, and choose the 21/4 weight. Re-adjust the edit points, if needed, to ensure that there is a small gap between the edited rectangle and the edited line.
You can change the color of the line to suit the event colors. Click on Shape Fill, then Gradient, then More Gradients, then Line Color, then Gradient Line, and then set the color you want while adjusting the gradient effect.

Step 7:
Click Insert, then Shapes, and draw a Text Box where you will include the ticket number. A number should be placed at the center of it for visibility purposes. It is meant to help you identify each customer’s ticket to determine if it has been paid for.
Ensure you adjust the Font and Font Size accordingly. You also need to remove margins from all sides of the text box by right-clicking on the text box, selecting Format Shape, then Text Box, and then setting all margins to zero.
You must edit the text box further by clicking Home, then Paragraph to Remove Space After Paragraph. Under Format, select Shape Fill and choose No Fill. Also, select Shape Outline and choose No Outline. Position the text box where you want it. Copy and paste it to the receipt side.
Step 8:
For the next section, follow step 7 and draw a text box where the event name will be written. Include its name in capital and bold letters in a central position. The name is your event’s first impression meant to entice people to attend it.
Ensure you adjust the text box as you did in step 7. Position the text box in the middle section of the ticket side. Ensure that the Font, size, and color are attractive and bold. You can make your work easier by copying and pasting the number text box and editing the text inside.
Step 9:
You must insert a logo for your event in the Word document. A logo is meant to advertise its branding and capture the attention of your attendees. Click Insert and then Picture to select the logo image. Position it where you want it to appear on the ticket.
Step 10:
Proceed to copy and paste the original text box, the one with the ticket number, to create spaces for more details regarding it, such as the Date of the Event, Gate to Enter the Venue, Seat number, and even Event Rules. Make sure that these text boxes are placed and arranged properly.
Do not forget to include the barcode and the ticket price. The barcode verifies its validity, while its price informs the attendees of the amount they should pay for the event. These details should all appear on the left side.
Step 11:
At this point, you should focus on the receipt side of your template for the event ticket. Copy and paste the Logo, the text box with its name, a text box with the date, gate and seat details, the barcode, and the rules to the receipt side.
At this point, your template is ready for use. You can add more details in the document if you want; ensure they are relevant to your event needs.

This step-by-step guide will help you prepare an effective template for your event ticket using MS Word. If you want to save time but still have a consistent and accurate document, you can use them, as they are easily downloadable and free, provided below for your ease.
7 Factors to Consider When Printing Event Tickets
You can create a perfect event ticket using the templates. You can access and download them for free below. You can edit and customize them to meet and satisfy all your demands.
When creating this document, there are key details that you need to consider before printing it:
Price
When preparing event tickets in Word, you should print them in different colors and sizes. This makes it easier for the organizers and attendees to differentiate between regular and VIP tickets. You can use a low budget to print regular ones to reduce prices and increase your chances of making a substantial profit after selling them.
For instance, savings from the lower printing costs are reinvested in other aspects of the business that directly contribute to revenue generation. Using the low-budget option, the business can allocate more money toward marketing. It also leads to an increased volume of ticket sales.
Also, you can make the VIP tickets bigger, unique, and fancy by using expensive materials to print them. The VIP ones will allow attendees to occupy the lavish section of the venue. As a result, the VIP attendees will pay extra charges to enjoy top-notch comfort.
Space
The template meant for an event ticket should contain all the details about the venue and the guests. Therefore, the space allotted on it should be enough for you to print all the needed information. This information may include the date, time, and location of the event, the name of the guest(s), and any other relevant information. Note that it is cheaper to use smaller tickets.
Color
In most cases, color sets the tone and mood on any occasion. Therefore, when creating your tickets in Word, it is important to use a color that blends with the event’s theme. If it is beautifully crafted, it will attract guests and create a good impression on the attendees. Additionally, the colors on it will make it easier for the attendants to identify fake tickets.
Therefore, the images and the fonts used to decorate them should help make the event fancier and more flashy.
Stubs
They are important as they ensure that tickets are only used once. Therefore, a stub is a small part of the ticket that the event organizer tears off once the guest enters the venue. As a result, creating a slightly bigger ticket is necessary to create enough space for the stub. Note that the stub should be marked for easy identification and allow its attendants to tear them off easily.
Paper quality
For most events, a 12-point cardstock paper is commonly used. This paper is durable and flexible enough to produce quality tickets. In most cases, potential guests judge the type of event based on the appearance and the quality of the paper used to make the tickets.
Notably, it will enable you to add further decoration and improve the appearance of your tickets without affecting the quality of the paper. However, this may be costly for those on a low budget or for small events.
Anti-counterfeit features
When organizing an event, it is important to have policies and measures in place on how to prevent and deal with counterfeit tickets. Therefore, adding serial numbers, QR codes, tracking numbers, and barcodes are some of the most effective and efficient anti-counterfeit measures. These measures ensure that it cannot be reused on the same or different event you will host.
Physical VS. E-tickets
With technology, it is possible to avoid issuing physical tickets. The use of E-tickets has gained popularity in recent days. Physical tickets require you to print out the tickets and give them to potential guests. For E-tickets, you are required to create them in a digital format and then share them with the attendees once they have paid the attendance fee to the venue. However, you will need anti-counterfeit measures to prevent people from using them to enter the event more than once or entering illegally.
Frequently Asked Questions
What size do I need for my event ticket?
The size of a ticket depends on the information it will contain. In most cases, event tickets with a stub usually measure 1.97 x 5.63 inches. However, its size is usually 5.5 x 2.125 inches without a stub. The measurements for raffle tickets with a stub are 5.63 x 1.97 inches.
What to include on an event ticket?
Commonly, a ticket should include the time, date, location, and name of the event. Also, it should have a serial number and a barcode. However, it can have further information that is relevant to it. This may include the logo and the names of important guests.
What is a good font for an event ticket?
When designing a ticket, you can use the company’s fonts if you are hosting a corporate event. However, you can also use Times New Roman, Arial, Georgia, Helvetica, Courier, and any other font in Word that is simple, classy, and easy to read.
