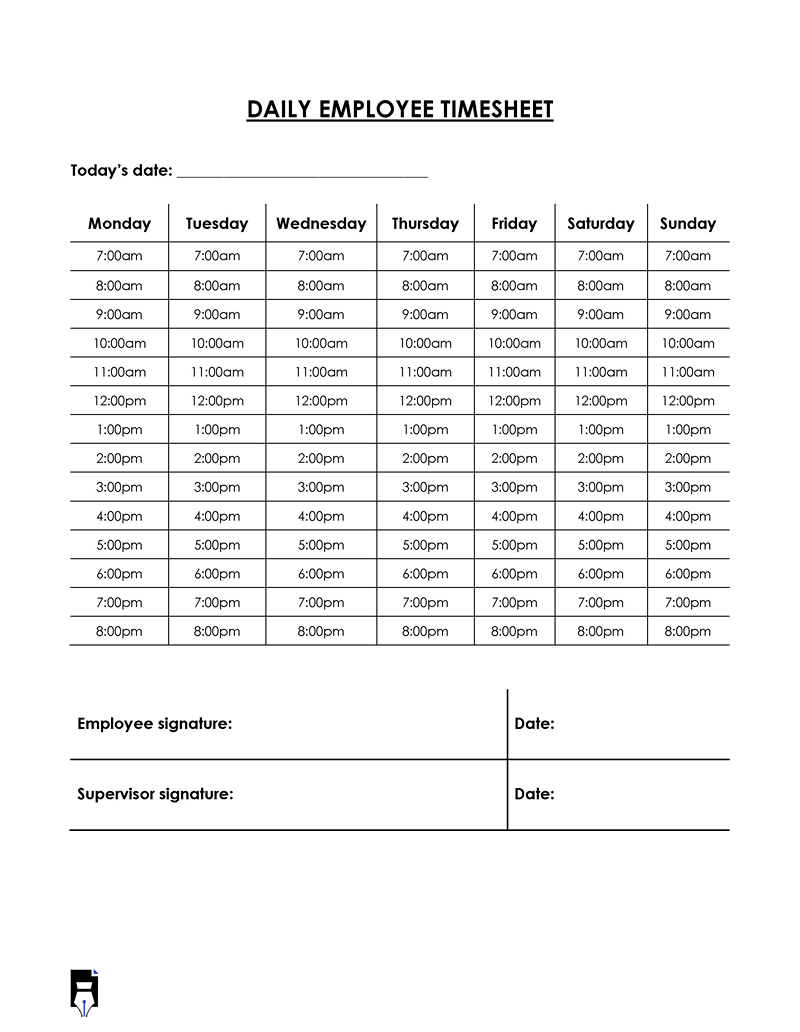
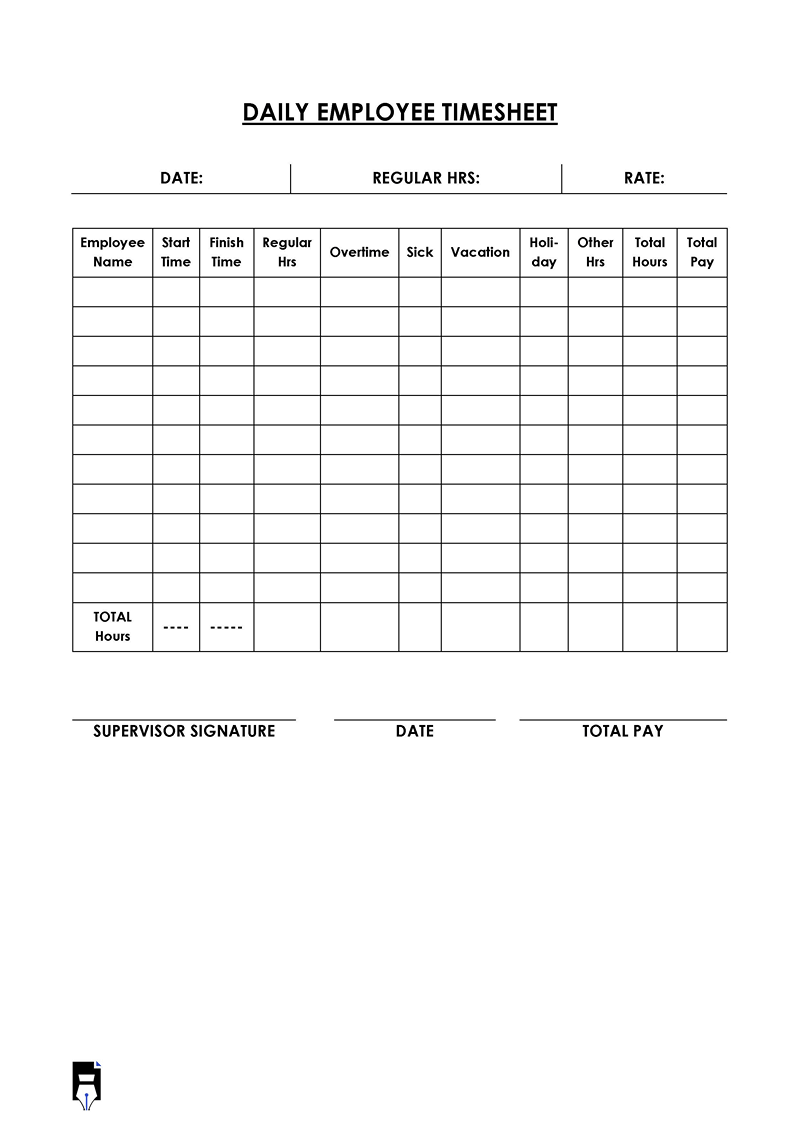
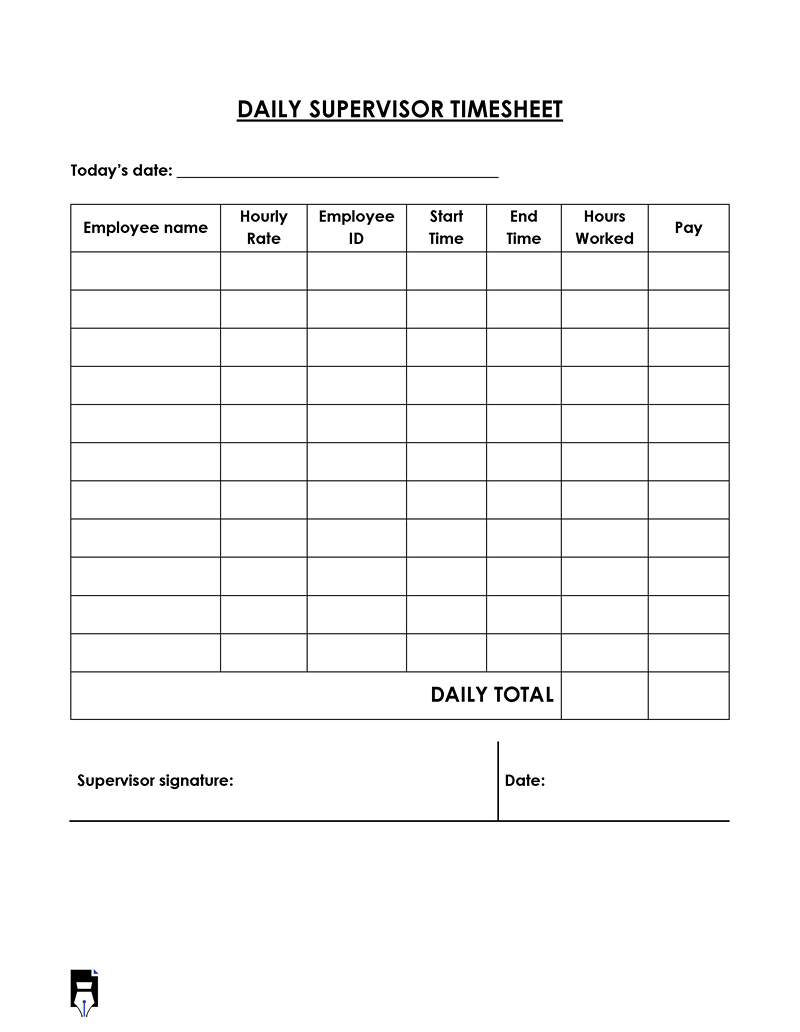
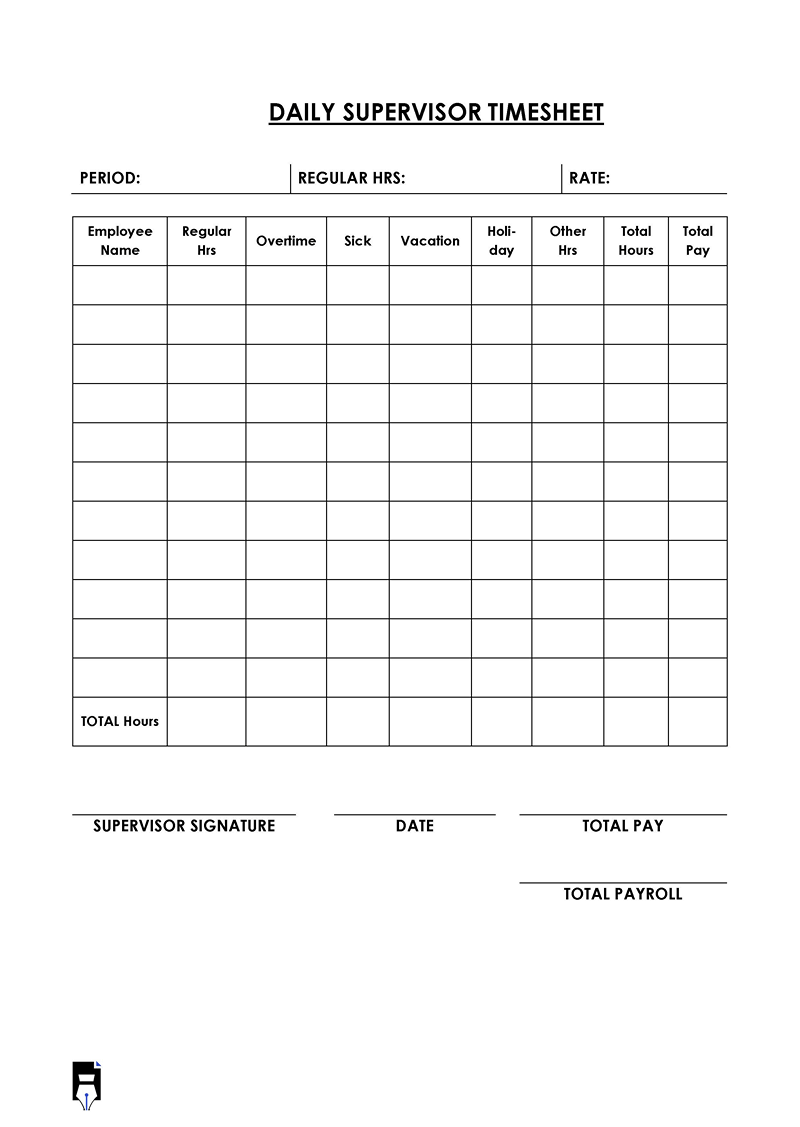
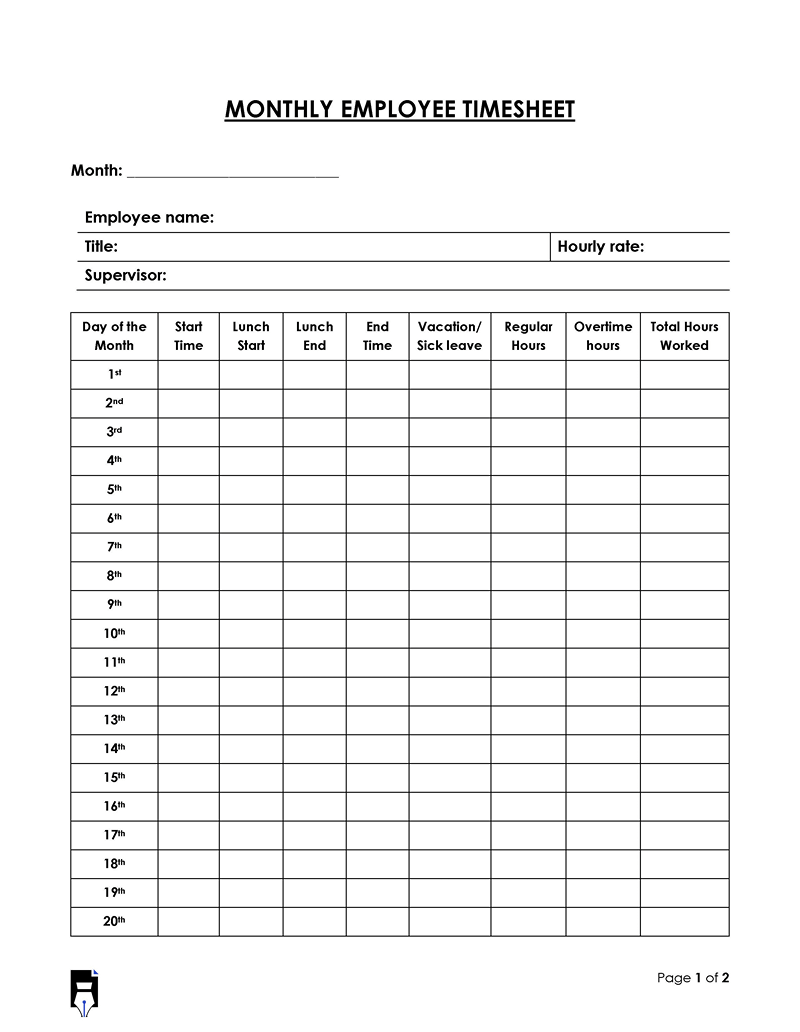
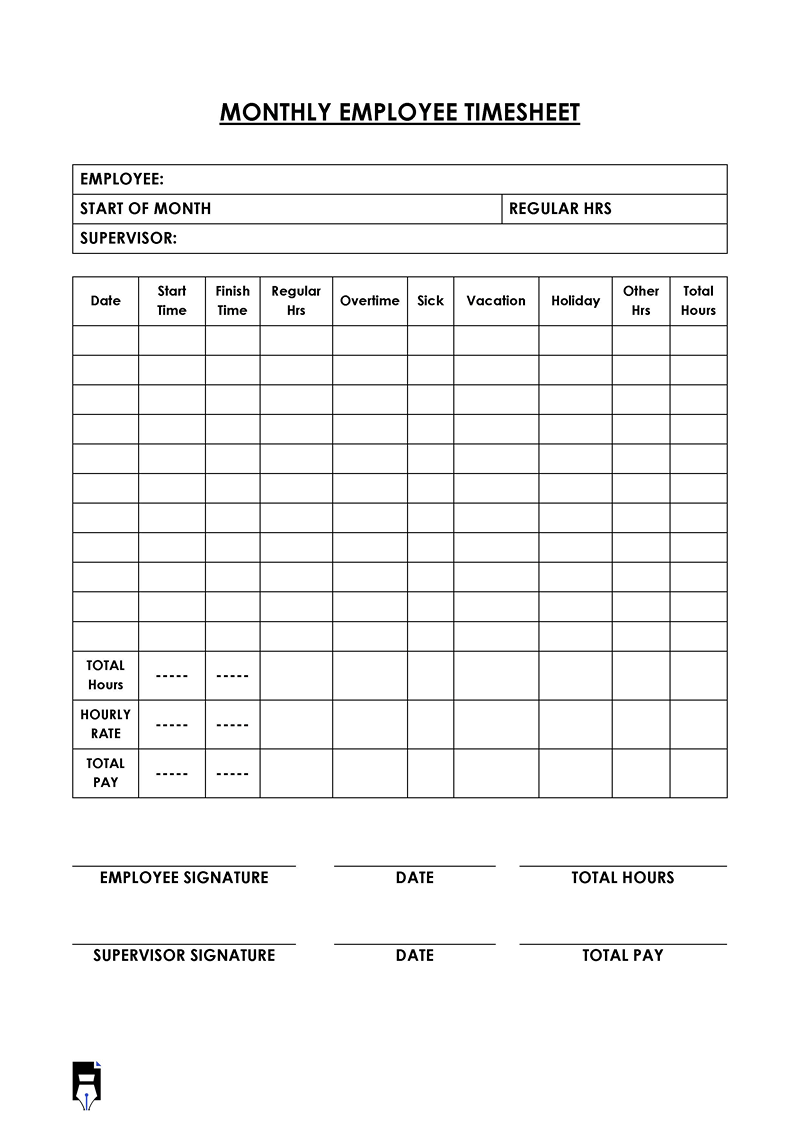
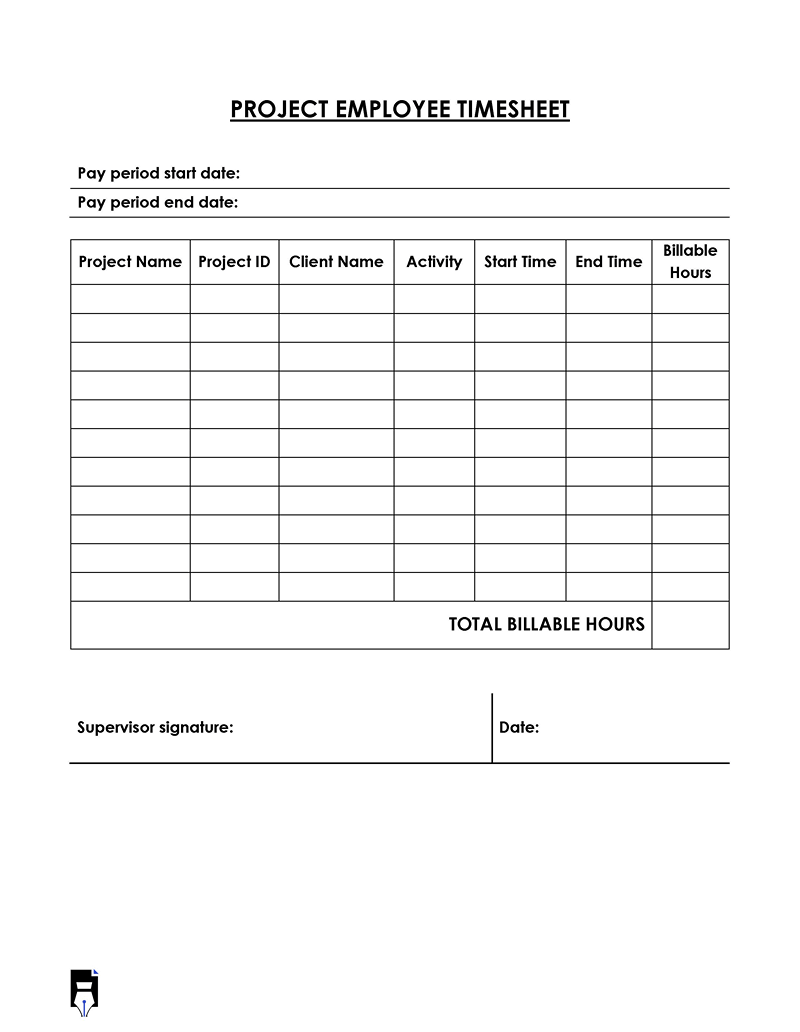
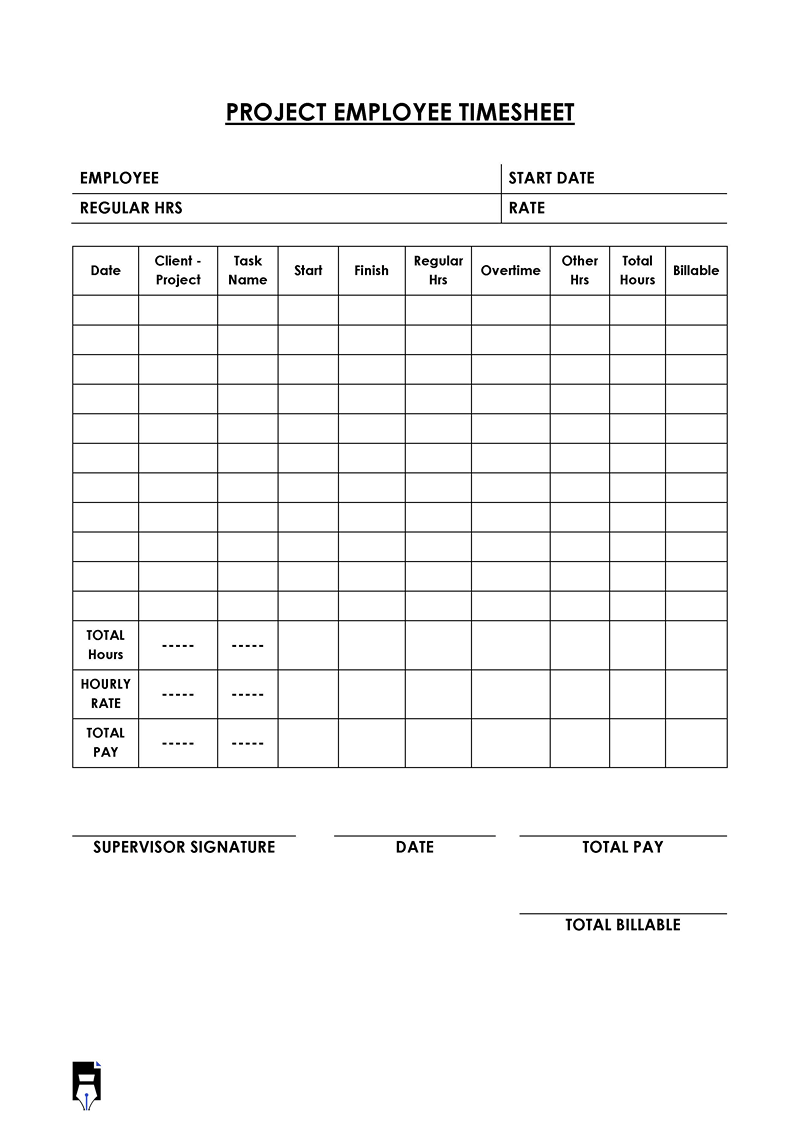
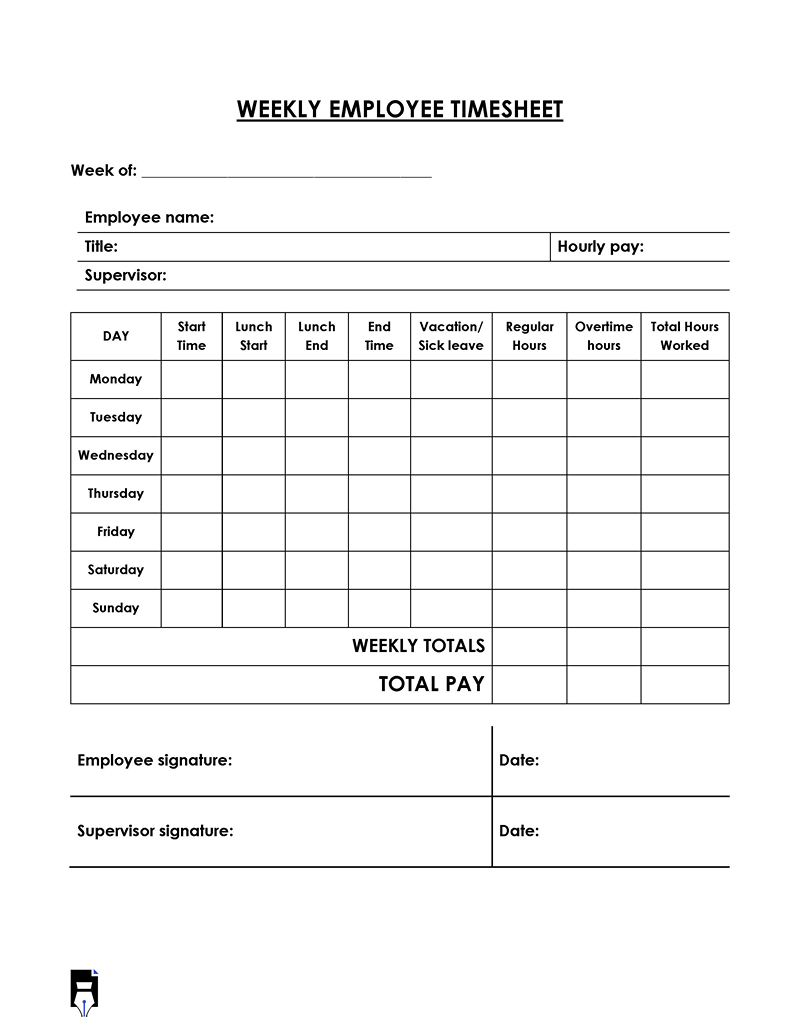
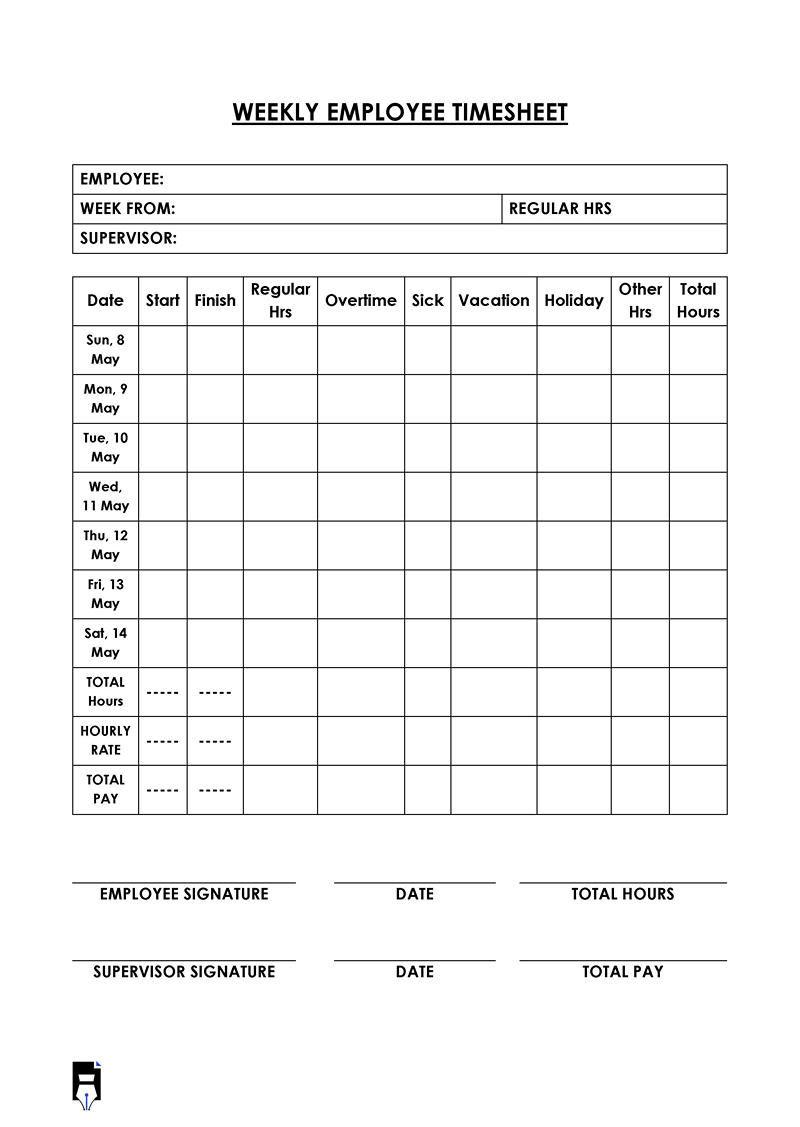
An employee timesheet is a tool that an employer can use to track their employees’ working hours on a daily, weekly, bi-weekly, or monthly basis.
The employee timesheet template allows the employer to calculate the time the employee spent on different tasks while on the job. It can be done manually on paper with a tabular format, or the employer can use Excel to create a digital template.
Whether digital or on paper, a properly prepared timesheet lets the employer record/calculate the employee’s working hours, overtime, vacations, free time, and even lunch breaks. Since this tool is necessary for helping an employer to accurately calculate the working hours and generate pay slips for their employees, they should know how to create it.
This article will help you learn how to make a timesheet template using Excel to track your employees’ daily, weekly, bi-weekly, or monthly working hours. An extensive guide will be provided to ensure you create an effective template that can be used multiple times. However, if you find the making process difficult, use the pre-built documents below for free. They will save you time and effort and are also customizable and easy to use.
Employee Timesheet Templates
Given below are the employee timesheet templates that you can download for free:
How to Create Employee Timesheet Template in MS Excel
With Excel, you can easily use and save consistent sets of formulas which is necessary when creating a template for an employee timesheet. Below is a detailed step-by-step guide you can use to create your document in Excel. This template will help you record your employees’ working reports on a daily, weekly, bi-weekly, and monthly basis.
Step 1
Start by opening Microsoft Excel to create a blank workbook. Then at row number four, enter the headings, which can include the date, time in and time out, break start, and end. For the calculation section, include the total hours, total break hours, and total productive hours.

Step 2
Depending on whether you want daily, weekly, bi-weekly, or monthly records, you should indicate them in the upper rows alongside the employee’s name. You should then indicate the first date of the month and format that cell by right-clicking on it, then Format cells, then Custom, and then select the mmm-yy format.

Step 3
Under Date, type in the cell with the month information, for instance, ‘=H2’, and then click on that cell to enter the month information. Then, use shift ctrl 3 to enter the first date of the month. In the cell below the first date, type the cell position of the cell above. For instance, ‘A5+1’ indicates the month’s second date. Then, drag the corner of that cell to copy the formula to the cells below it until you get to the last date of the month.

To change from month to month, type the month you want in the month section. This will change it automatically.

Step 4
Before entering more values in the spreadsheet, you can format your workbook to ensure it is easy to use and suitable for your employees. You can remove the gridlines by clicking View and then un-ticking Gridlines. To maintain them, ensure that the checkbox is ticked.

You can also fill colour to the cells to differentiate the headings. This makes it easier for your employees when they are inputting data. Start by highlighting the headings, then click Home and then Wrap Text.

Proceed to click each cell and fill it with your preferred colours. Click Home and then Fill to select the colour you will use. Use the same colour for the cell with the heading but change the shade when filling the cells below it.

Step 5
Save the file as ‘Macro enabled’ if you wish to use Macros later on. You can name the file Book 1 or any other name you prefer. Click File, then Save As confirm the File name and the Save as type.

Step 6
Highlight the cells between Time In and Time out, and then right-click. Click on Format Cells, then Time, and choose your preferred time format.

Proceed to highlight the cells between Total Hours to Total Productive Hours and then right-click. Click on Format cells, then Time, and choose the appropriate time format.

Also, keep in mind that:
- To get the Total Hours, insert the formula (Time out cell – Time in cell), for instance: ‘G5-B5’.
- To get the total Break1 Hours, insert the formula (Break1 End cell-Break1 Start cell), for example: ‘D5-C5’. This applies to the total Break2 Hours, ‘F5-E5’.
- To get the Total Productive Hours, you will insert the formula (Total Hours cell-Break1 Hours cell-Break2 Hours cell), for instance: ‘H5-I5-J5’.
To apply this formula, you can drag the corner of the cell (with the formula) down. The values will remain zero until proper values are added in the required cells.

Step 7
Proceed to highlight the cells between Total Hours and Total Productive Hours, and then click Home, then Conditional Formatting. Choose ‘New Rule’, select ‘Format only cells that contain’, choose ‘Equal to’, then type ‘0’.

Click Format, then Number, then Custom, and then enter ‘;;;’. All cells with zero entry will disappear.


Step 8
At this point, your template is almost ready to be shared with your employees. First, ensure you add the Total section below. The formula to be used to calculate the total in that section is the sum of the range of cells, for instance, ‘=SUM (H5:H35)’.

Select the entire input section, then right-click and select Format cells on the pop-up window. Choose Border and select the Line colour as white. Click on the Border preview to ensure you format the correct lines.

Select the entire section once again; choose Home, then Format, and select Row Height. Ensure you set it to ‘20’ for a better visual appeal for your timesheet.

The employee timesheet is ready to be used in the office at your company or business. This is a monthly employee timesheet. Using the same steps, you can update the template for daily or weekly records for each employee.

Types of Employee Timesheets
There are different types of employee timesheets you should know about. These timesheets are based on the particular period you want to track your employees’ working hours.
They include the following:
Weekly timesheet
With this timesheet, you can access the working hours of each employee over one week. You can use hourly formulas to calculate the Total pay, record both regular and overtime hours, and determine the pay based on the employee’s overtime, breaks, vacations, and free time.
Monthly timesheet
Monthly timesheet will allow you to review an employee’s working hours, overtime hours, regular work periods, and even sick days for a full month. It allows you to enter the start date and end date that will determine the complete month period. You can use it to calculate the Totals of the rate and working hours to determine the payroll.
Daily timesheet
This timesheet displays an employee’s single workday report, including their working hours (determined by the time they clocked in and when they clocked out) and their total payroll based on the hourly rates. With this tool, you can use the 24-hour clock system to make the transition from AM to PM easier to record.
Project billing timesheet
The project billing timesheet records employees’ information when working on multiple projects during a single workday, week, or month. Based on the project hours recorded by the employee, you can calculate the total and send the client an accurate invoice. You can also use it to determine the project profitability rate.
This timesheet should have the date column to indicate the start date and the total hours the employee has worked to help you calculate their payroll. In addition, it should have a breaks column where the hours will be indicated as a negative number for an easier deduction. This way, you can easily calculate the employee’s productive hours.
Conclusion
An employee timesheet is an effective tool that employers can use to track their employees’ working hours by recording them daily, weekly, or monthly. This way, you can properly compensate them, prepare effective schedules for your workers, and accurately select prices for company projects. That means that you need to know how to prepare an employee timesheet.
You should use Excel to create a template for an employee timesheet that can be used multiple times. This will ensure you save time and still have correct results. The guide provided in this article will help you prepare a proper template for your preferred period. Also, you can download free and customizable documents for employee timesheets from our website. Using a digital template rather than paper to record this information is advisable. Ensure you inform your employees about the particular template and encourage them to use it.
