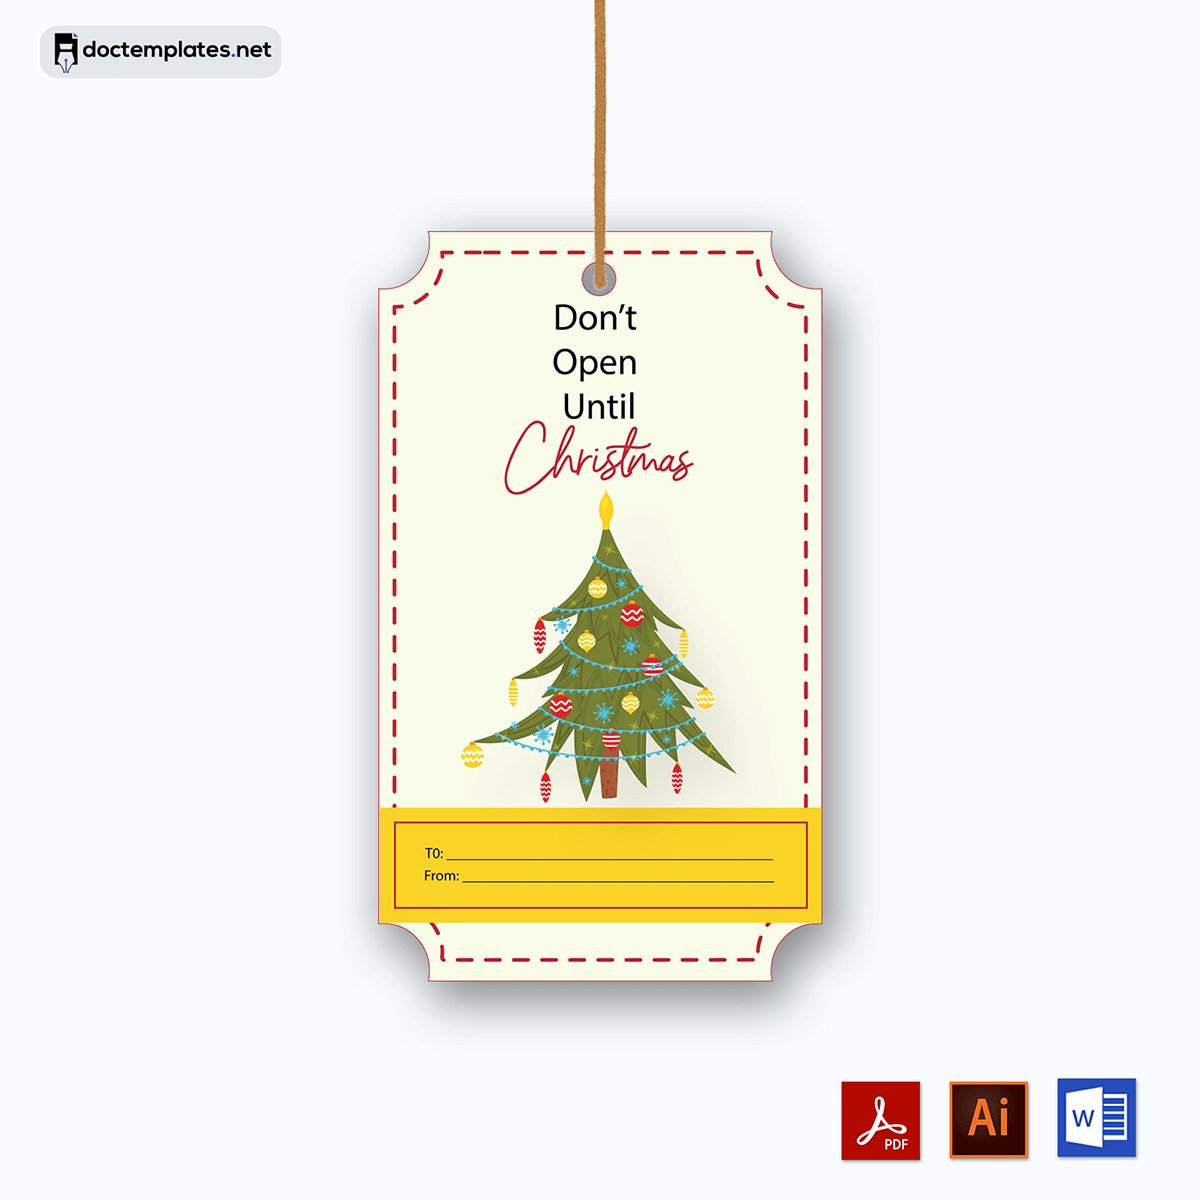
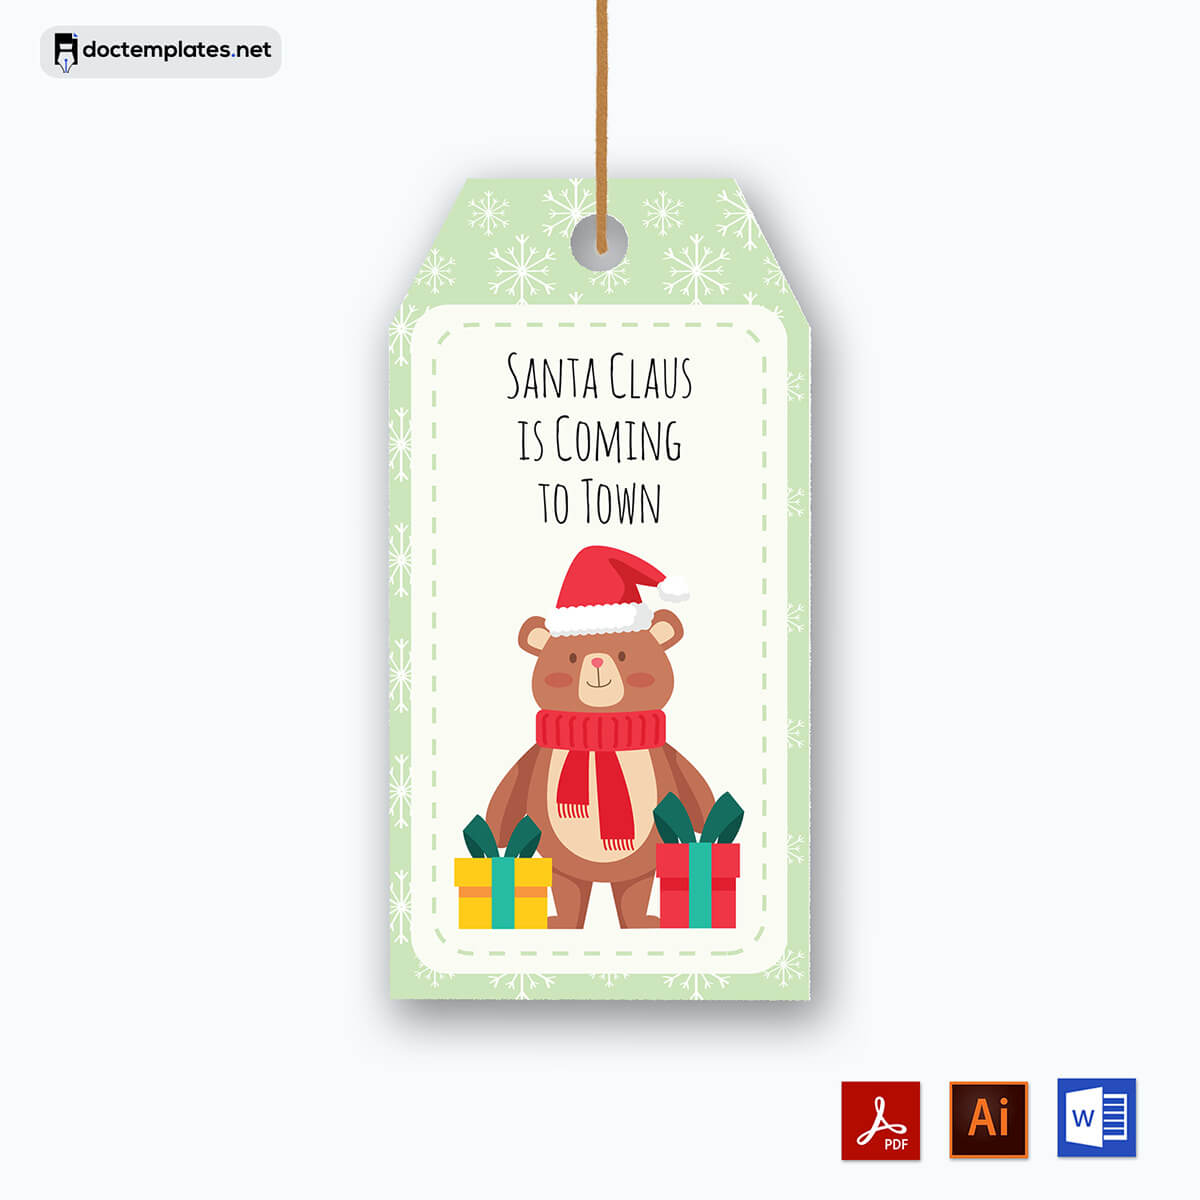
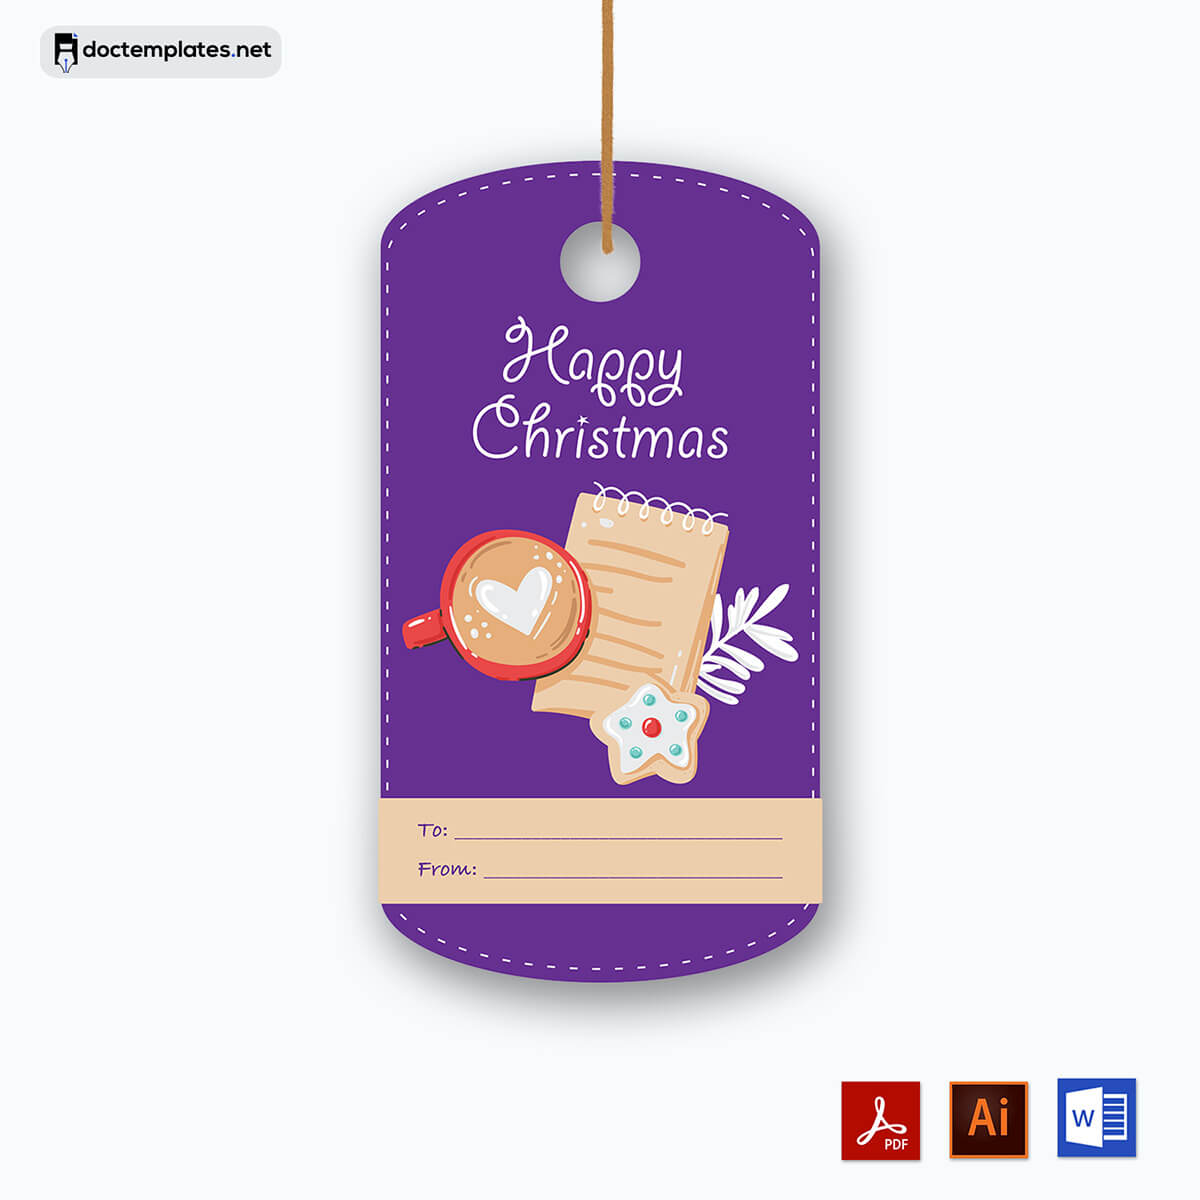
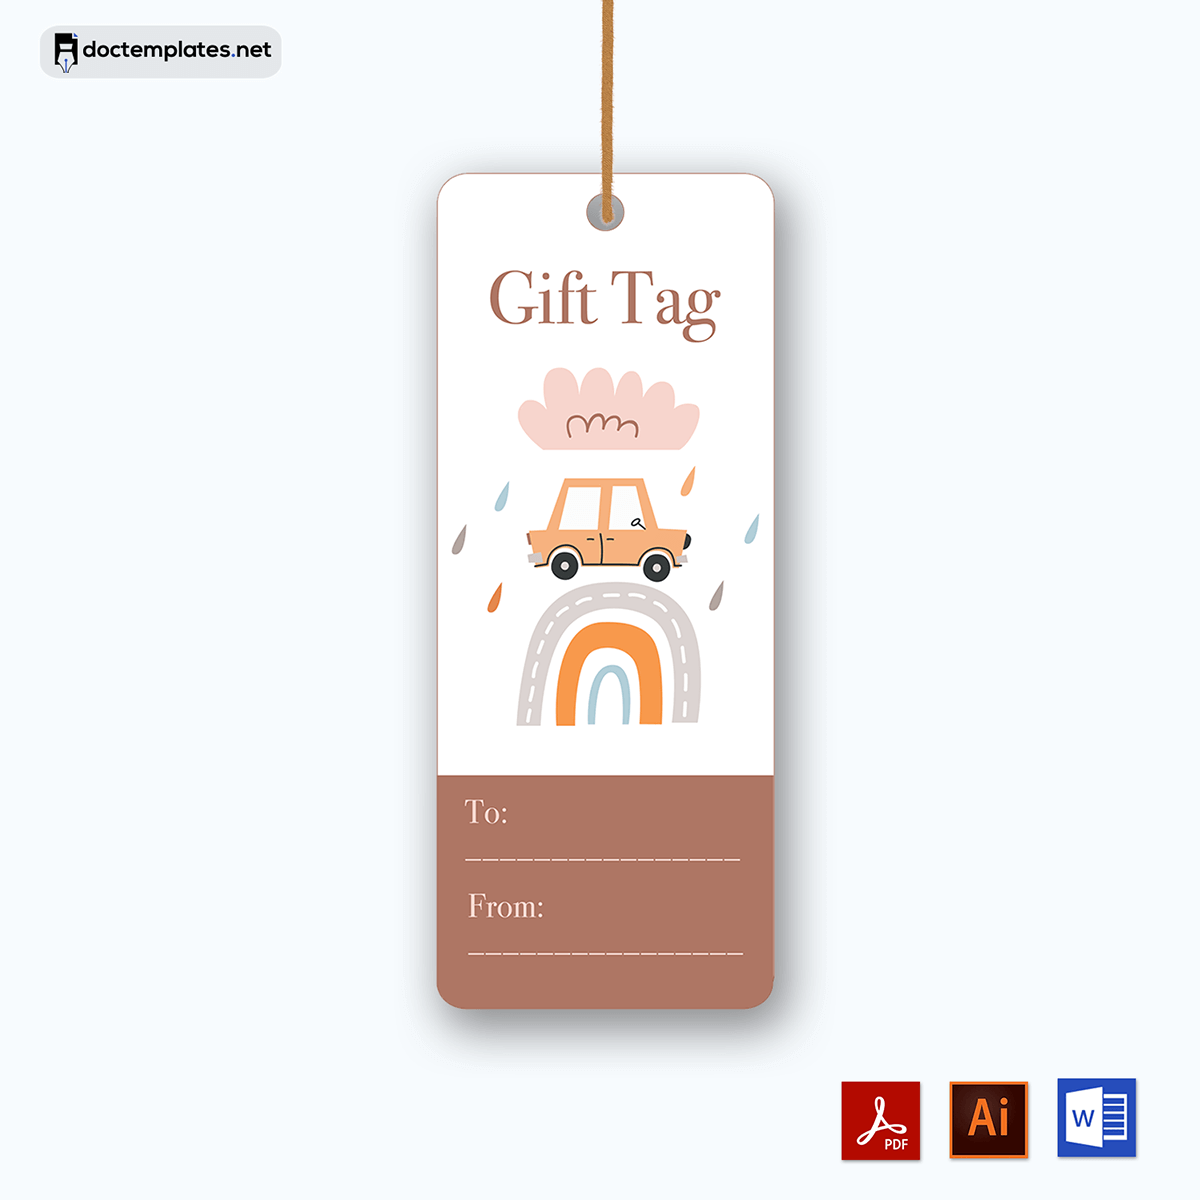
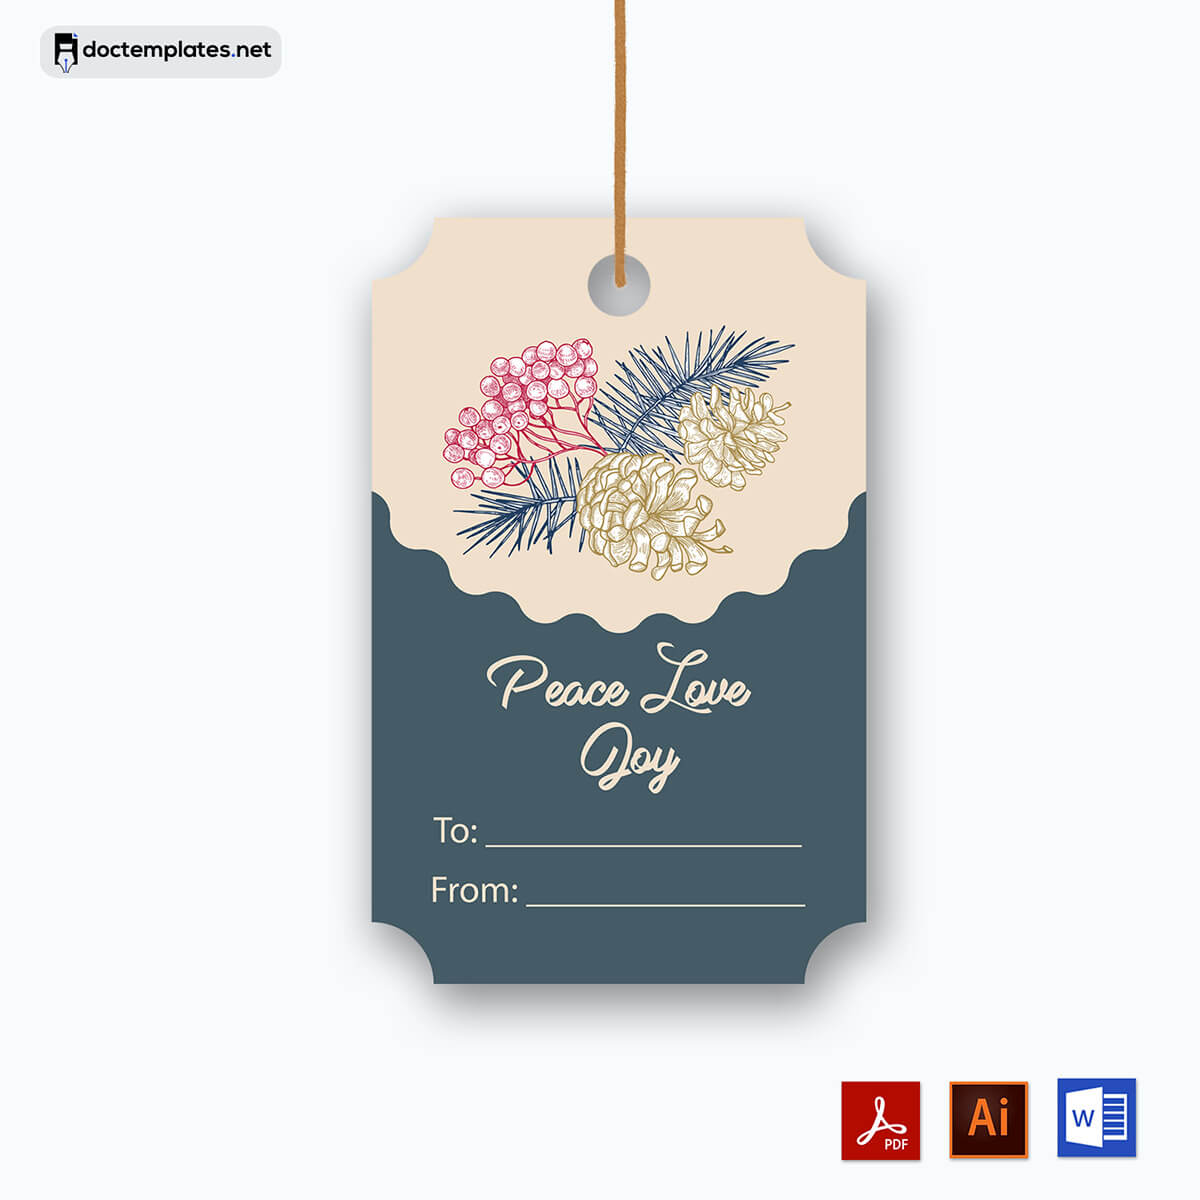
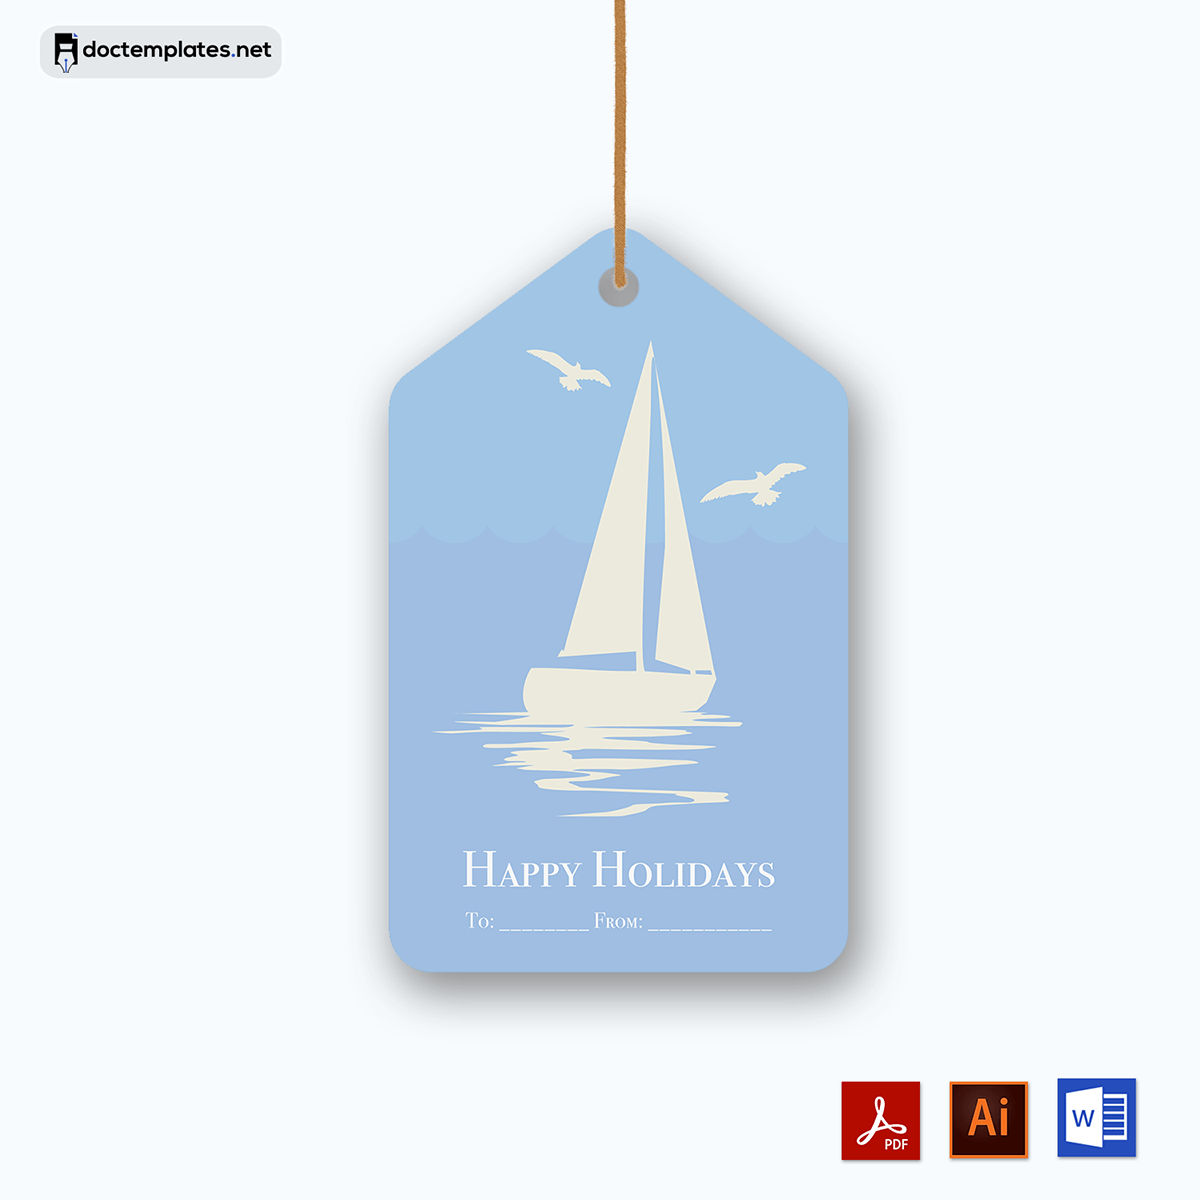
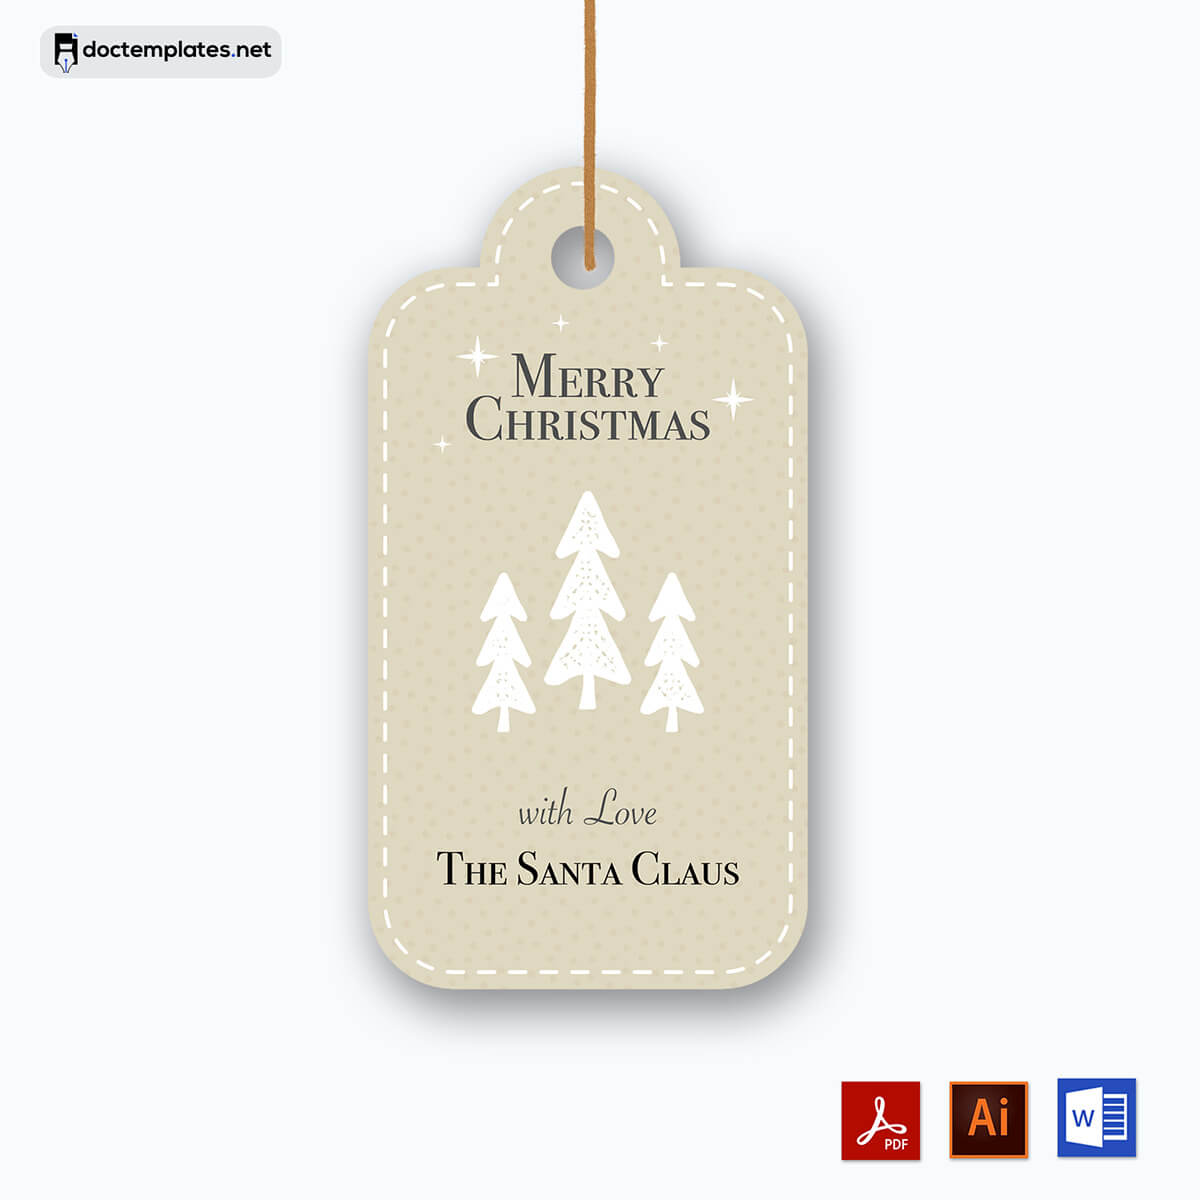
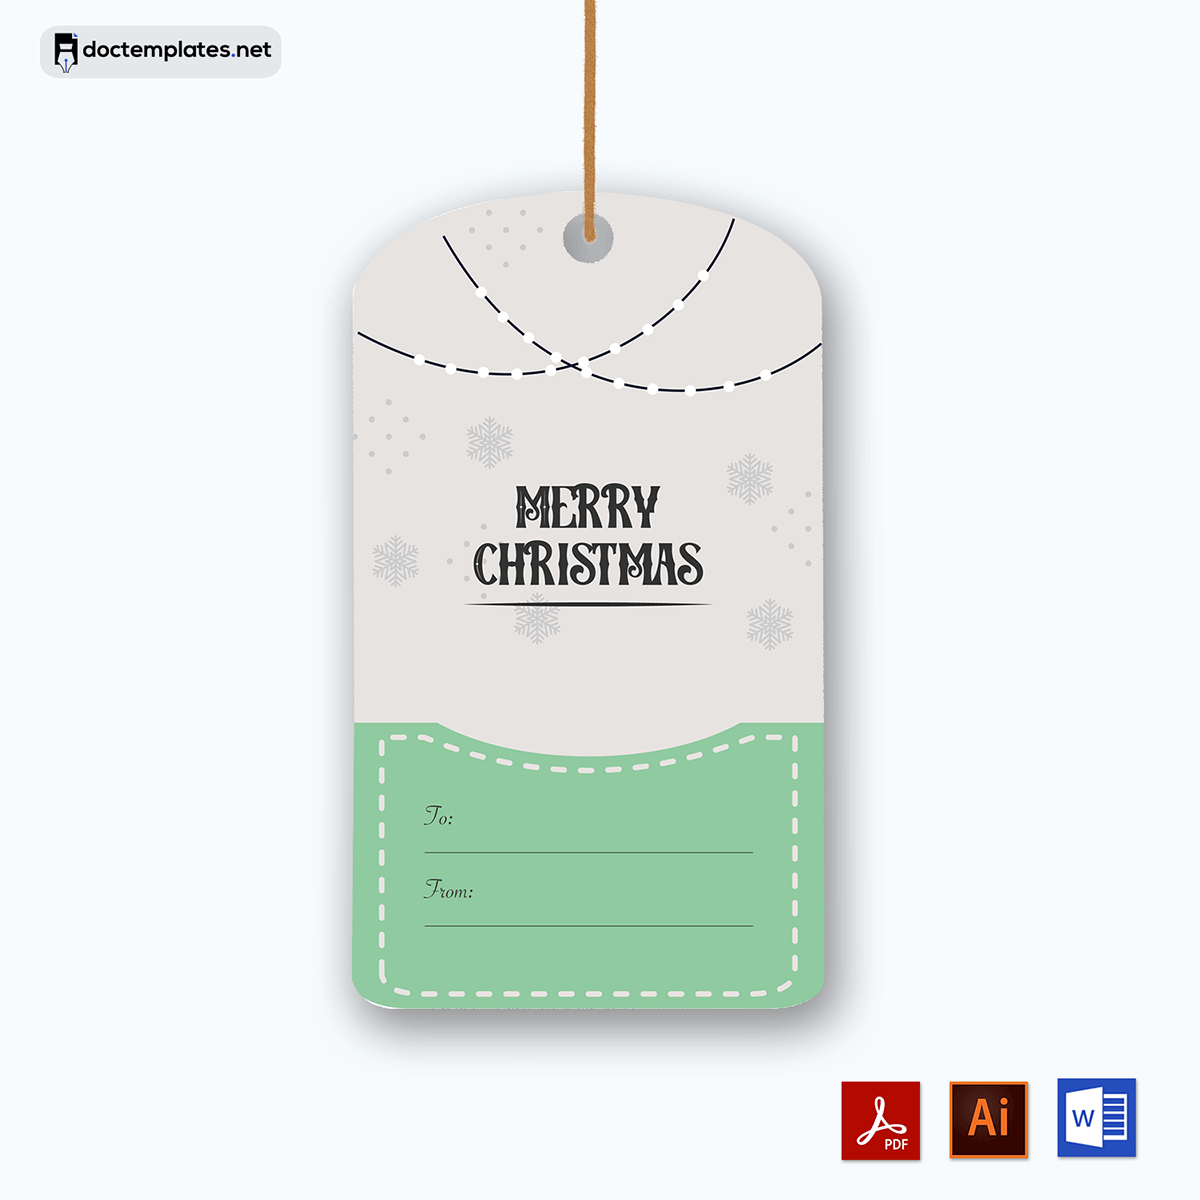
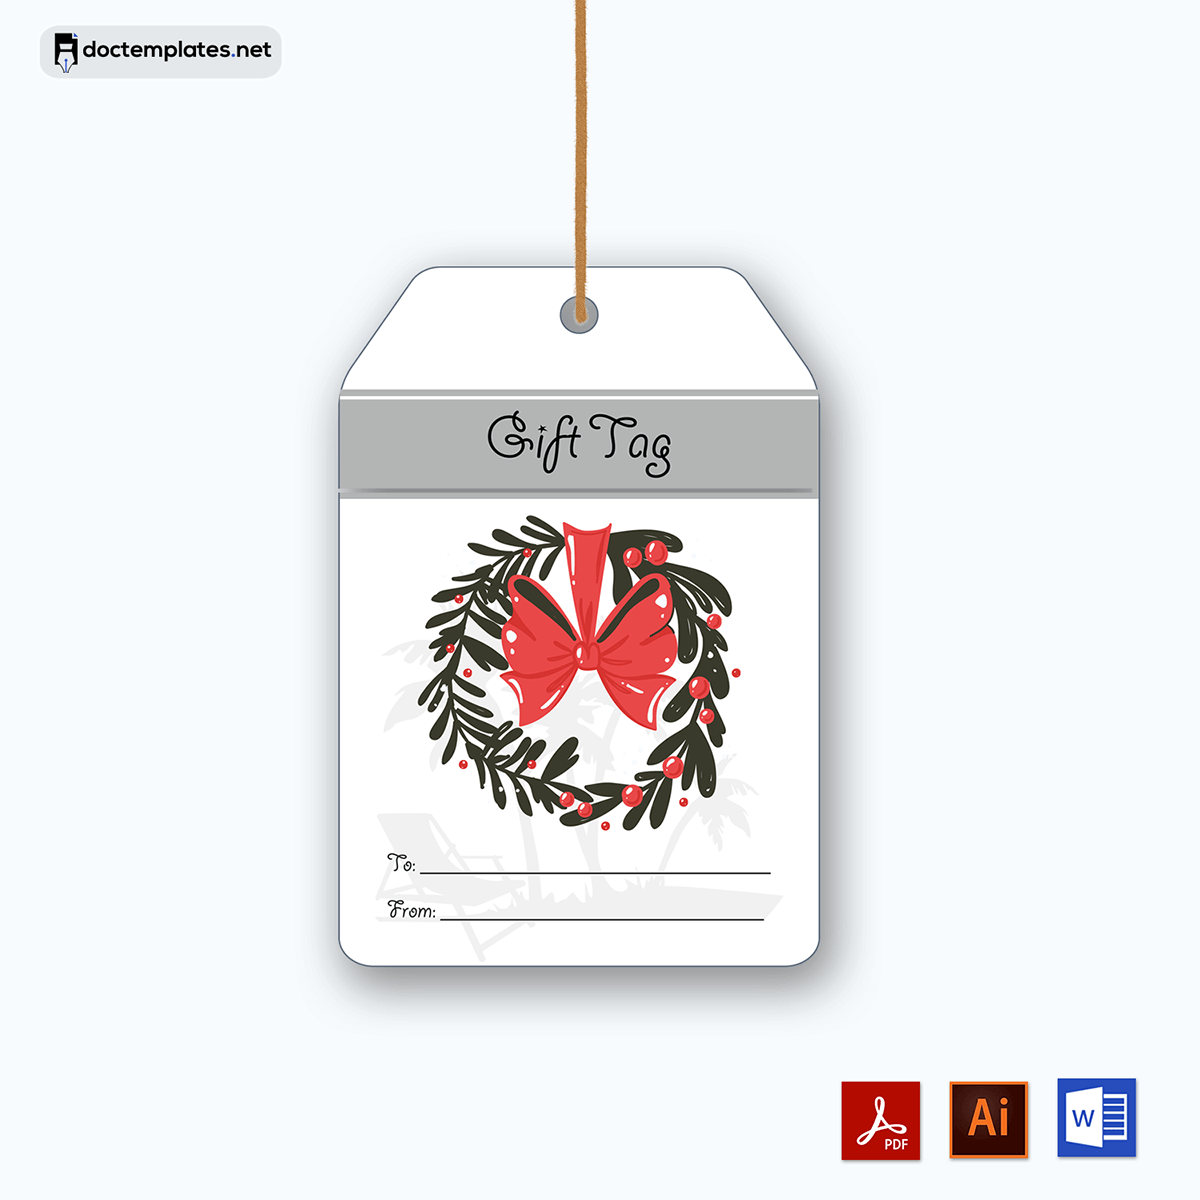
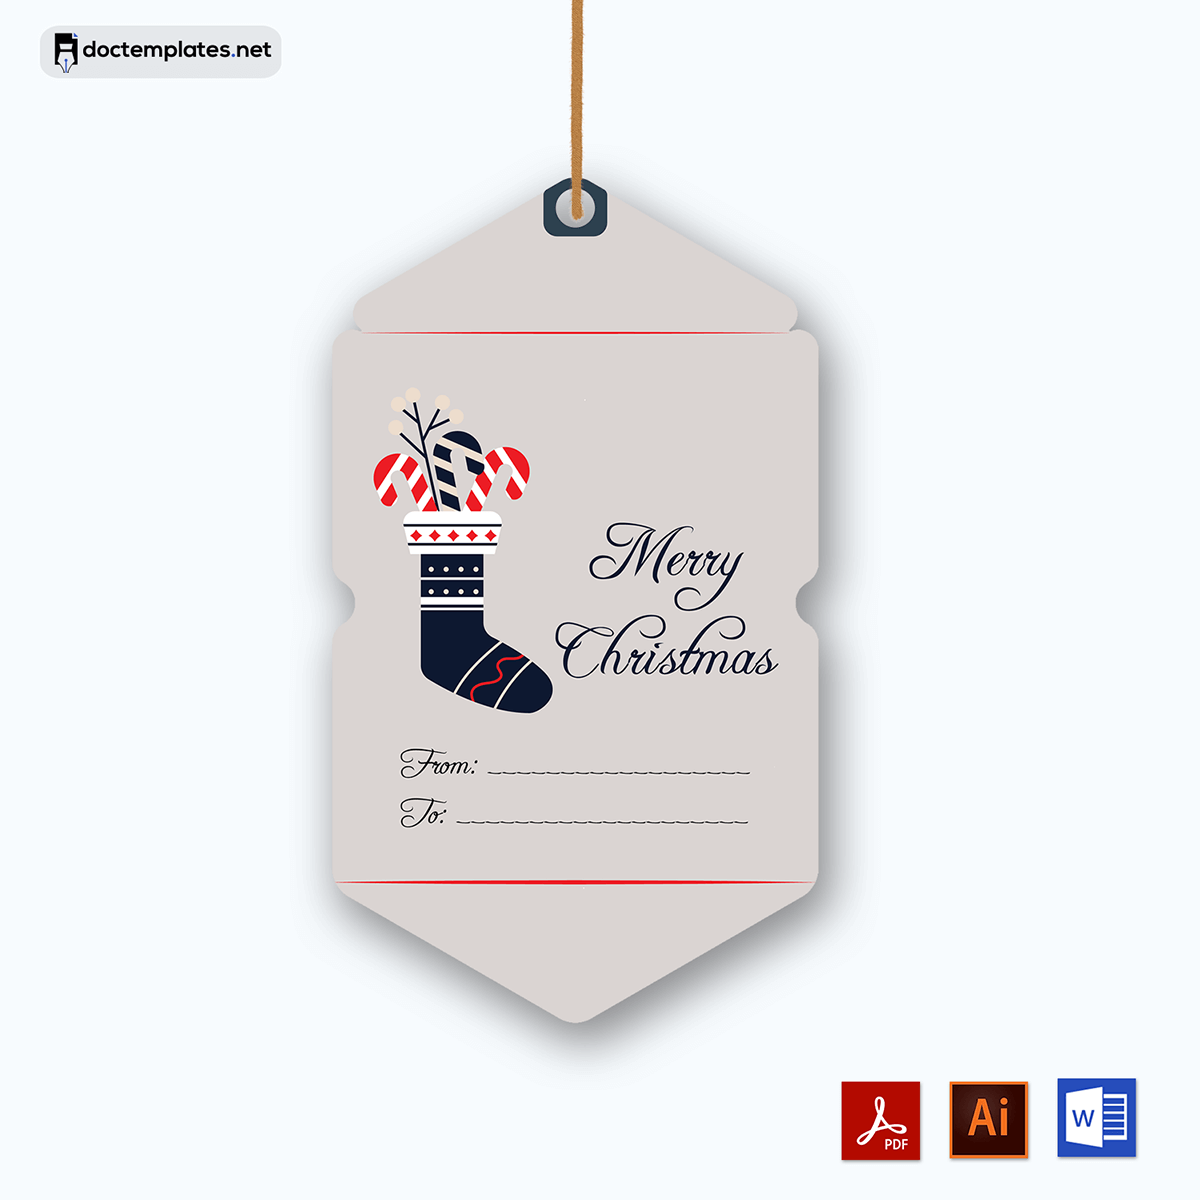
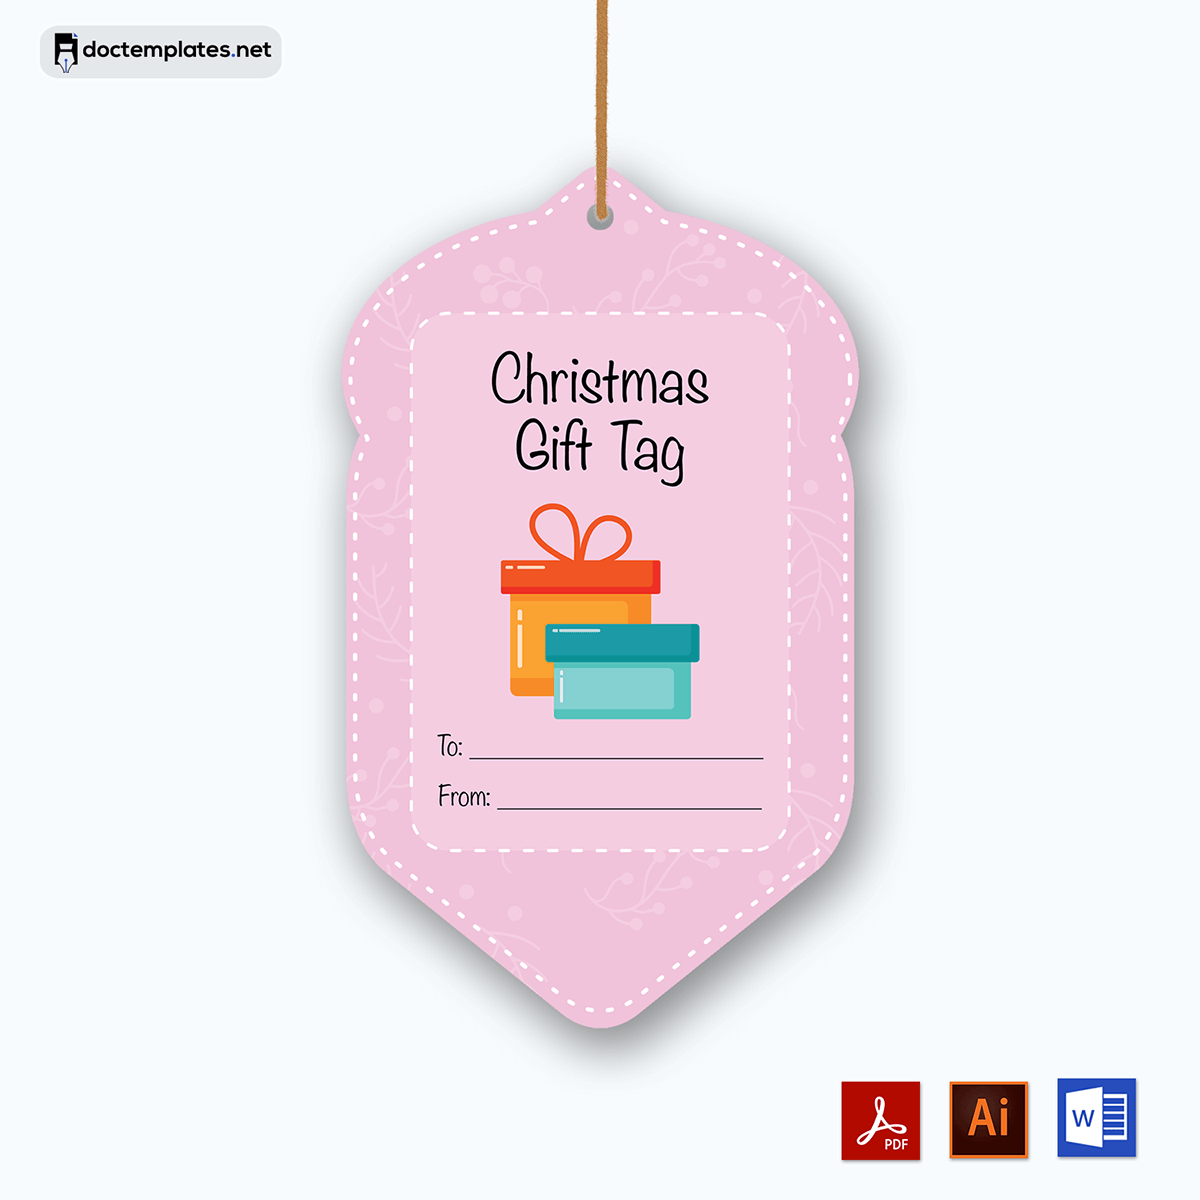
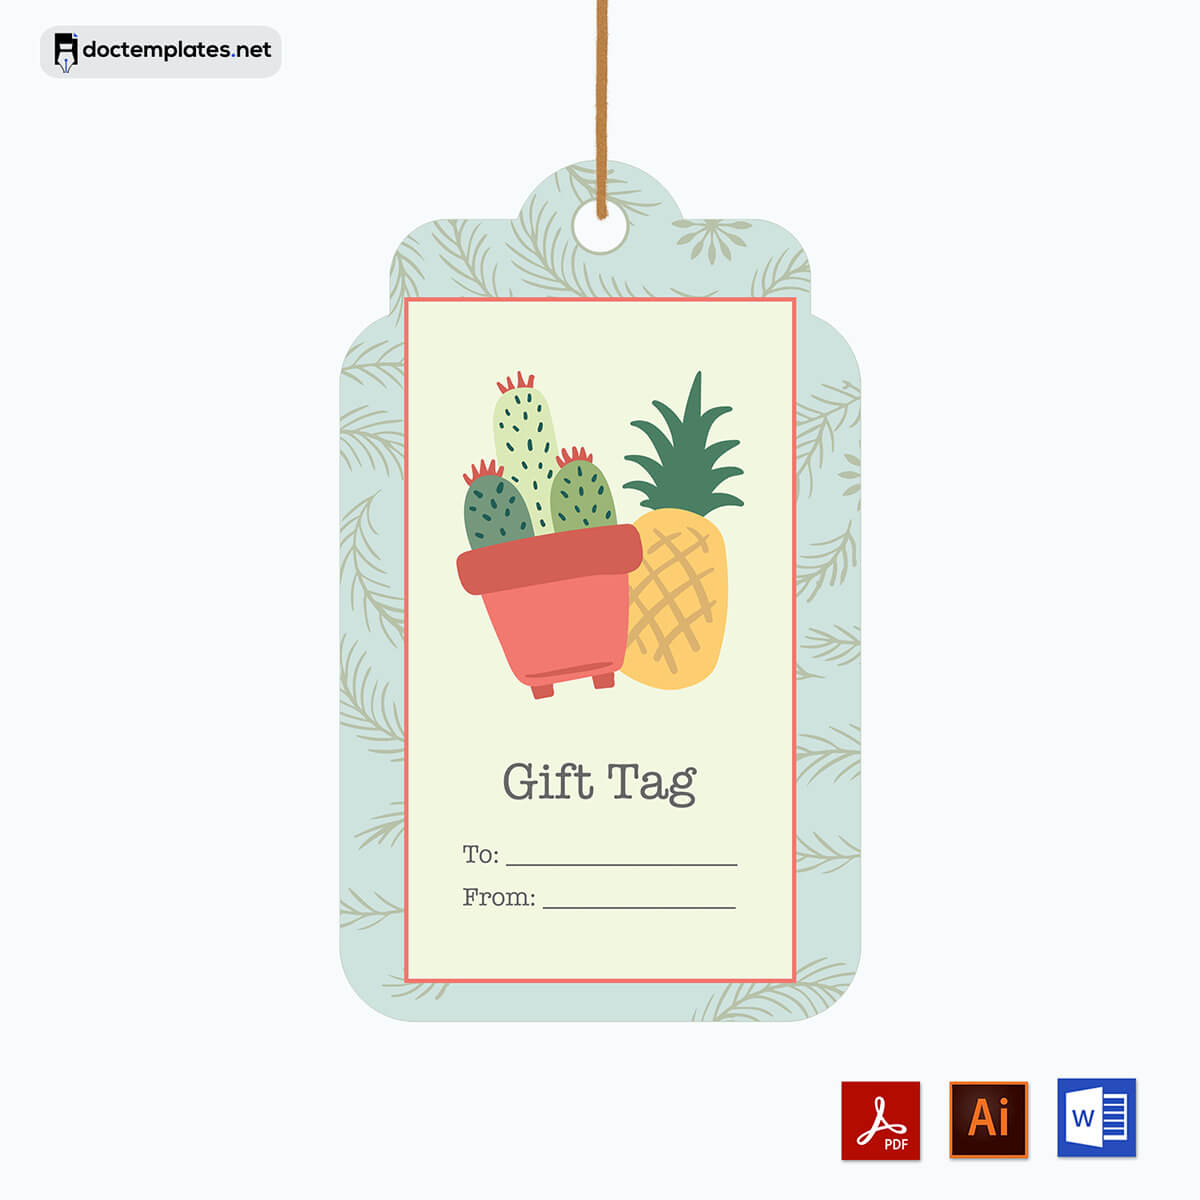
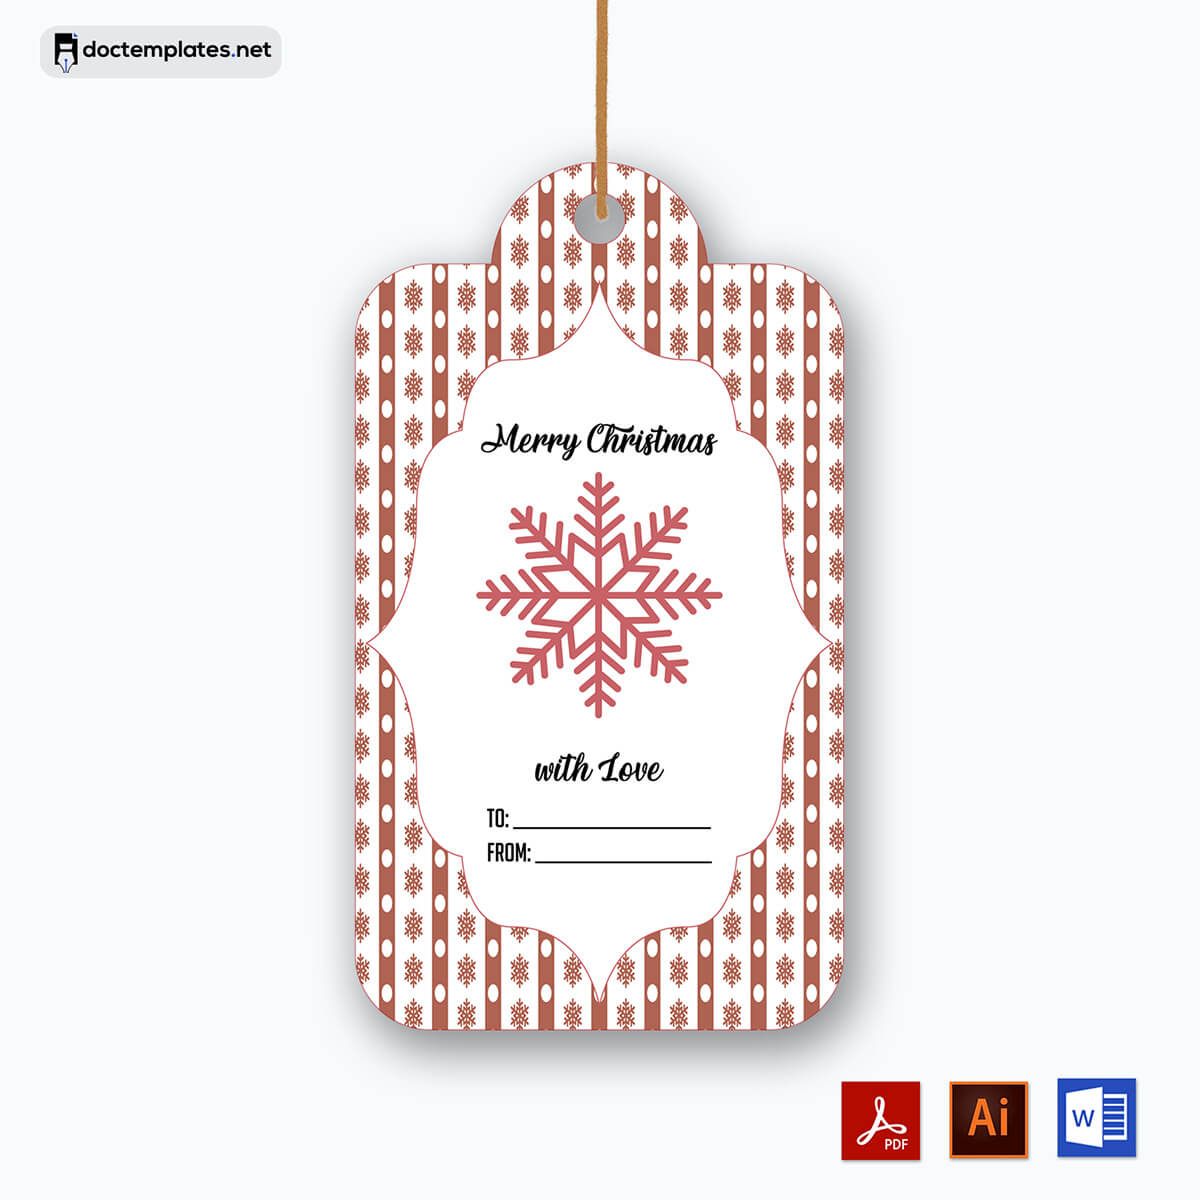
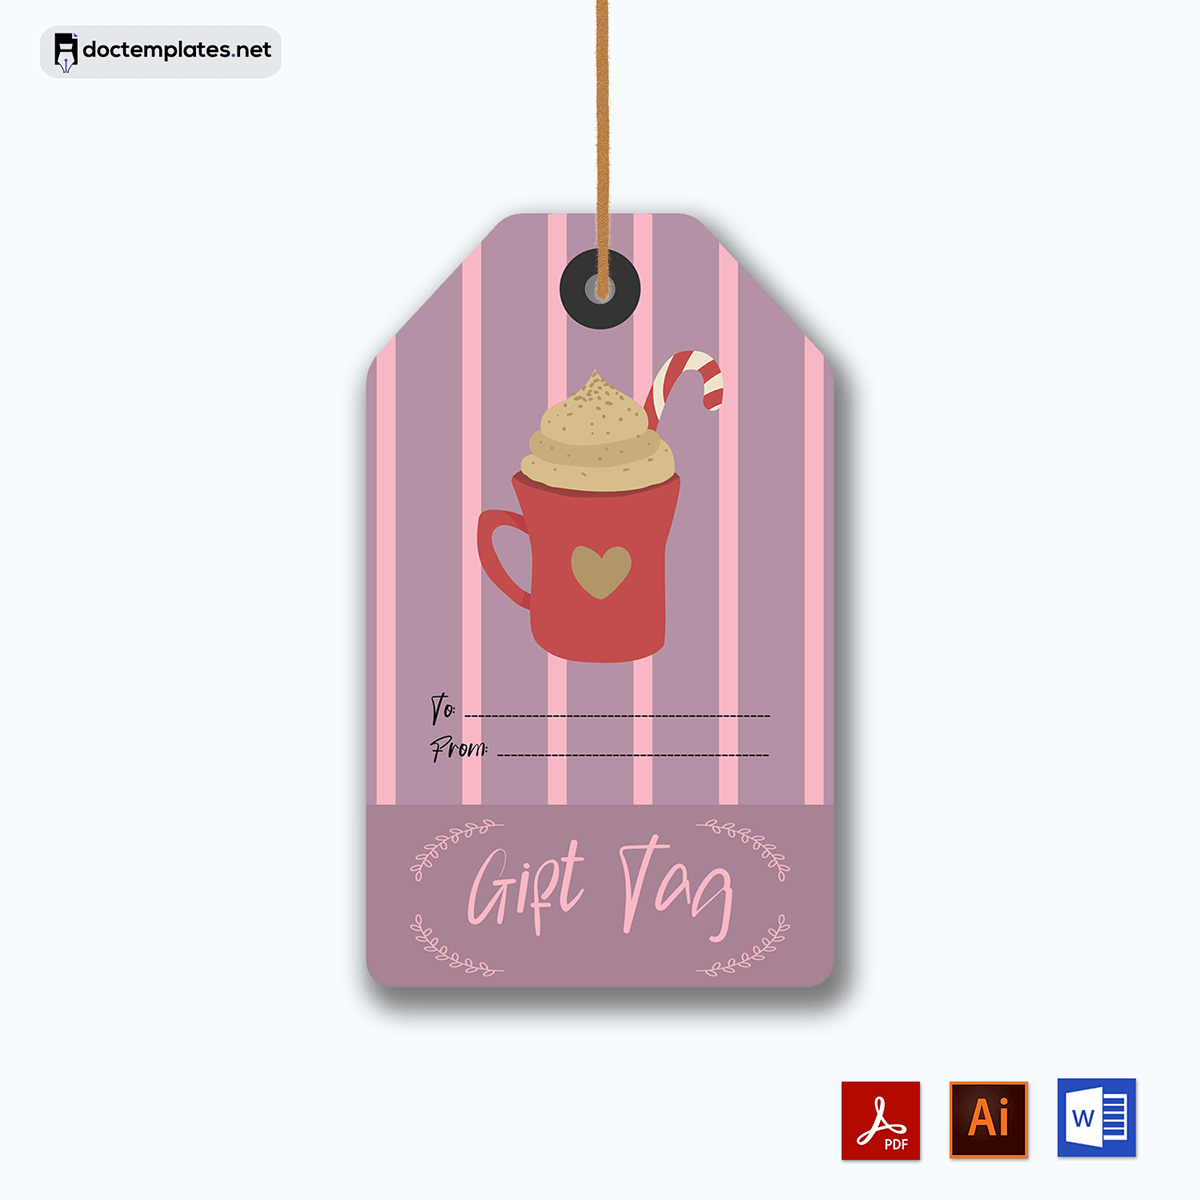
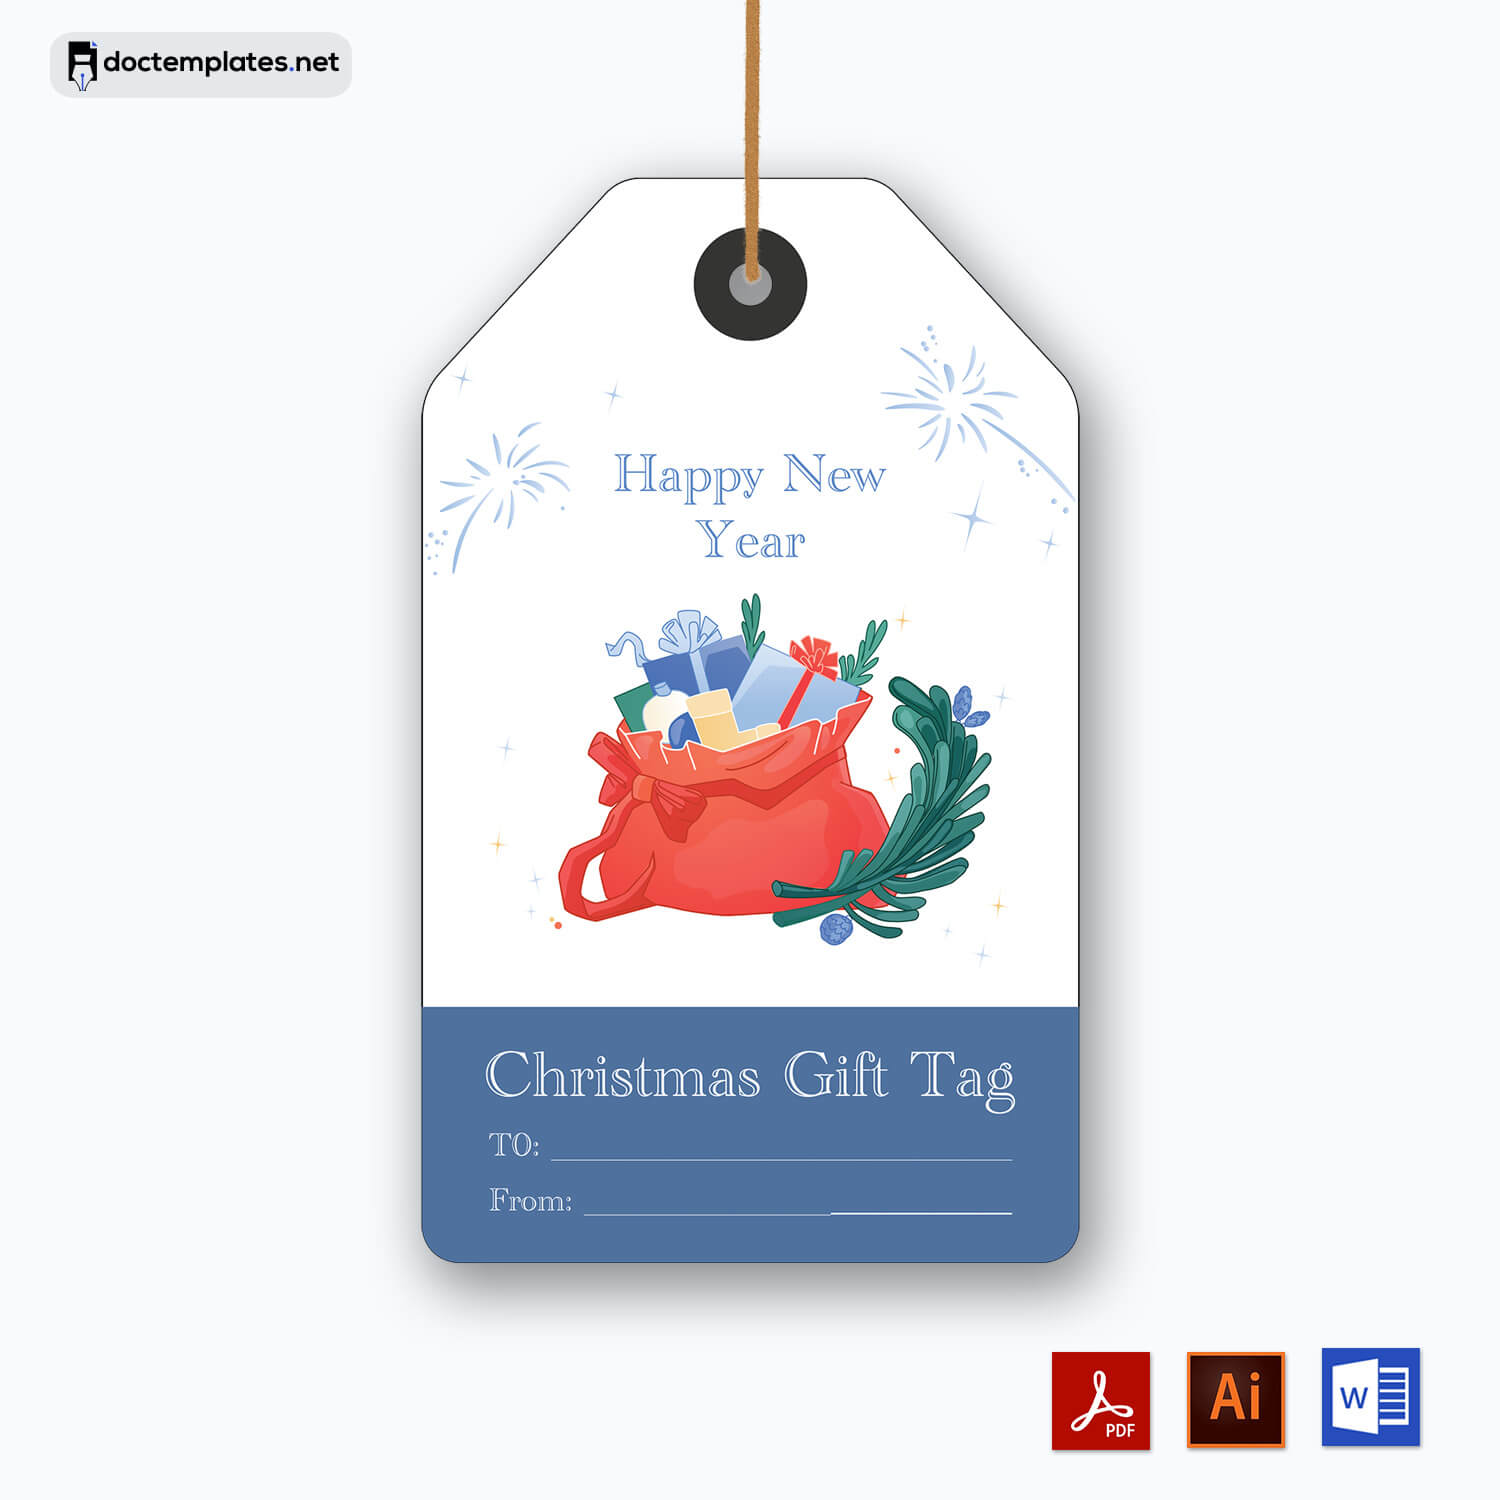
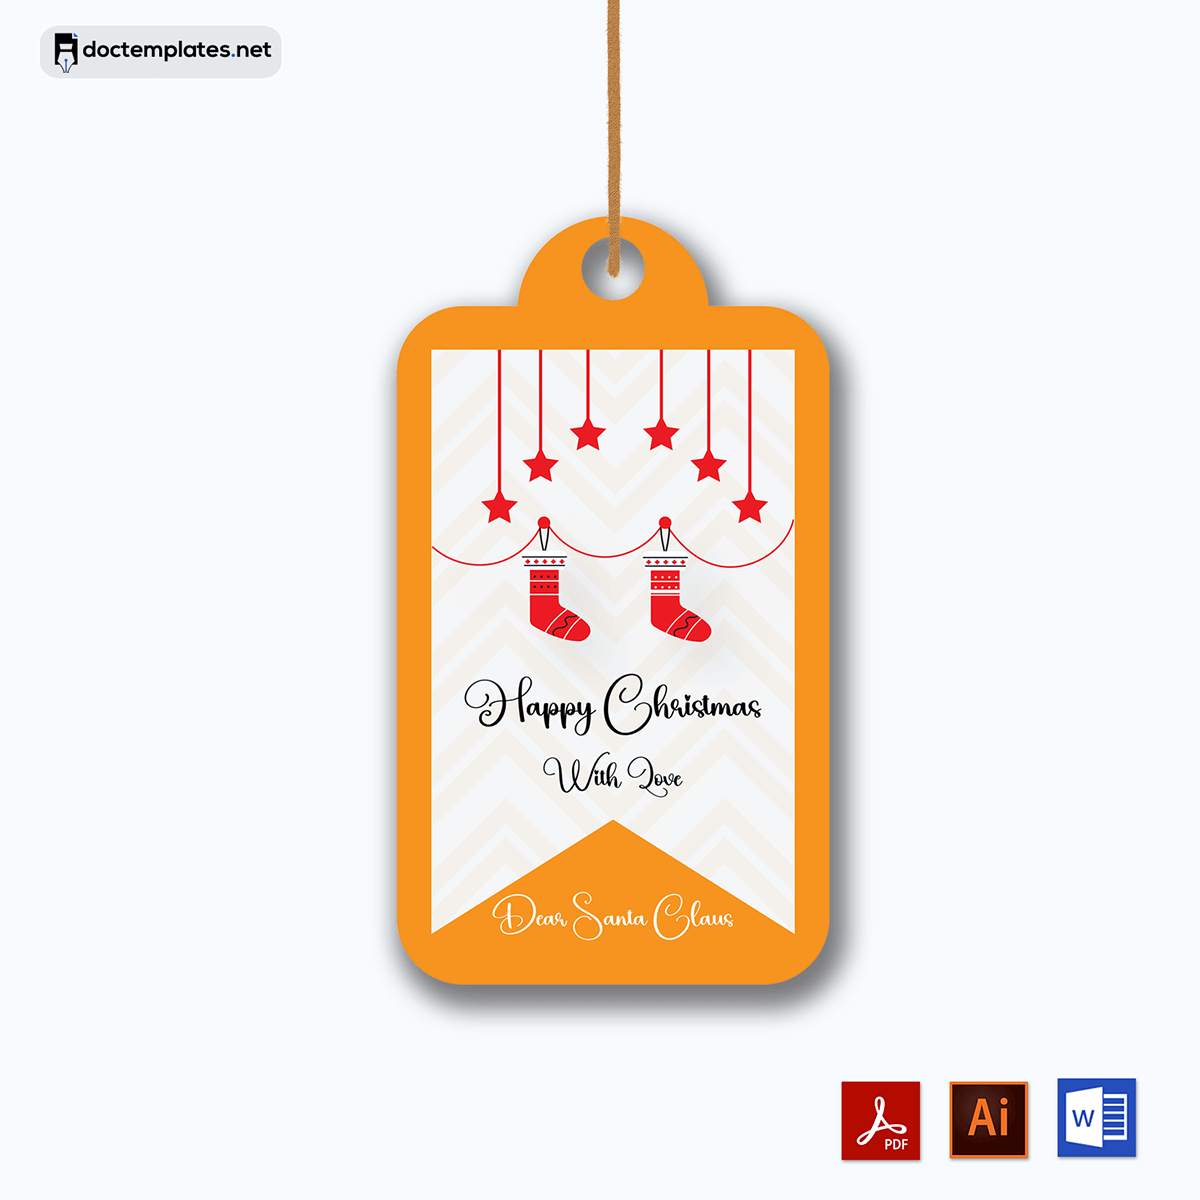
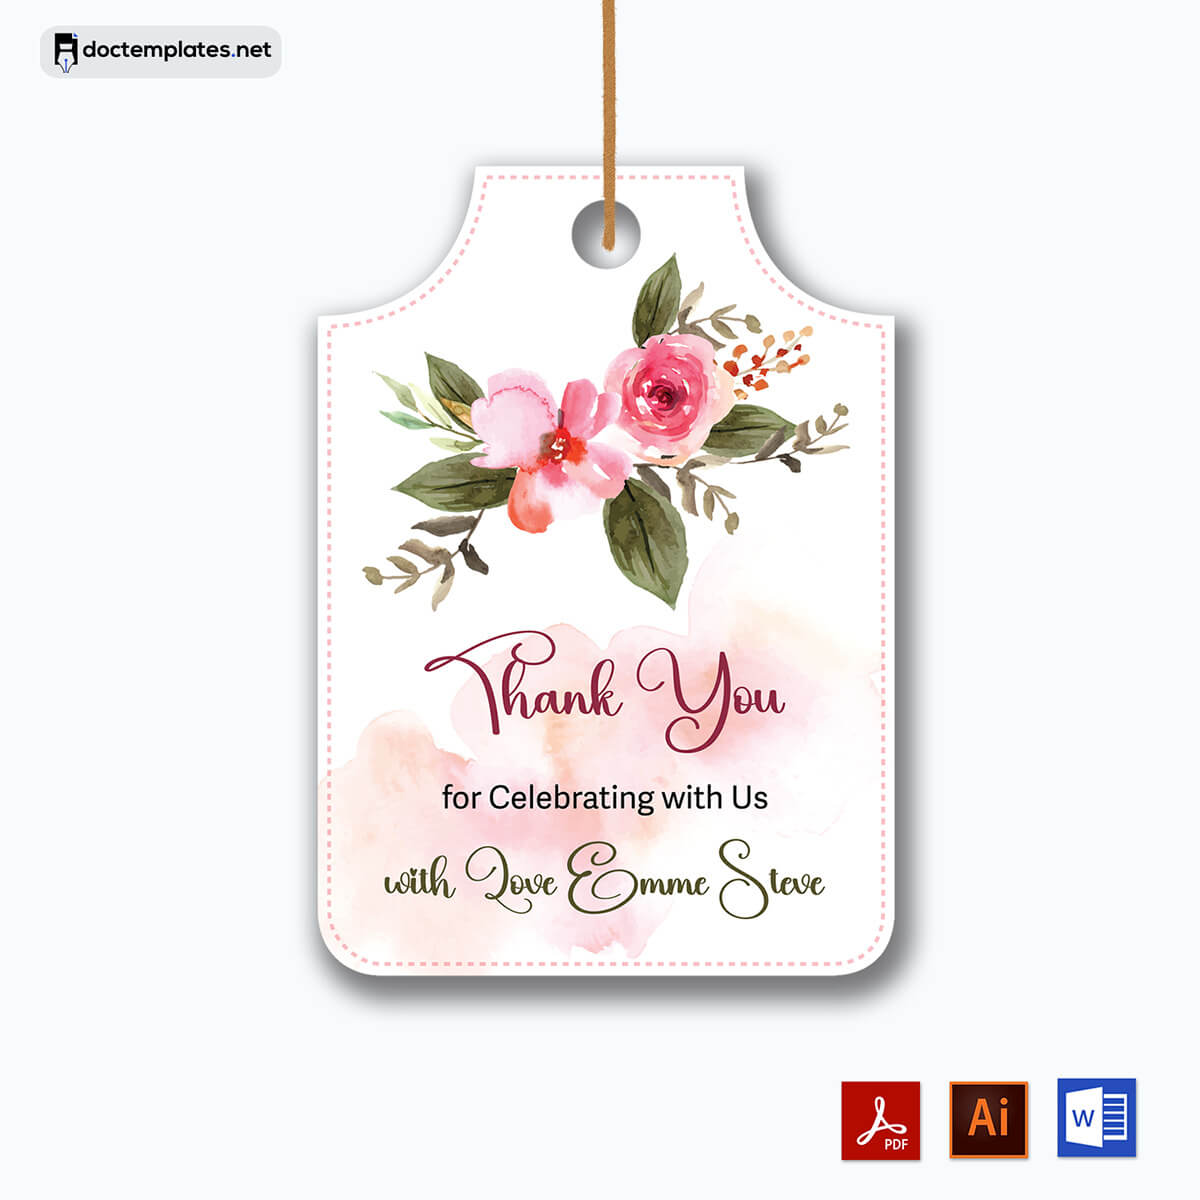
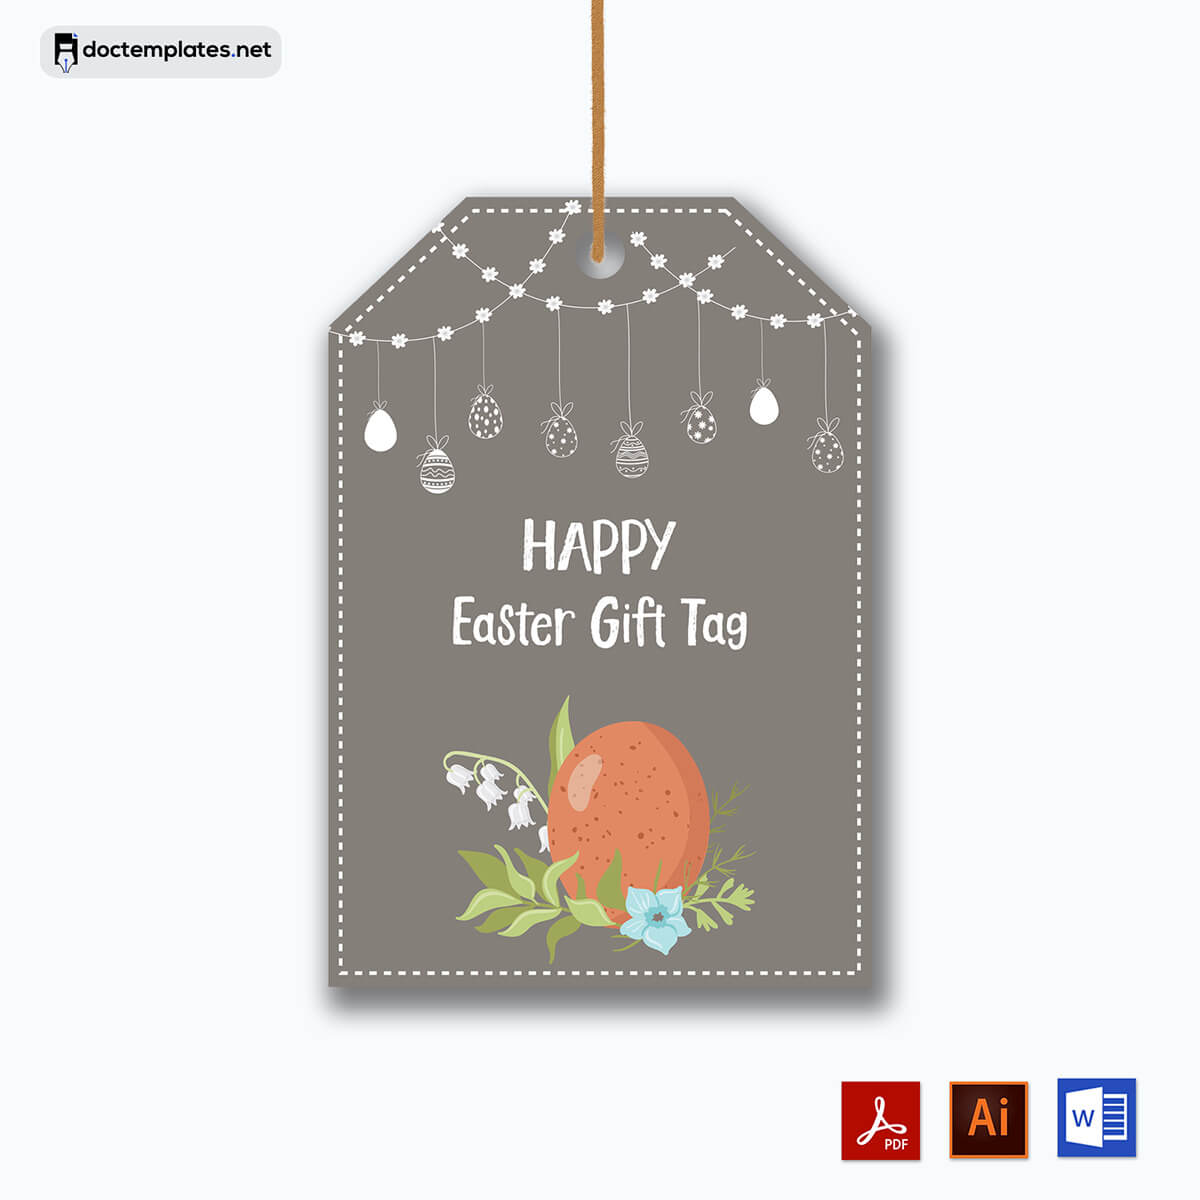
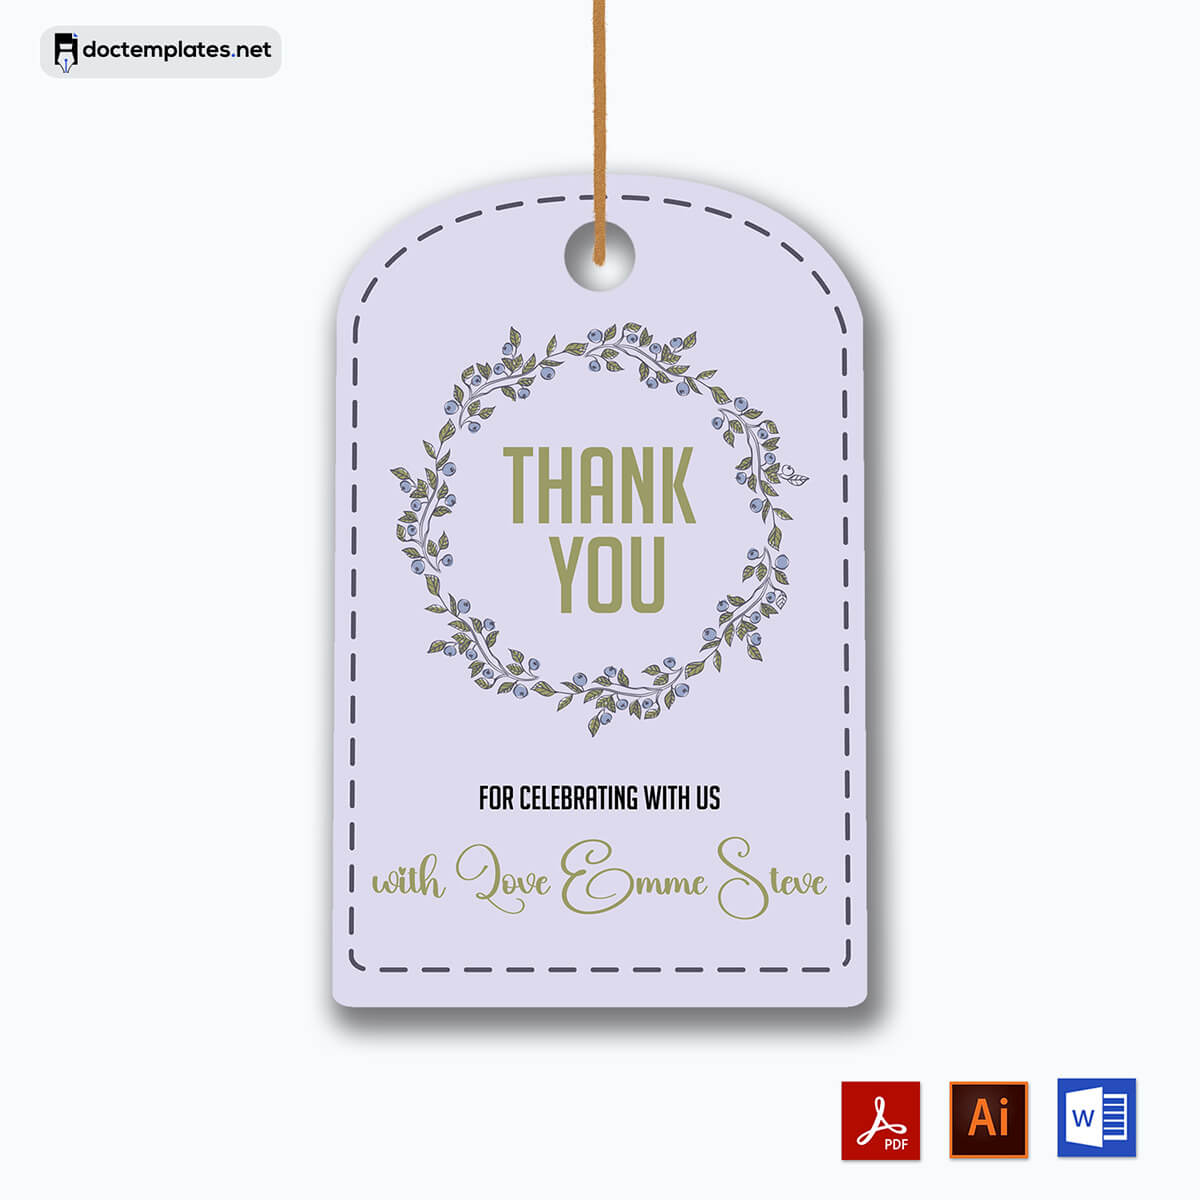
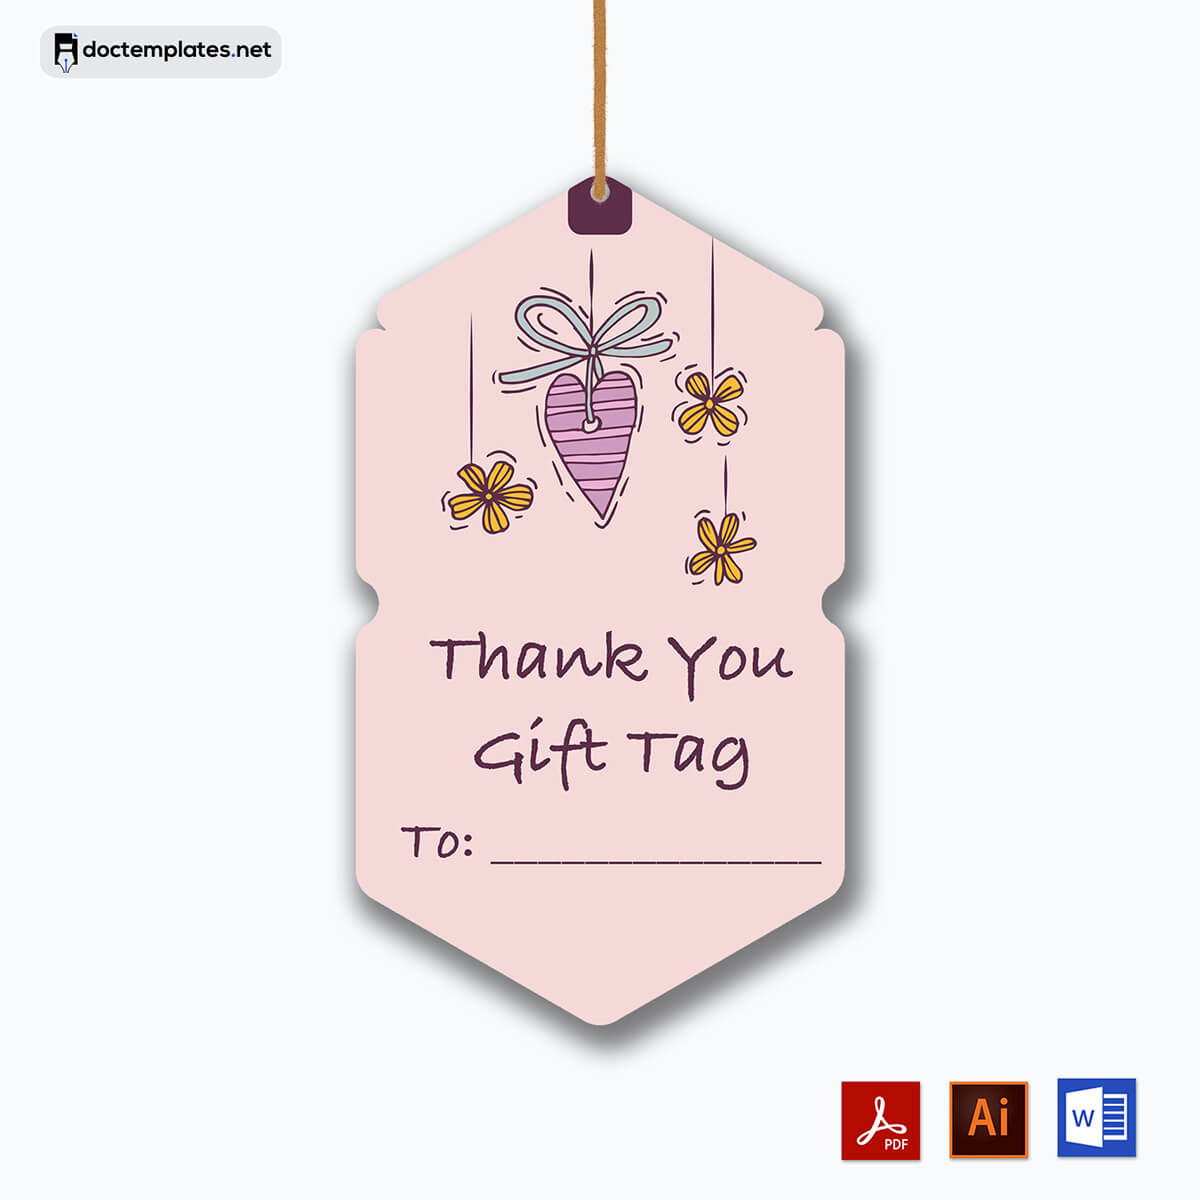
A gift tag can be described as a small piece of paper that is attached to the gift to identify its sender. It varies in size and shape. Also known as a label, it can be used to exchange greetings from the sender to the recipient. They are meant to create a good impression since they make the gifts more special and personal. To add that special touch, a sender should create their tags from scratch.
This can be easier if someone creates a gift tag with the help of a template using MS Word. The sender can use them multiple times and for different occasions. Also, an individual can make their work easier by accessing pre-built documents online. They are free to download and can be customized to suit their preferences.
Gift Tag Templates
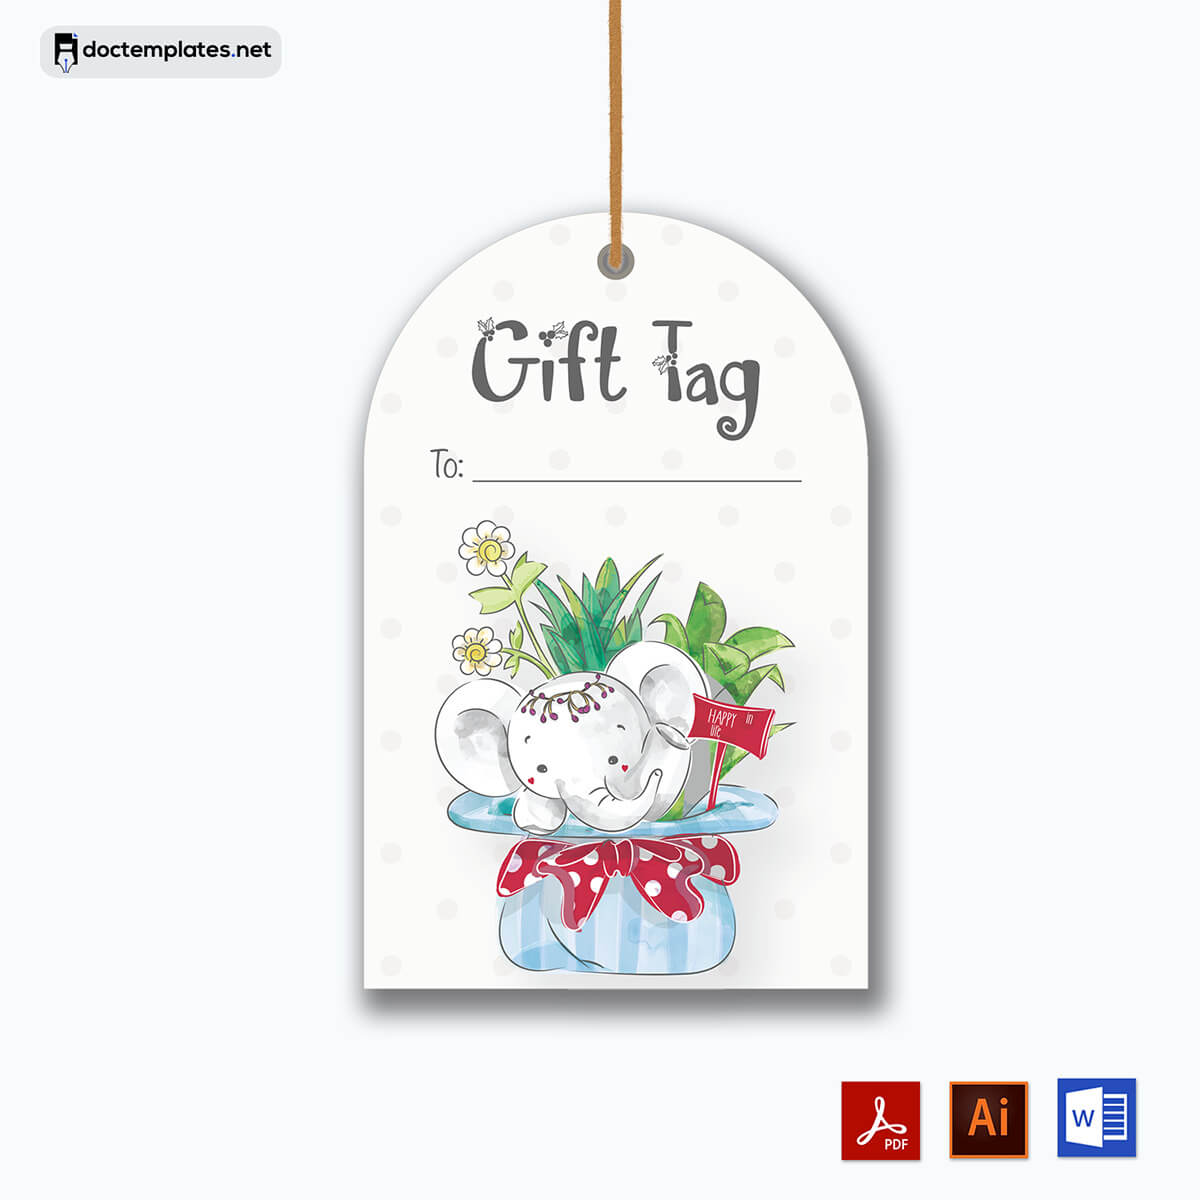
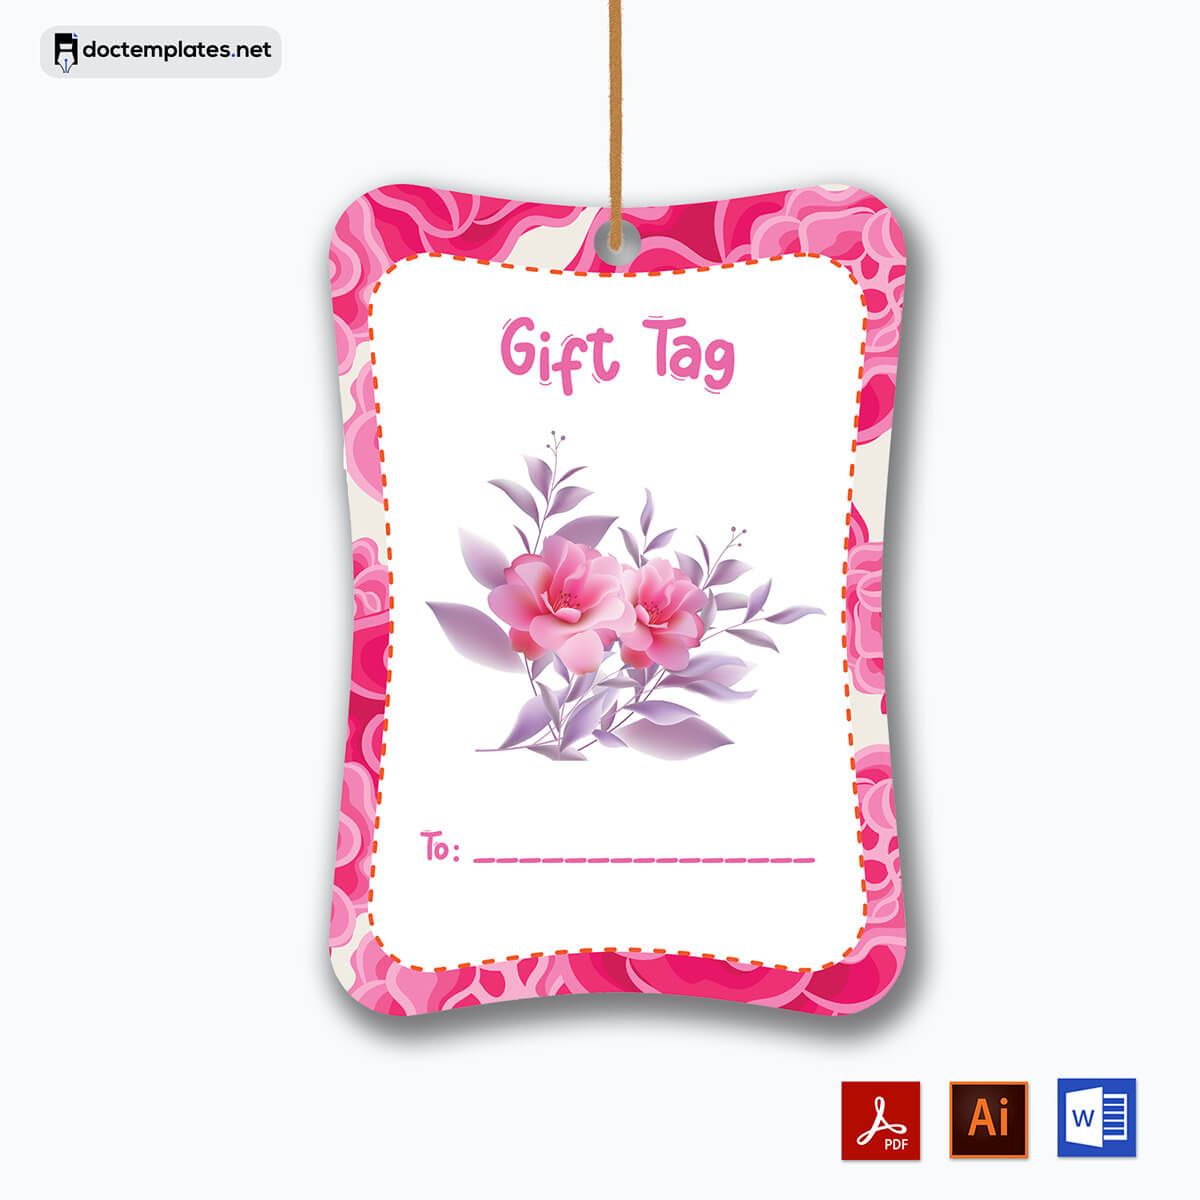
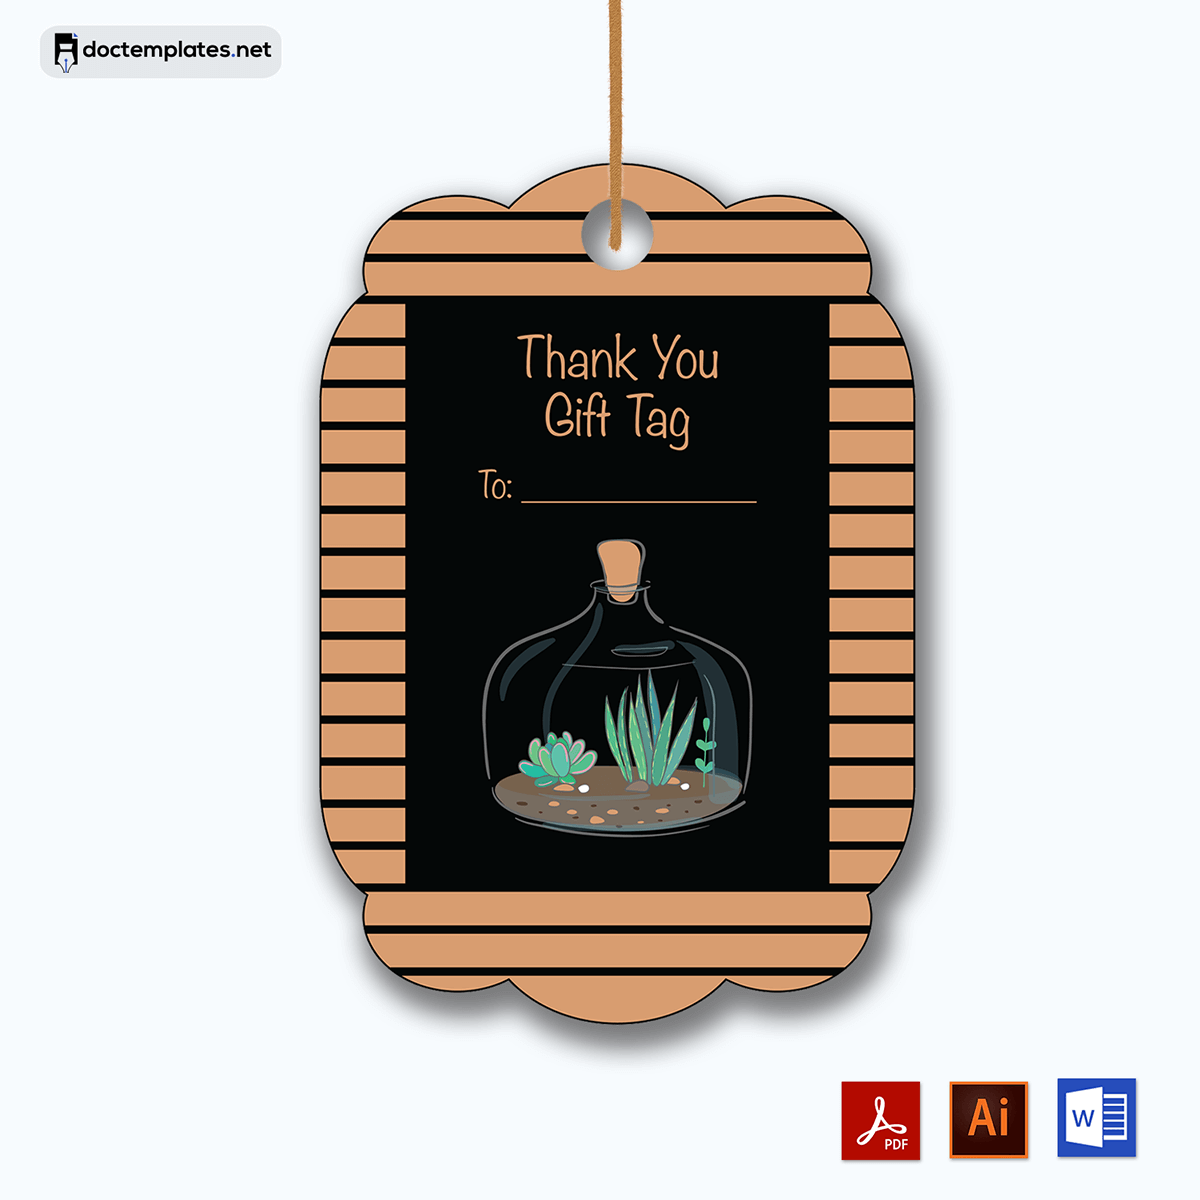
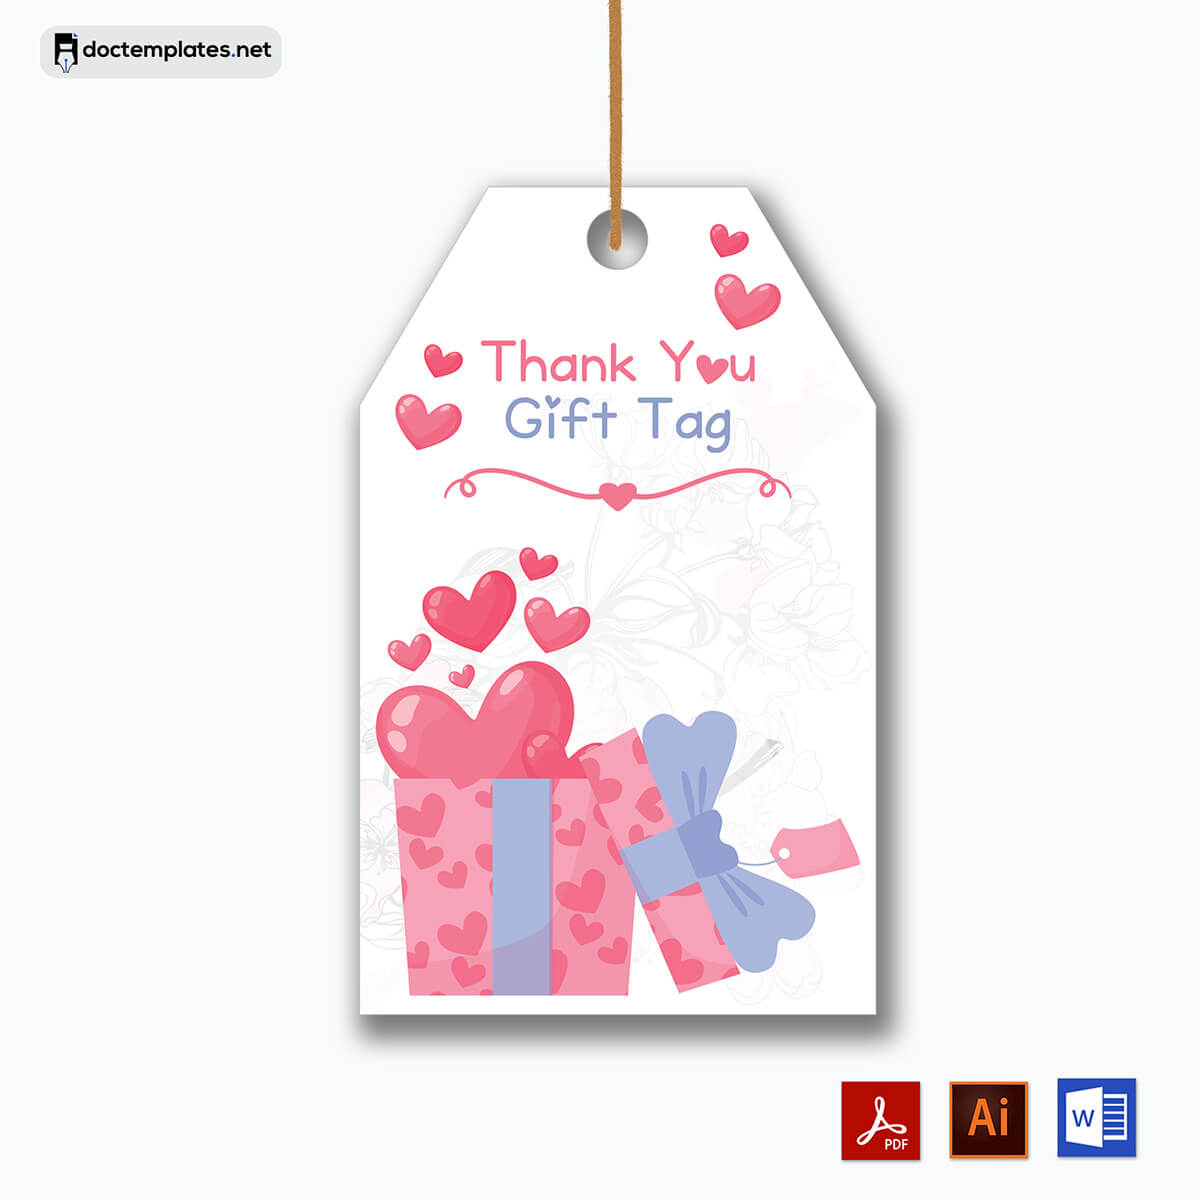
Given below are free templates for you:
In this article, you will learn how to create a template for a gift tag in MS Word. It will also discuss how you can access the unique pre-built documents from our website for free.
How to Create a Gift Tag Template in MS Word
If you wish to create a personalized gift tag or DIY, use the extensive step-by-step guide below to create them on MS Word. Images have also been provided for you to use as a reference when referring to the steps to ensure that you create a proper template:
Step 1
Start by visualizing the theme of your tag, which should match the gifting event, such as Christmas, Birthdays, or even Weddings. With that in mind, proceed to download images, quotes, and pictures from google.com that will suit your theme.
For example, you will need balloons for birthdays and flowers for weddings. To search for these images, enter the search terms “birthday balloon” or “wedding flowers” in the search bar. You must include “PNG” at the end of your search terms to find images with transparent backgrounds easily. Ensure that the images have colors that match the theme of your gifting event and can be resized to fit in the template.
Note: One of the best things about gift tags is that you can get creative with your tagging and make each one unique.
Step 2
Proceed to open a blank document on MS Word. Once the document is open, click File and then Save As to save your new blank document in an accessible location on your computer or laptop.
Step 3
Click Page Layout and then Margins. Proceed to select custom margins and set it at ¼ (0.25) inch on each side. These margins will still provide enough room for text and decorations.
For the spacing, click Home, then Paragraph, and select double-spacing. This will make it easier for the recipient to read without necessarily affecting the aesthetic of the gift tag.
Step 4
Go ahead and click on Design or Page Layout to access Page Borders. Choose the Box option to ensure that you create a proper border on your blank page. This will prevent misprinting and typing into bleeds (the section that is beyond where the paper is cut).
Step 5
Proceed to click on the Insert tab, then select Shapes. Use the Top Corner Snip Shape to draw the shape on the blank page.
Tip: When it comes to choosing the right gift tag, consider the color, size, and shape of the tag, as well as any tagging options like string or ribbon.
Step 6
At this point, click on the image and proceed to Shape Format to change the Shape Style and Shape Outline. You will have a blank shape that you can now fill with images and text.
Step 7
At the Shape Format, click Shape fill and proceed to select the Picture option. You can easily insert the pictures you want in your template. You can resize the tag to get the perfect size by dragging the corner or resizing the image to fit in the tag.
Pro tip: Select images that are relevant to the event. For a gift with two tags, use different images.
Step 8
Proceed to draw a blank text box at the bottom of the tag by clicking the Insert tab, then Text Box, and then the Draw Text Box. Inside the text box, click Home to select the appropriate Font, Font size, and Font color for your text. You can leave a greeting, a wholesome message, or the gift recipient’s name.
Pro tip:The text box you will create in your template for your message is best left blank for a more personalized and handwritten message.
Step 9
At this point, the template for a gift tag is ready for use. You can now make copies of it. Press the shift button on the keyboard and select the tag, the image, and the text box. Press Ctrl + C to copy and Ctrl + V to duplicate. Adjust the two images to have equal distances and repeat the process to fill up the MS Word page.
Step 10
Proceed to print the personalized tags using a color printer. Ensure that you check the print previews to ensure your work is within the print area and not in the bleeds. Make sure that the margins are set correctly when saving the template to prevent misprinting.
Pro tip: For home printing, use thick paper such as card paper. Using a commercial printer for better color options and printing results is best.
When creating your gift tag, strictly follow the steps mentioned above. If you find the process difficult or time-consuming, you can use the pre-made templates already provided for free. They will save you time and effort.
Conclusion
Attaching a tag to a gift makes the whole experience special for the recipient. That is why it is important for you to know how to create a personalized tag for it. With the detailed guide provided in this article, you can make a template in MS Word and use it multiple times to create gift tags for different occasions. It is a pre-built and well-formatted document containing all the elements that must be found.
You can also download a pre-built document and customize it according to your preferences. Whatever you choose, ensure you adhere to the pro tips provided in this article to ensure you have a great template for your gift tags.
