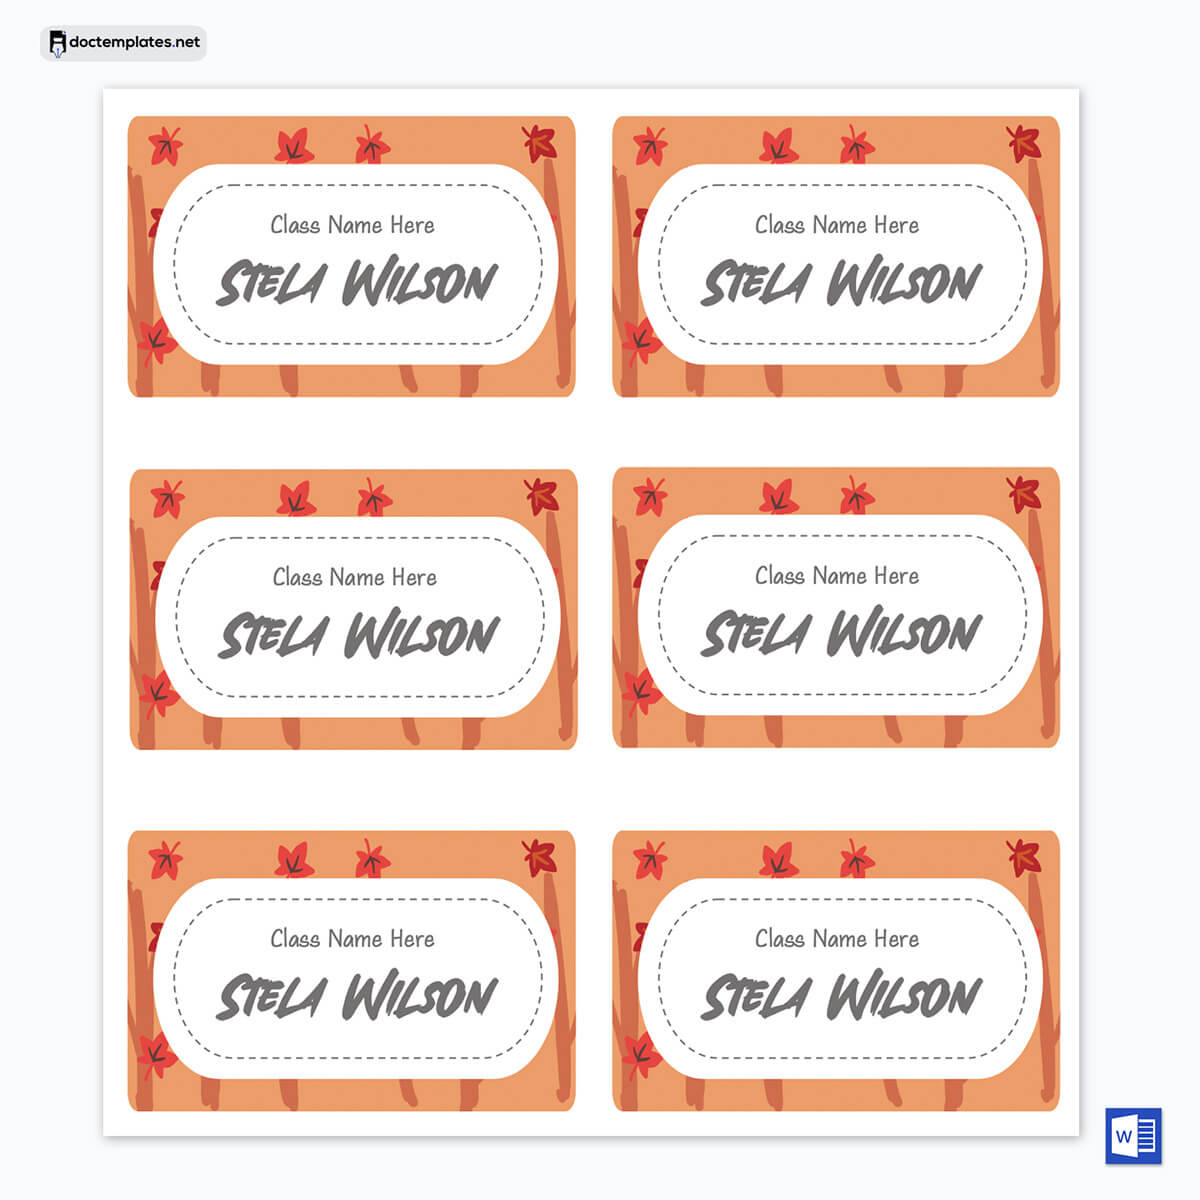
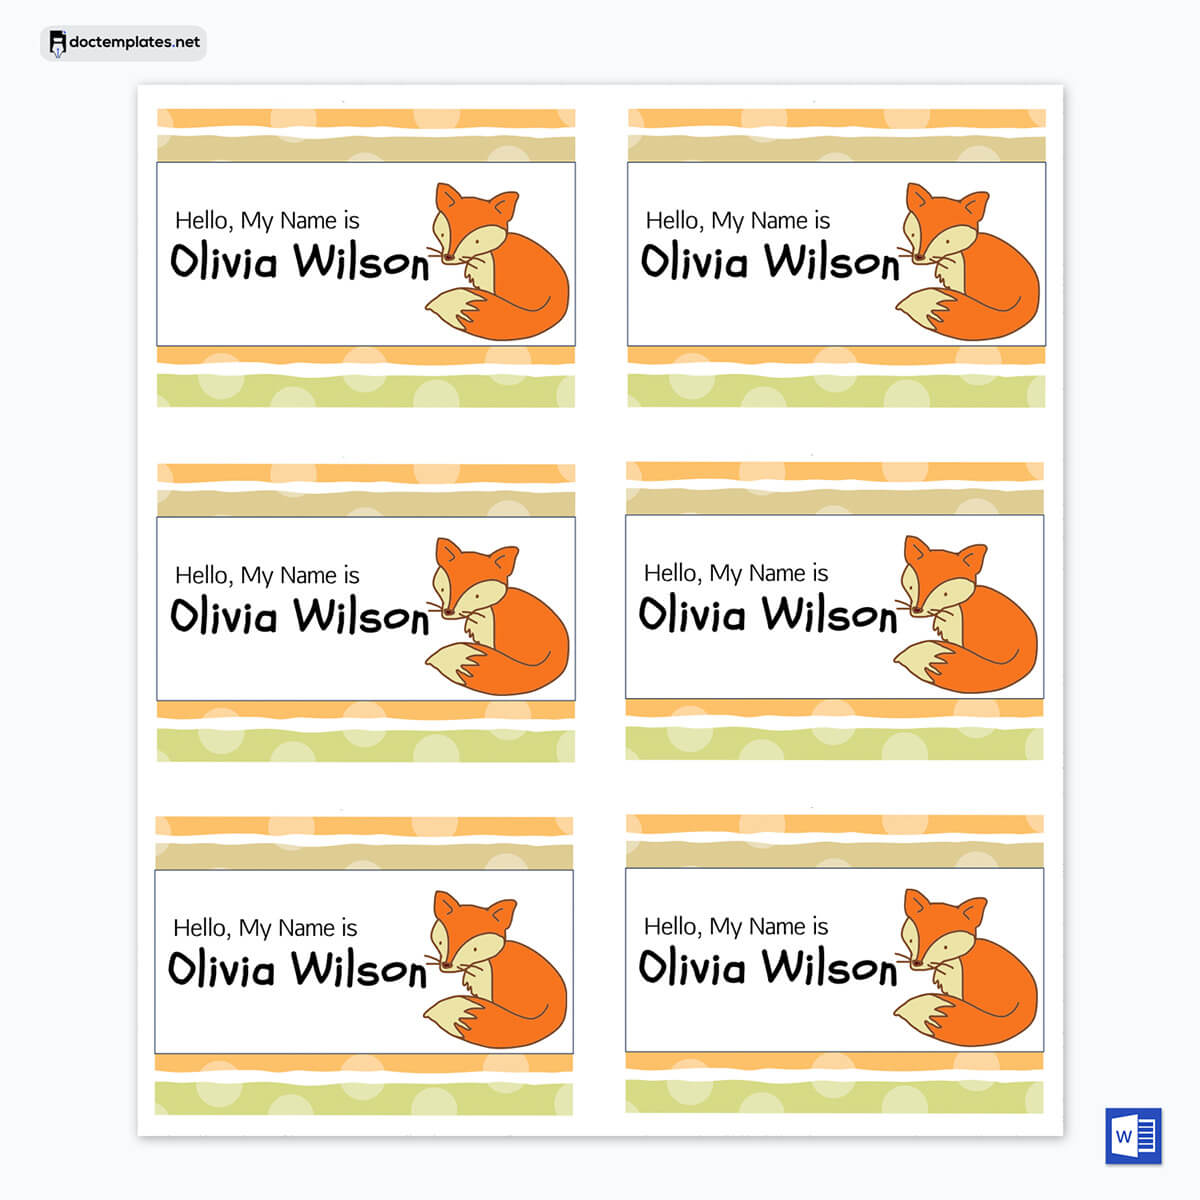
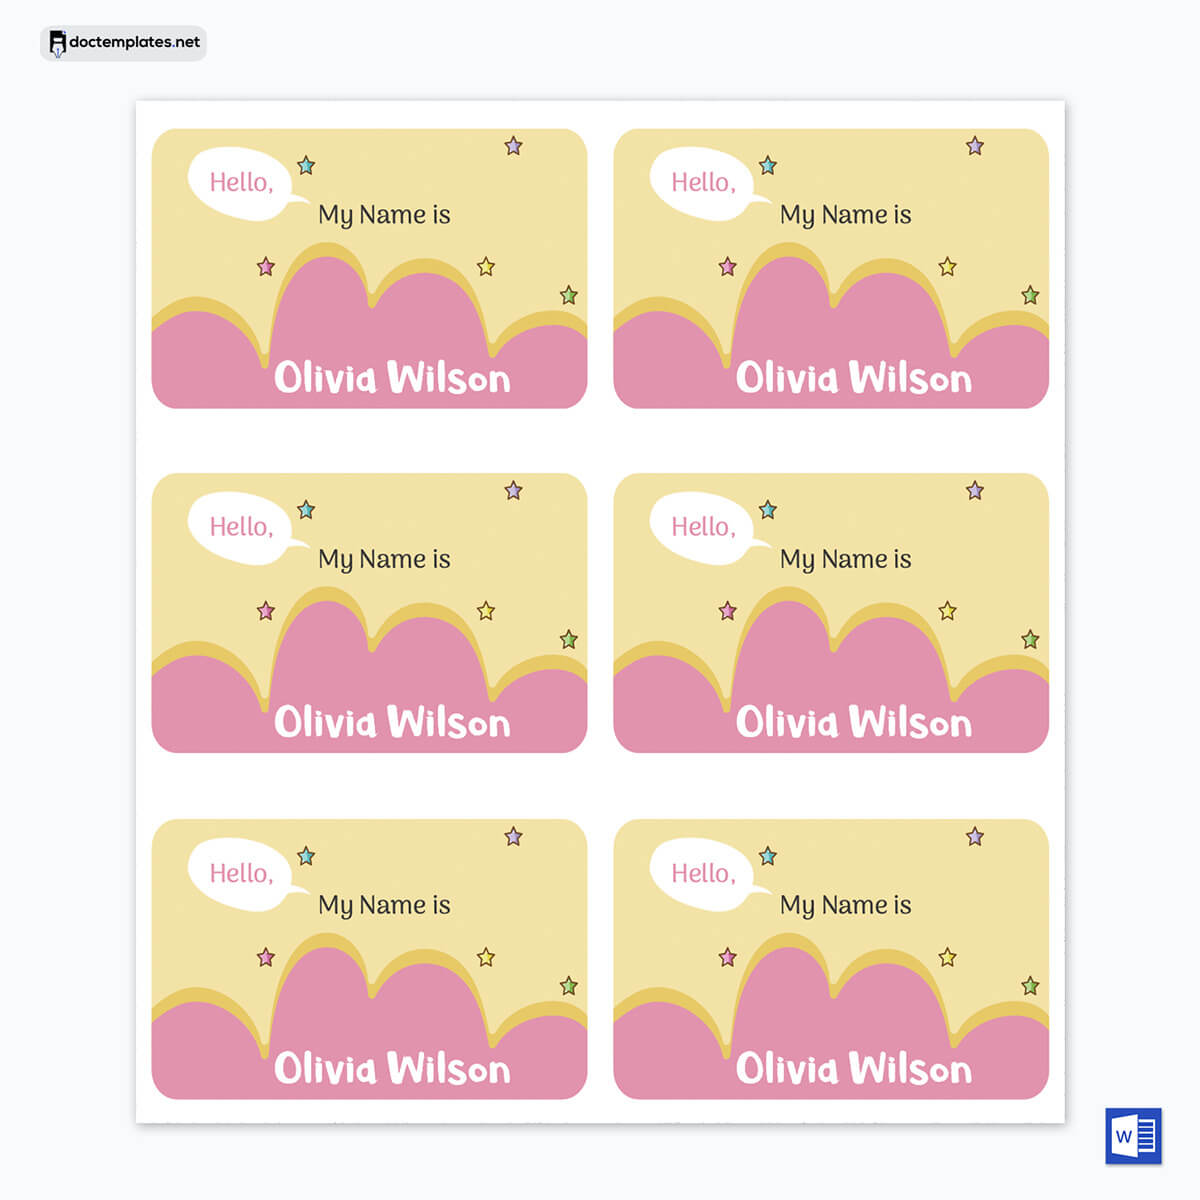
Name tags are used as identifiers for guests or attendees, and you often have to make them in large quantities when planning a party or event. You can make them for different events, from seminars and fundraisers to conferences. It can include the guests’ or attendees’ first and last names and, in some cases, the company name (if needed). They are a communication tool to help everyone remember each other’s names. They are also used as a part of a company’s branding and marketing strategy. Since multiple tags may have to be created at a time, it is advisable to use templates in such cases.
MS Word is a suitable tool for creating a template for your name tags. It is readily accessible and easy to use. The software has an option for you to print them easily. They are used to simplify interactions between guests/attendees by letting participants recognize each other. This can eliminate some degree of anonymity among guests.
Free Templates
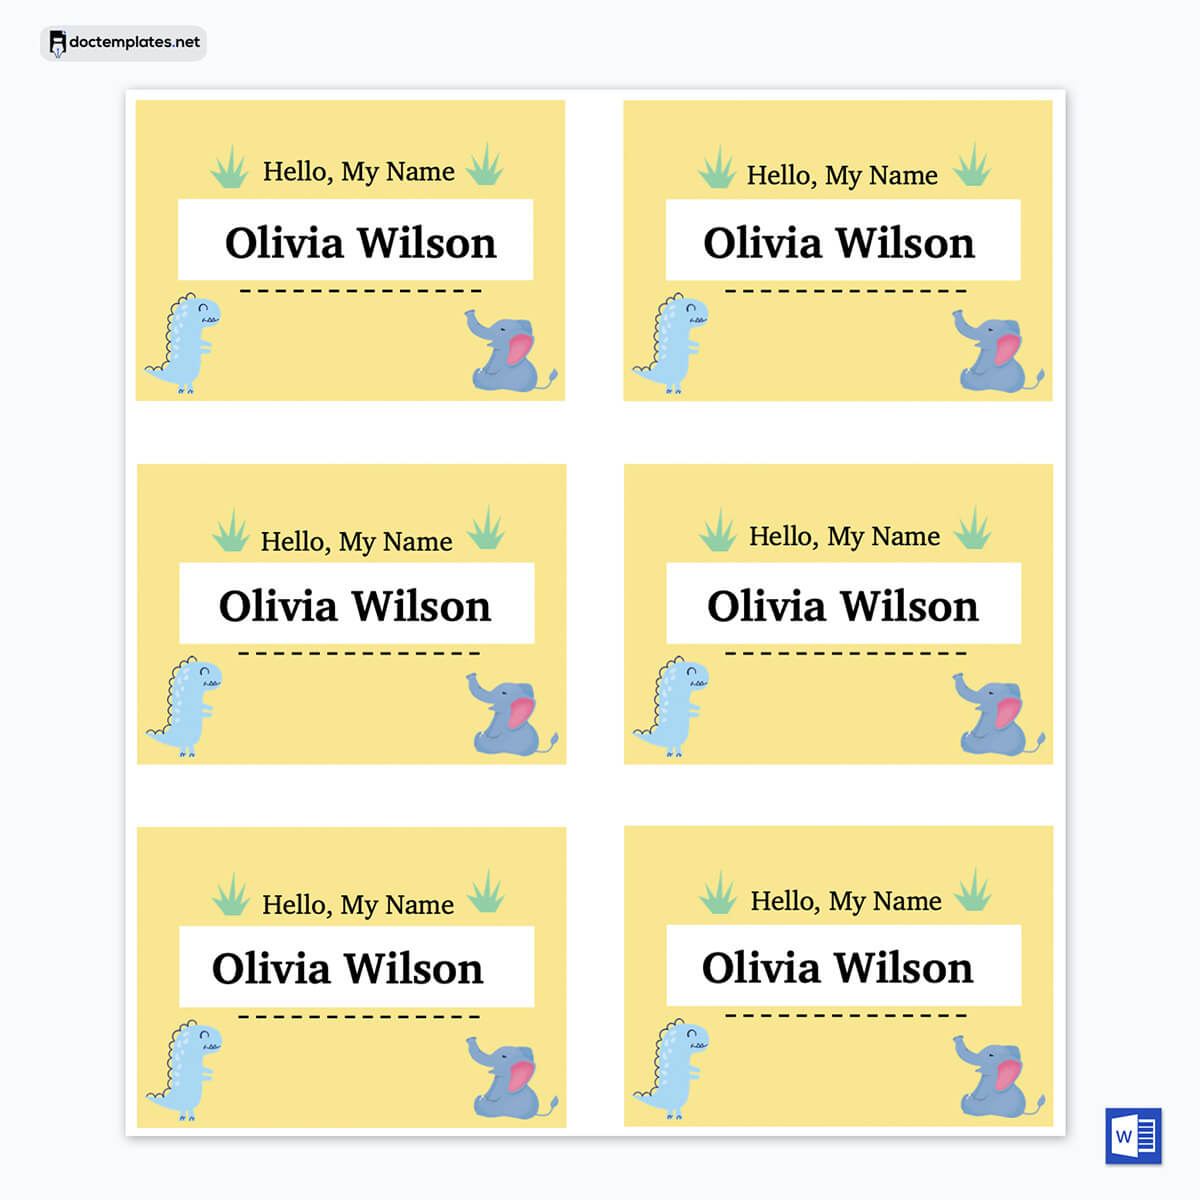
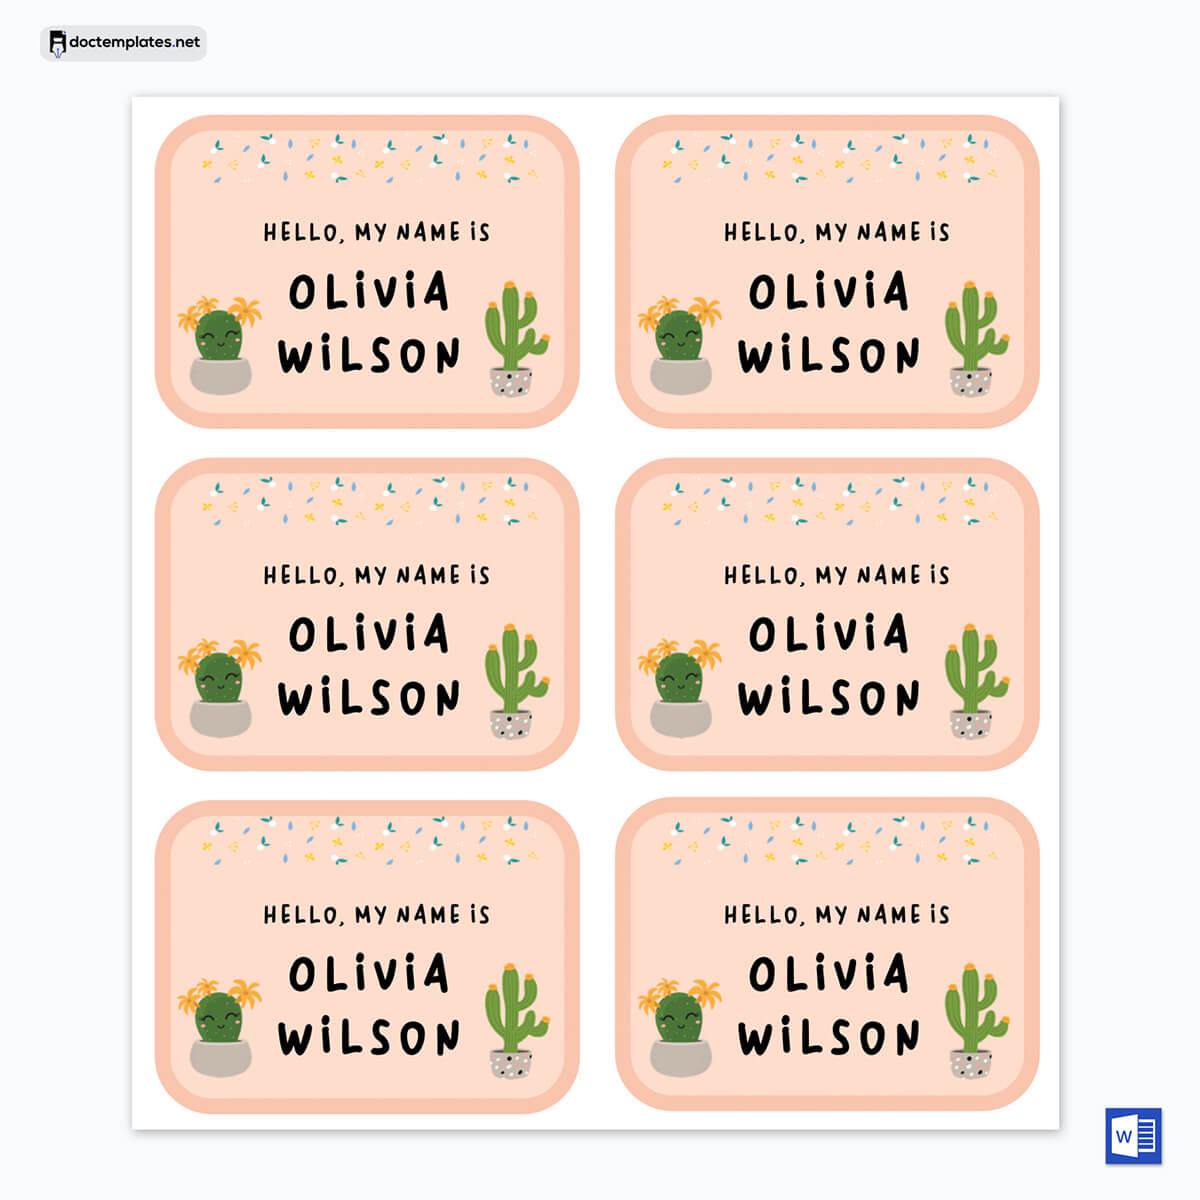
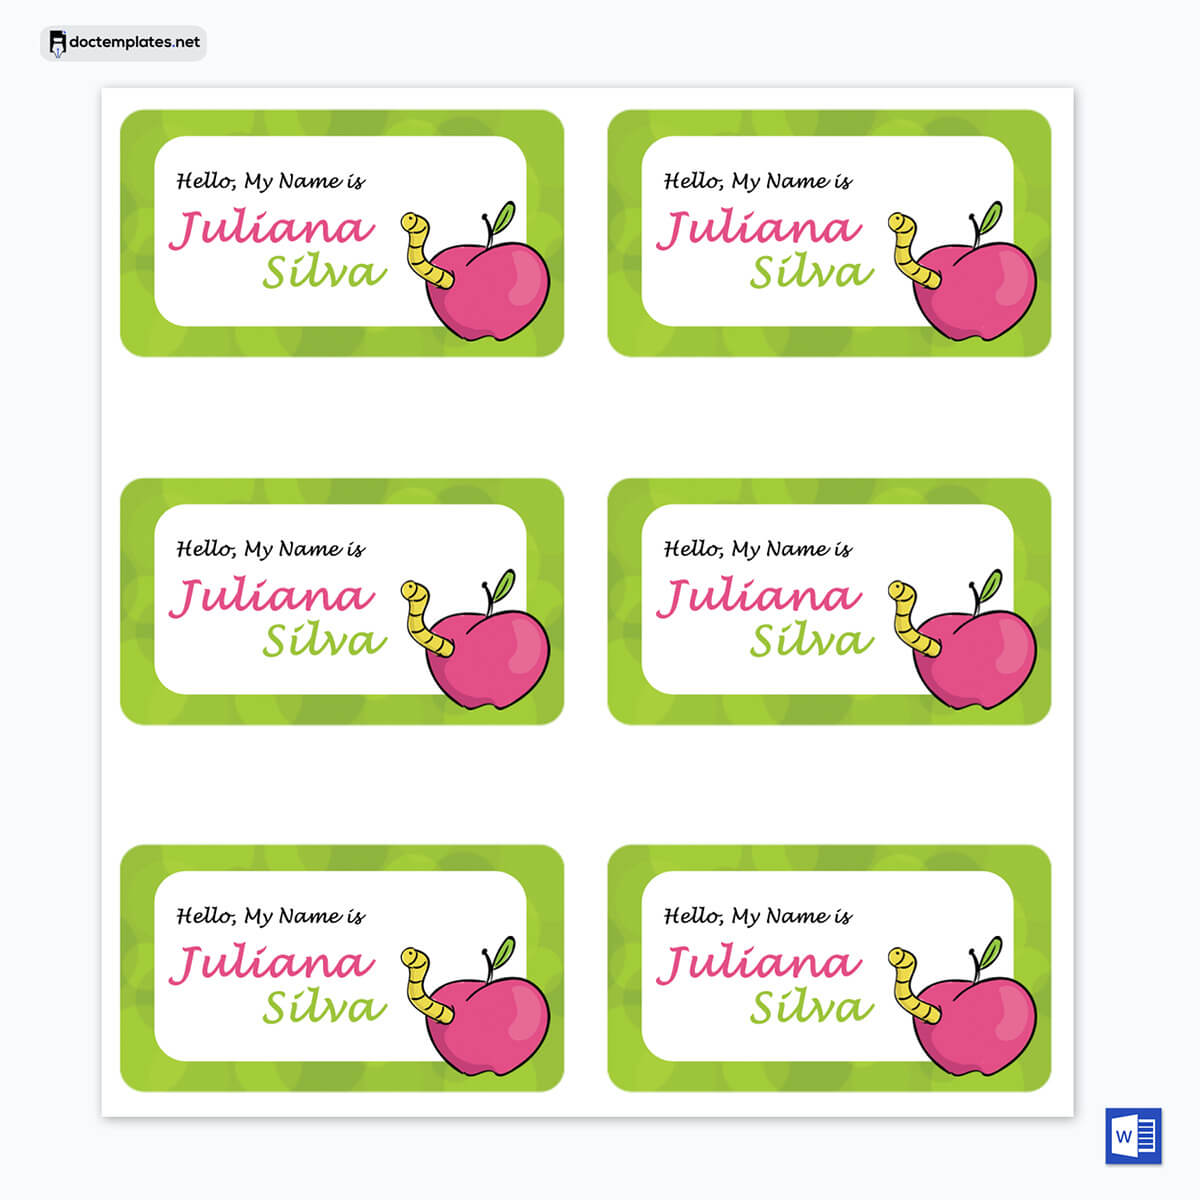
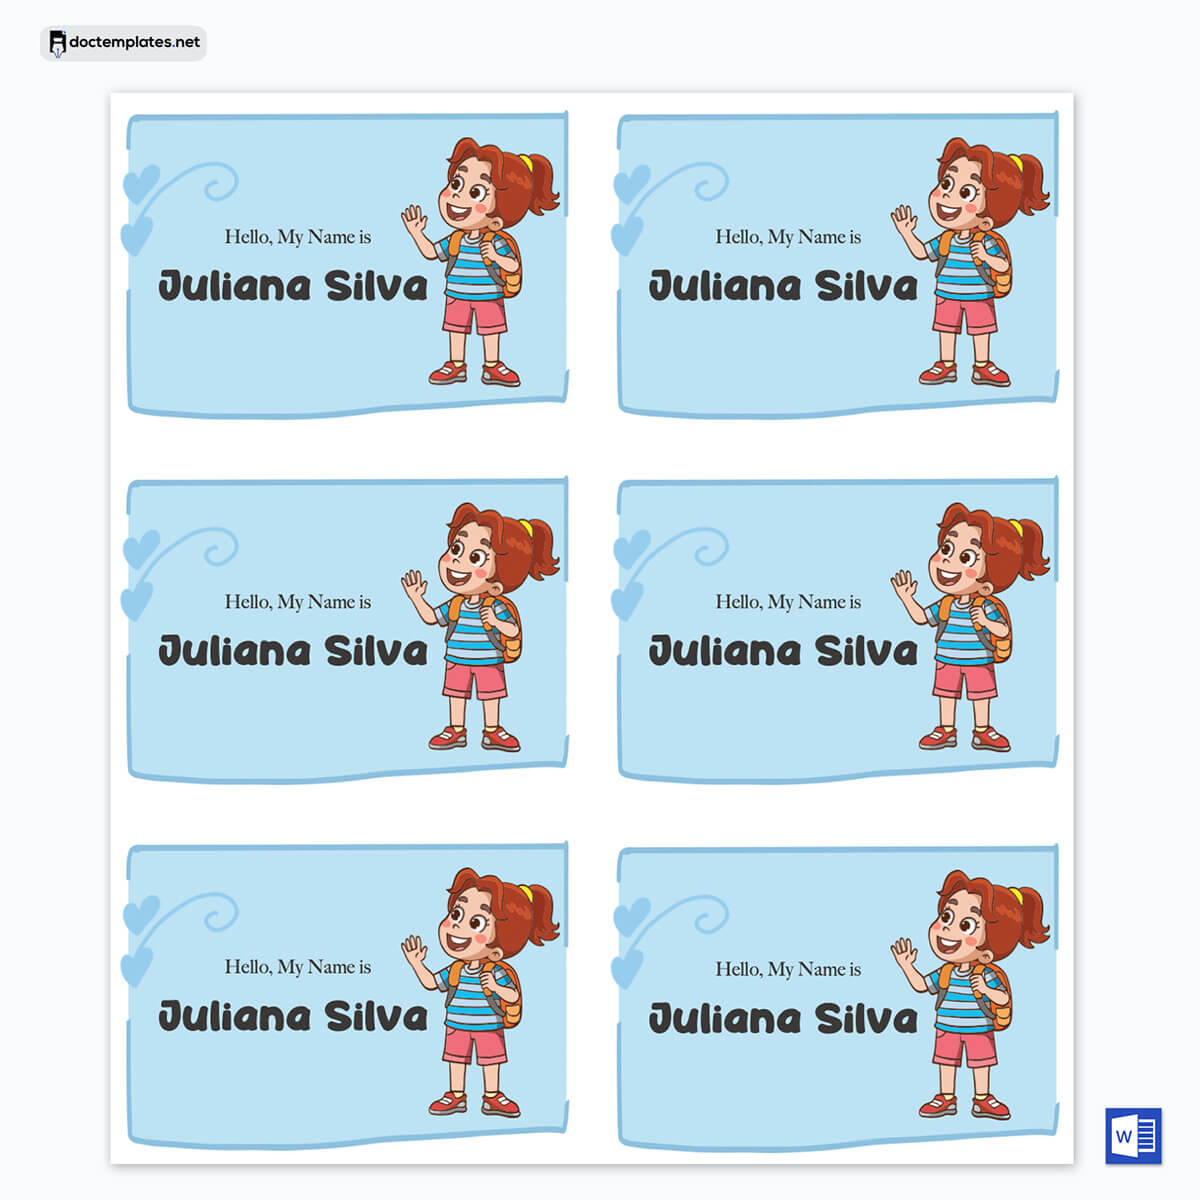
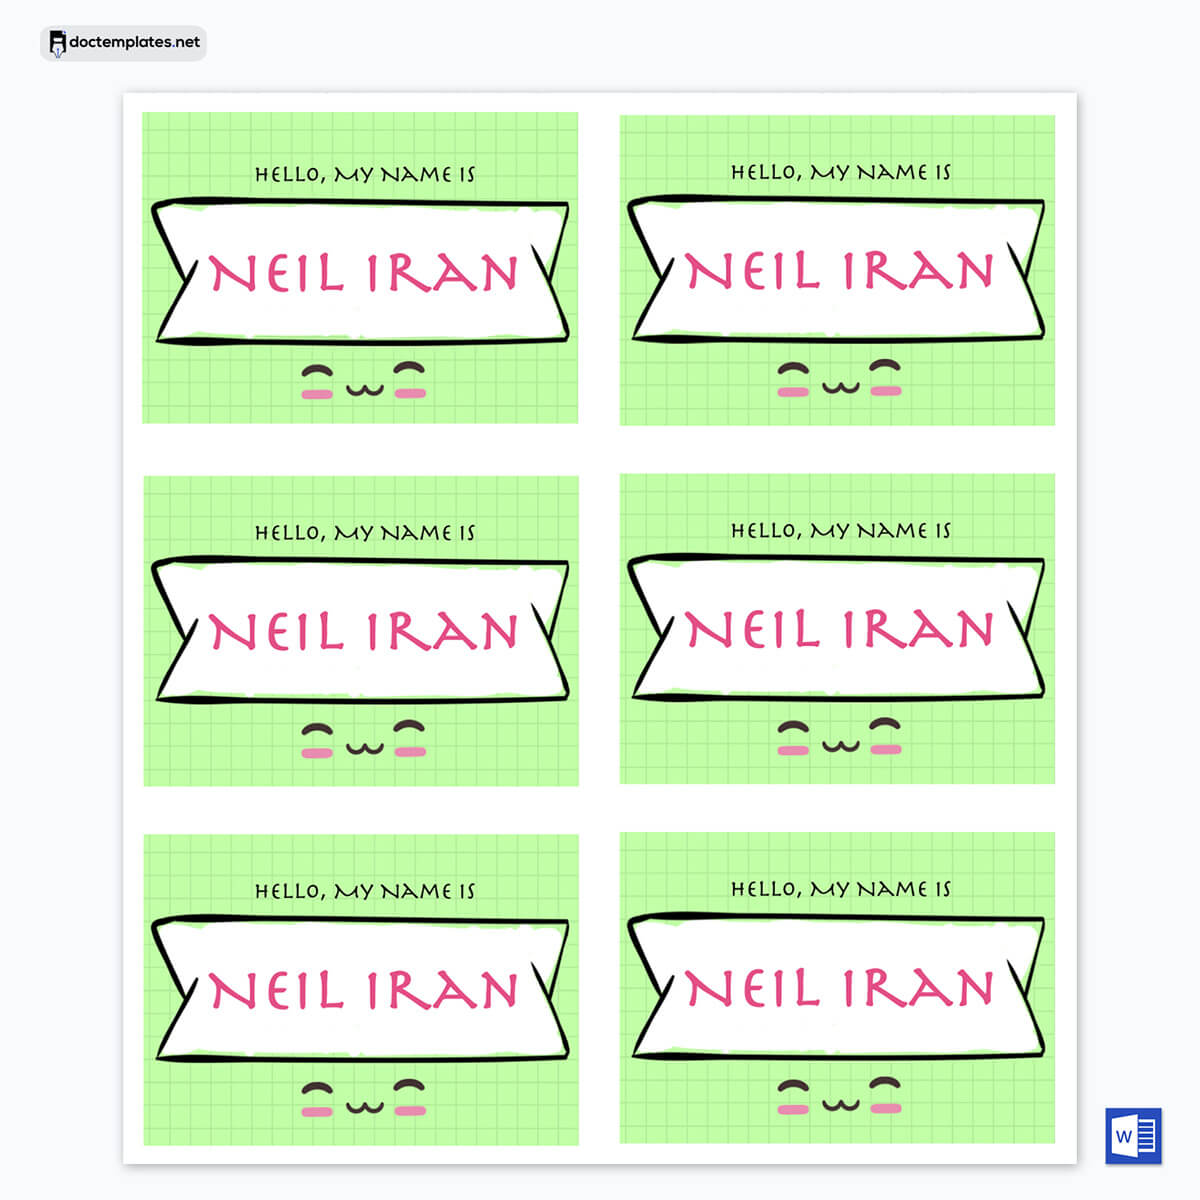
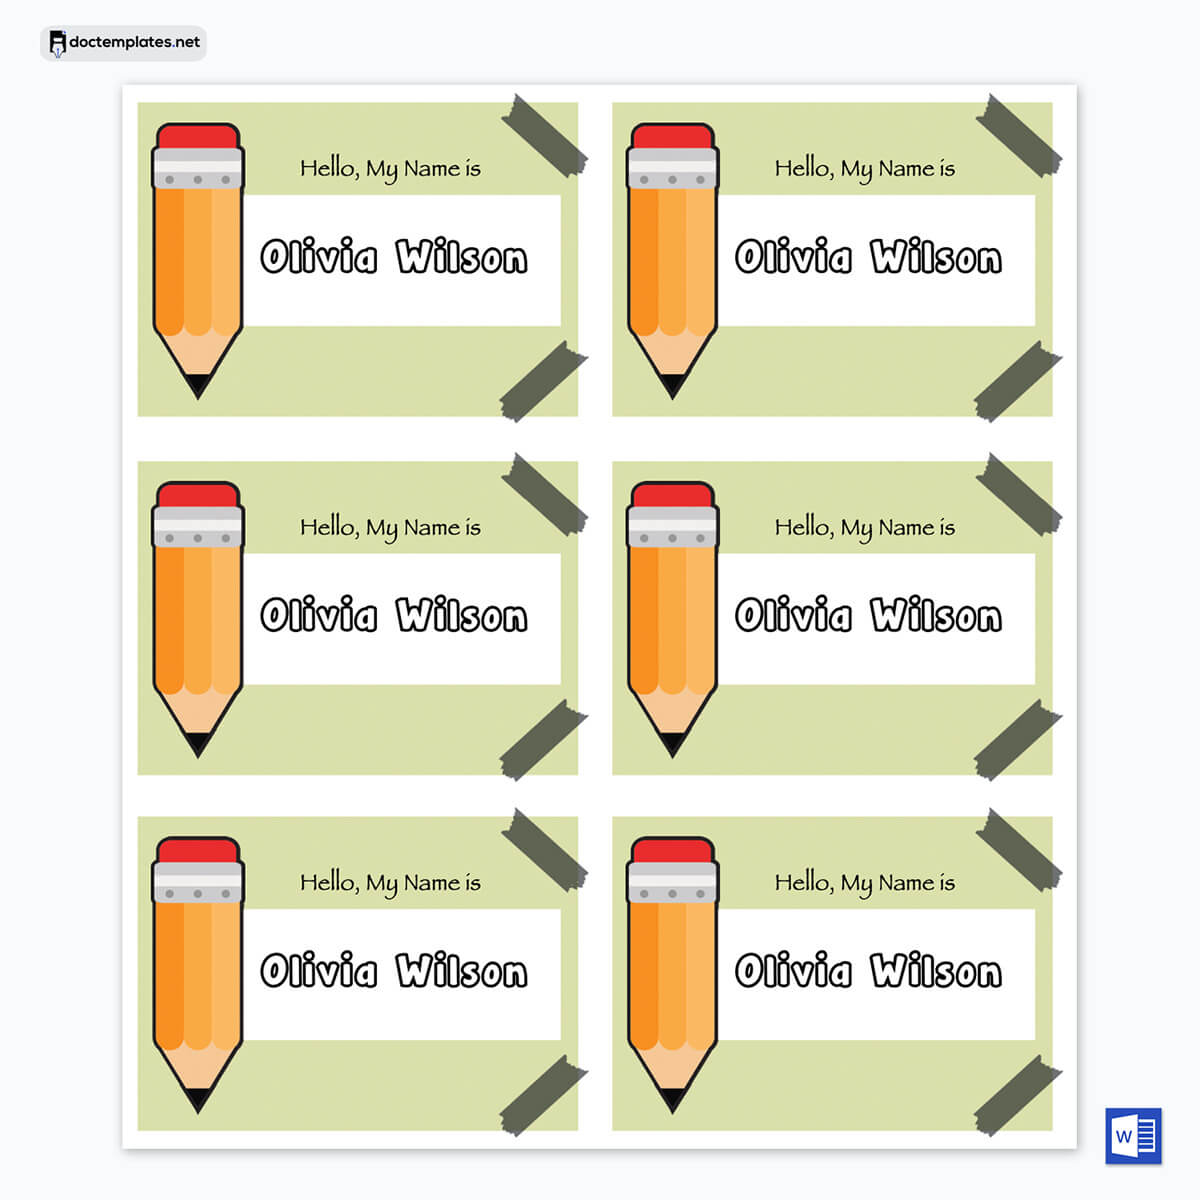
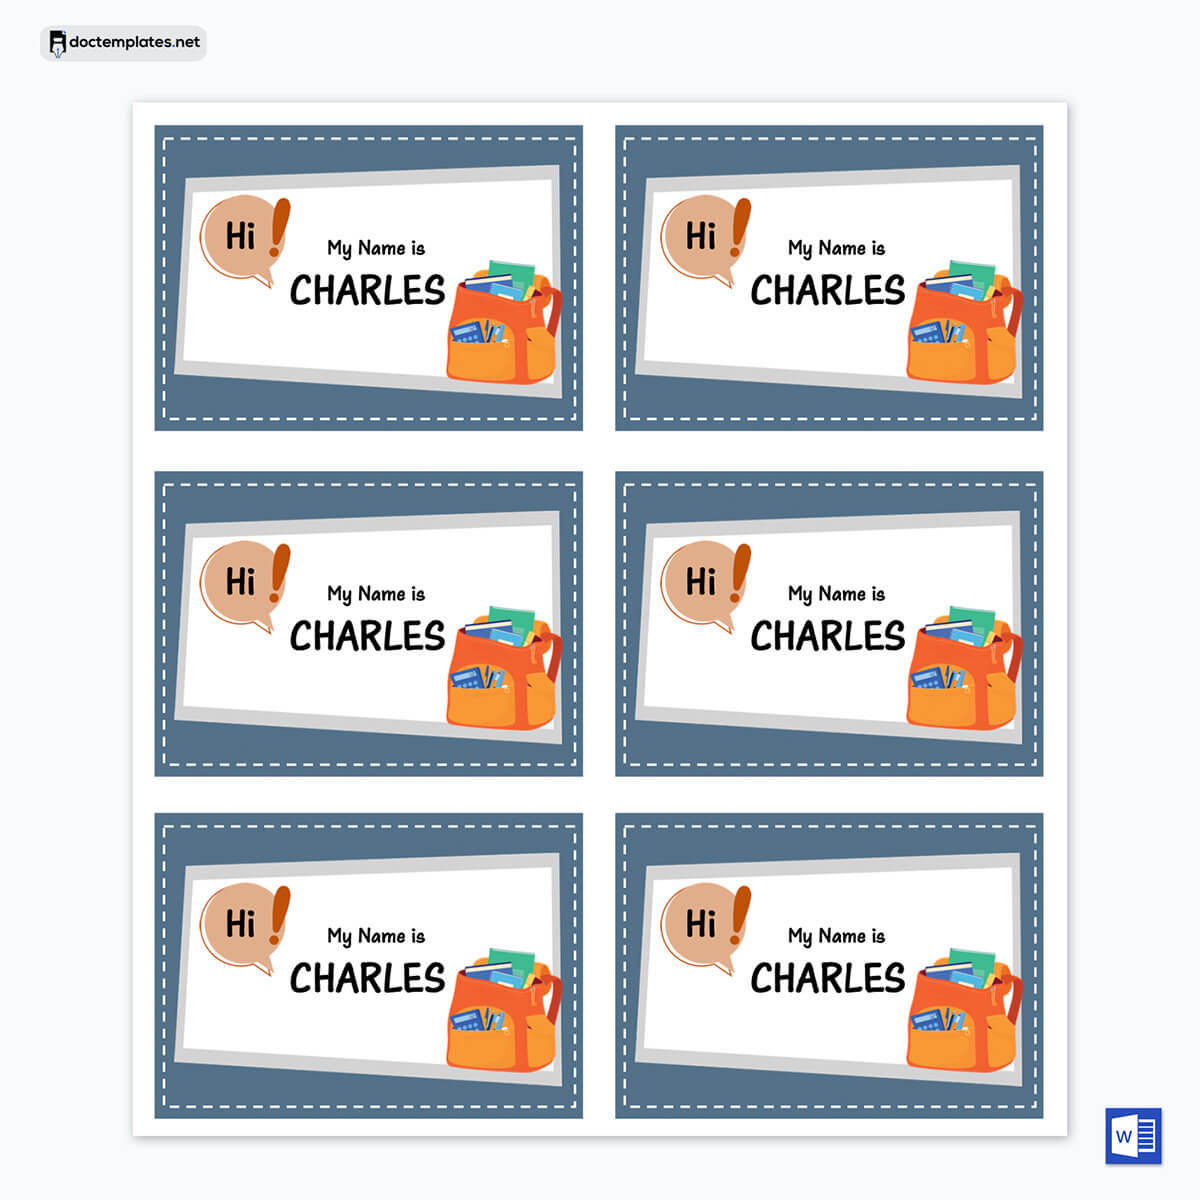
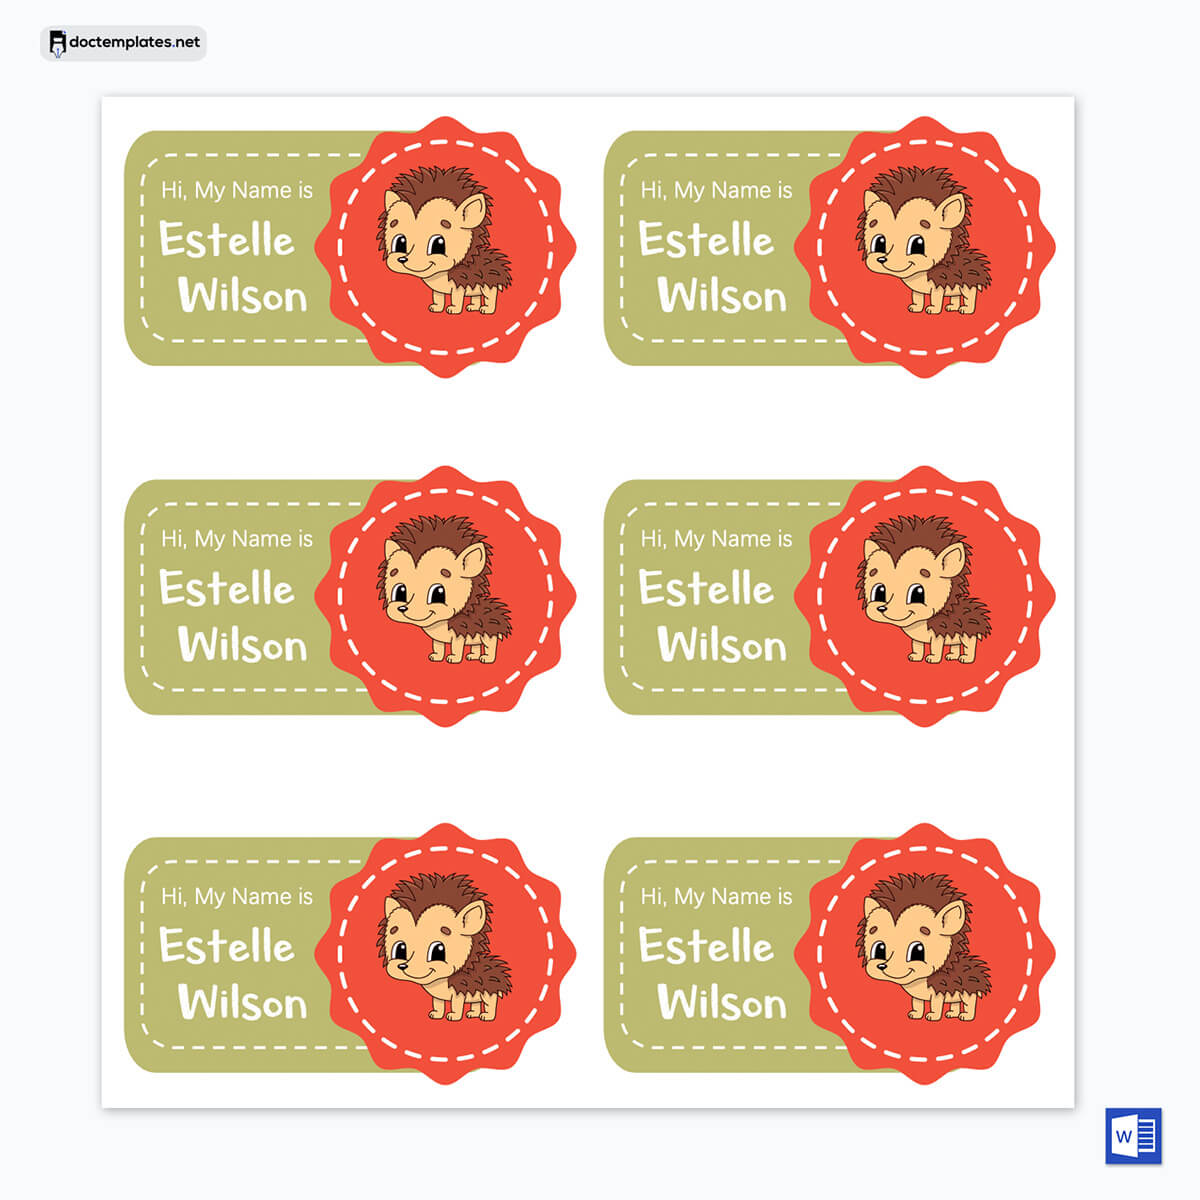
Given below are name tag templates:
Avery templates are pre-built documents that can be used to create professional or personal documents. They can be edited using various software, such as MS Word or Adobe Photoshop. They can be customized using multiple styles and come in various sizes, shapes, colors, etc.
This article teaches you how to create different templates for creating name tags using Labels. Also, it discusses how to utilize the different sizes of Avery labels when making documents that can be printed easily on Word.
Creating Name Tags on MS Word Using Labels or Avery Templates
There are two ways to make printable name tags: Labels in MS Word or Avery. You can use whichever method you prefer. Below are step-by-step guides on how to execute the two approaches:
Using Word’s Label feature
It is a popular processing tool available to most people, making name tags for your event convenient. The Label is a built-in feature. Below is a procedure for creating a free printable template that suits your communication and marketing needs:
Step 1: Open Microsoft Word and create a blank document
The first step is to launch Word, go to “New,” and create a blank document. Also, go to Layout>Size and select the page size you want to use; letter size (11”x8.5”) is recommended. This page size can accommodate 30 labels of height (2.63”) and width (1”). For the document’s spacing, use single spacing.
Step 2: Create a label
Next, navigate to “Mailing” and click on “Labels.” An “Envelopes and Labels” pop-up window will appear. This section is meant for making and printing mailing labels but can be modified to create your name tags.
Step 3: Tweak the label details
The third step is to go to “Options” in the pop-up window. A “Labels Options” pop-up window will appear. Then, go to “Label vendors” and ensure the selected option is “Microsoft.” Also, under “Product Number,” make sure to select “30 per page.” There are two “30 per page” options that allow you to choose whether you prefer the name tags to have a longer length or height.
Step 4: Make the name tags
Then, select “Ok.” Word will revert you to the “Envelopes and Labels” pop-up window, where you can click “New Document.” A new document will appear with 30 labels on one page. You can add names and other details such as title/position, company/organization, picture, company logo, and contact details to your name tags. You can also format the font size, color, and style under “Font” in your toolbar’s “Home” section.
Step 5: Save the file
Lastly, once you have included all the names and details you want in your tags, go to “File,” click on “Save As,” and save the document as you prefer. You can name the file according to the event – for example, “Launch Party Name Tags.”
Starting with an Avery template
You can also use Avery labels to create tags for your guests or staff. This process is quick and effective whenever you need printable tags within a short time. Below are steps to undertake this process:
Step 1
Firstly, go to “File,” then “New,” and search for “Avery” in the search box. MS Word has multiple built-in templates you can choose from.
Step 2
Next, select a template that is compatible with the Avery label sheet you will be using. It will display how the final labels will look like. Once you have selected a suitable one, click “Create,” and a file with the blank tags will be created. This creates multiple similar labels. Go to “Mailings” and select “labels,” and an “Envelopes and Labels” pop-up window named will appear. Then, edit the information in the “Address” section and click “New Document.”
Step 3
Next, you can create multiple distinct labels. You can edit the existing text manually as guided by the document. Alternatively, if you create name tags from an existing address list, click “Mailings” and “Select Recipients.” You can use “Type a New list” or “Use an Existing List.” You can edit the information on the Avery template if you decide to create a new list. You can include the following components – name, title/position, company/organization name, picture, company logo, and contact details. Note that you can also format text to suit your preference at this stage. Then, add the appropriate information.
Step 4
To create different name tags, edit the information in the Avery template or click “Select Recipients” to add the recipient list with the required information. You can edit the format of the information using “Address block.” Also, you can add other fields, such as state, ZIP code, home phone, country, etc., in your data lists using the “Insert merge field.” After formatting the document, click “Update Labels” to ensure the changes are adopted. Then select “Preview results” and click “Finish & Merge.”
Step 5
Before inserting the Avery sheet, you should print the templates on a standard sheet of the same size to preview the final products. Go to “File” and click “Print.” Make sure you select the correct printer. While printing the preview, disable the “duplex’ and “print on both sides” options.
Step 6
If the name tags are not formatted as you would prefer, you can modify the free templates before printing. Once satisfied with the labels, you can print them on the Avery sheet.
However, if these methods prove relatively complex, you can also download pre-built templates from this site. They are free to download and easily customizable. They illustrate the basic details that should be included in it, making it easy for you to use.
Printing Name Tags on Avery Sheets
Once you have created satisfactory name tags using the above-mentioned methods, you can print them on Avery label papers. Firstly, review the manufacturer’s instructions to ensure you follow them accurately. Then, load the sheets into the printer. Also, verify that the formatting settings are correct. Go to “Print” and select the appropriate sheet size. The sheet size depends on the size of the name tags and the type of label you are using. However, a sheet size of Avery 5392 (4×3 inches) is appropriate. Other sheet sizes include 5395 (3 by 8 inches) and 74541 (2×8 inches). Then select the right printer before printing. Print a prototype to ascertain the correct settings before printing it.
Wrapping Up
Name tags efficiently ensure guests/attendees or staff members learn each other’s names without formal introductions. Multiple tools or software exist to create templates for an event or organization. You should choose the method that you are most comfortable with. MS Word is a popular and easy-to-use software that can assist you with creating such documents. One advantage of using templates is you can reuse them by adjusting the data in the name tags.
The information you include in the tag will typically depend on the type of event. For example, for a conference, you can include the attendee’s name, profession, affiliated company, etc. Name tags can contribute to the success of your event as it allows participants to interact more effectively, thus boosting engagement. This can increase networking, sales, partnerships, etc., assisting you in meeting event goals.
