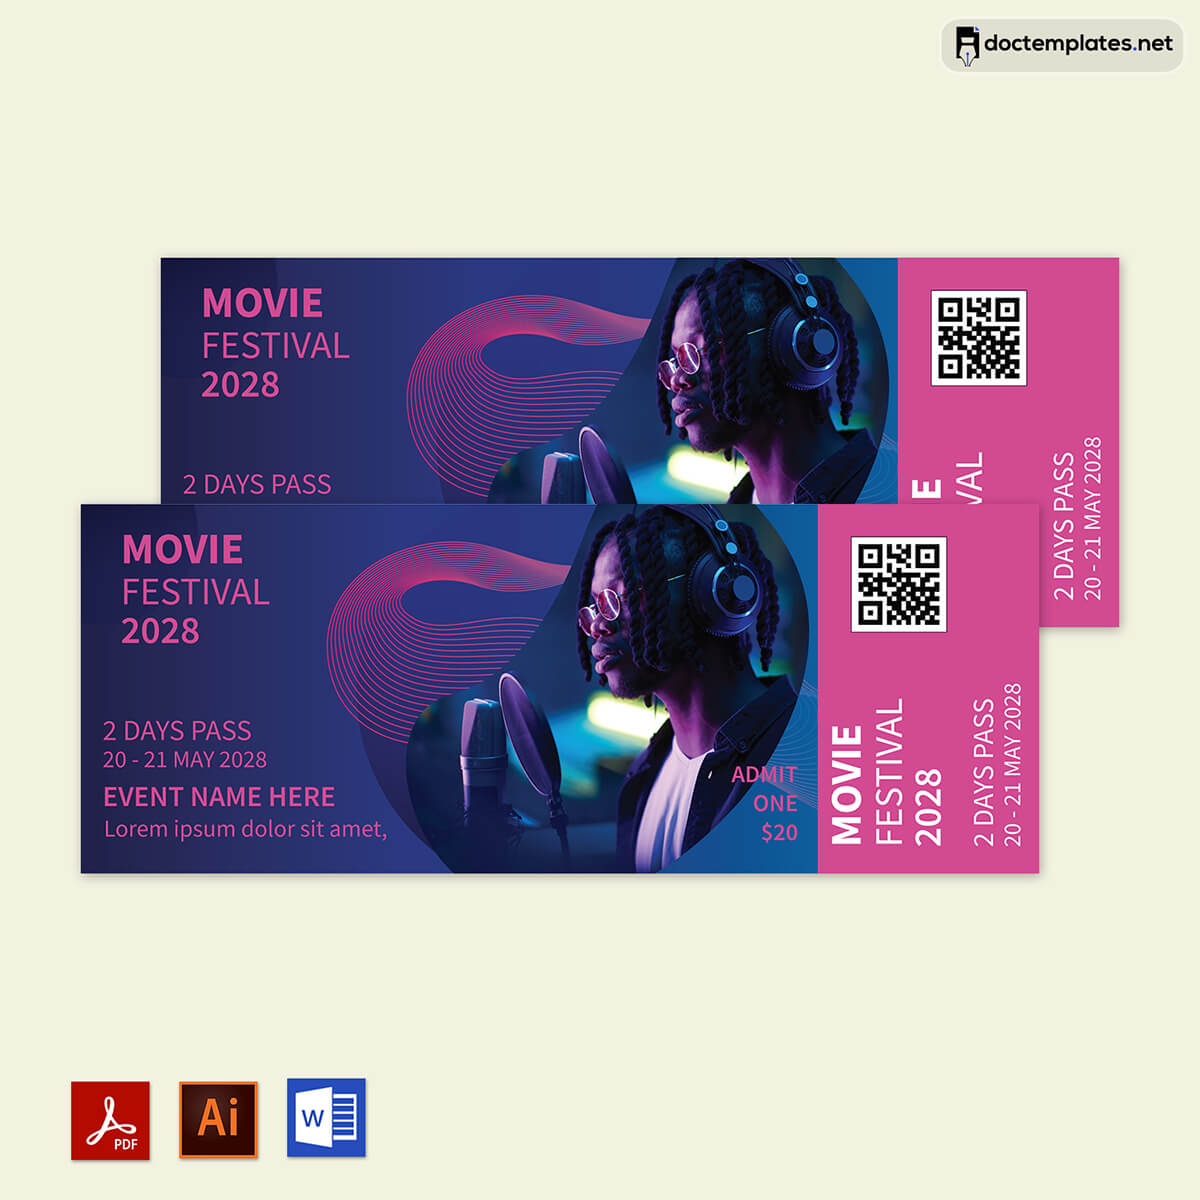
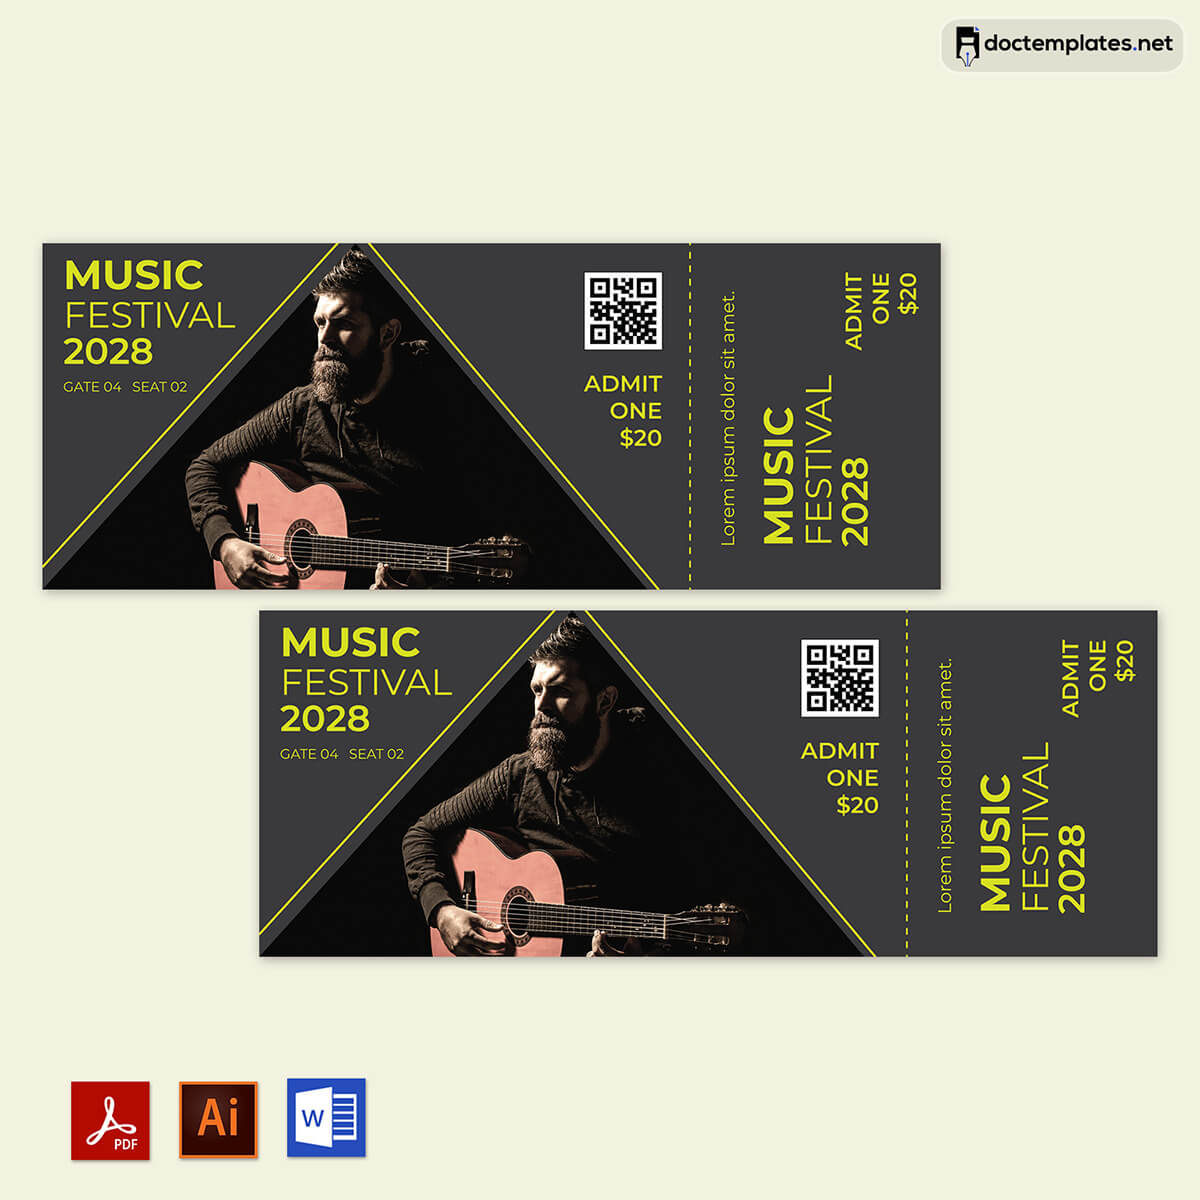
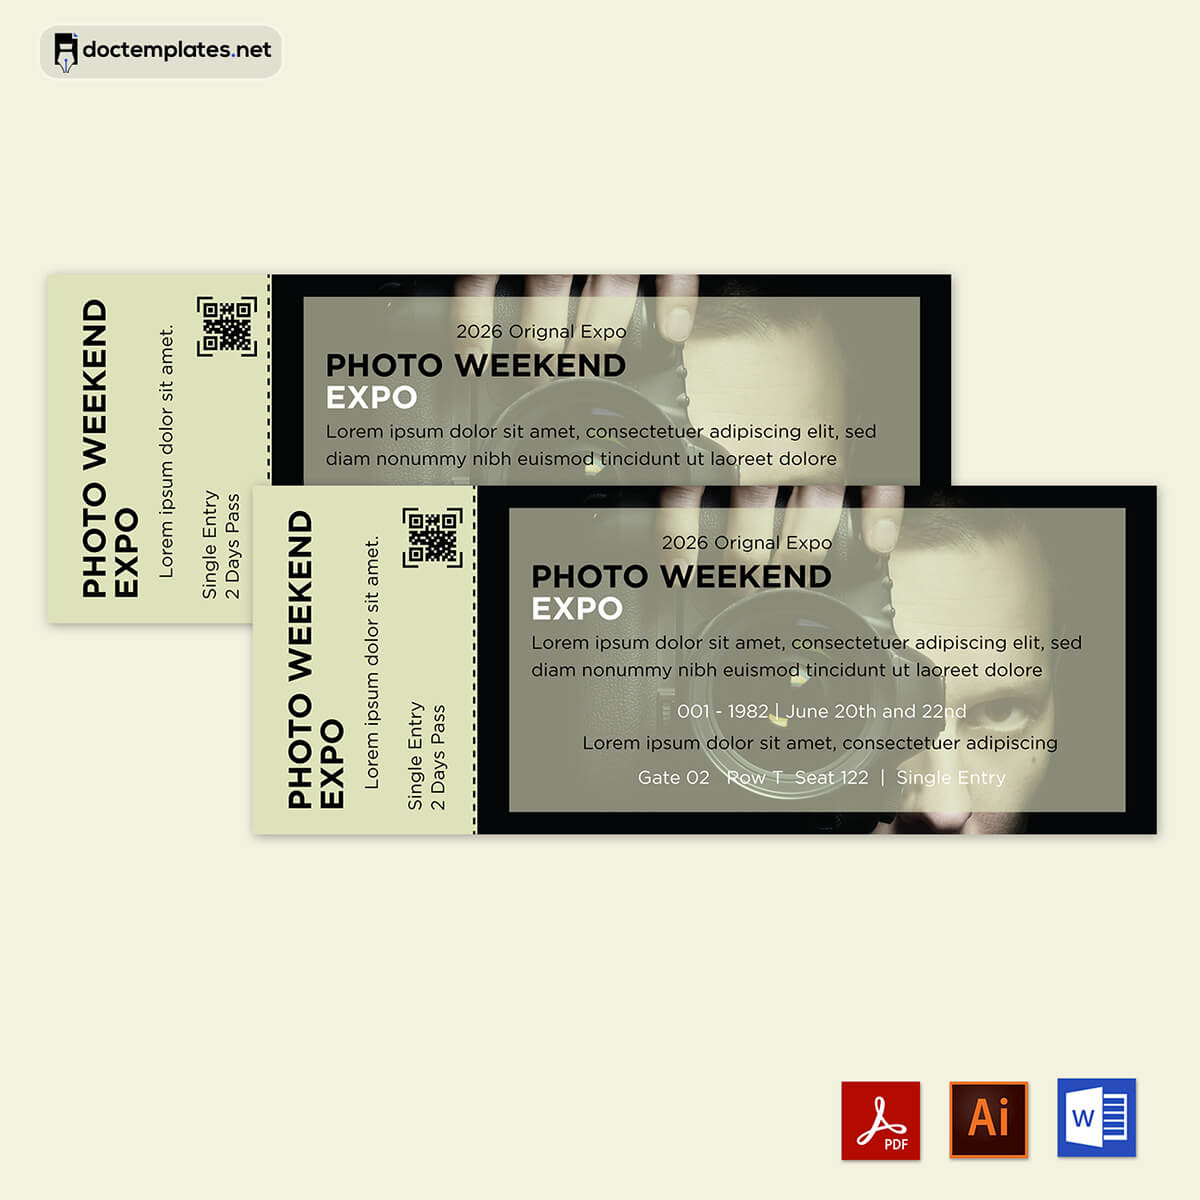
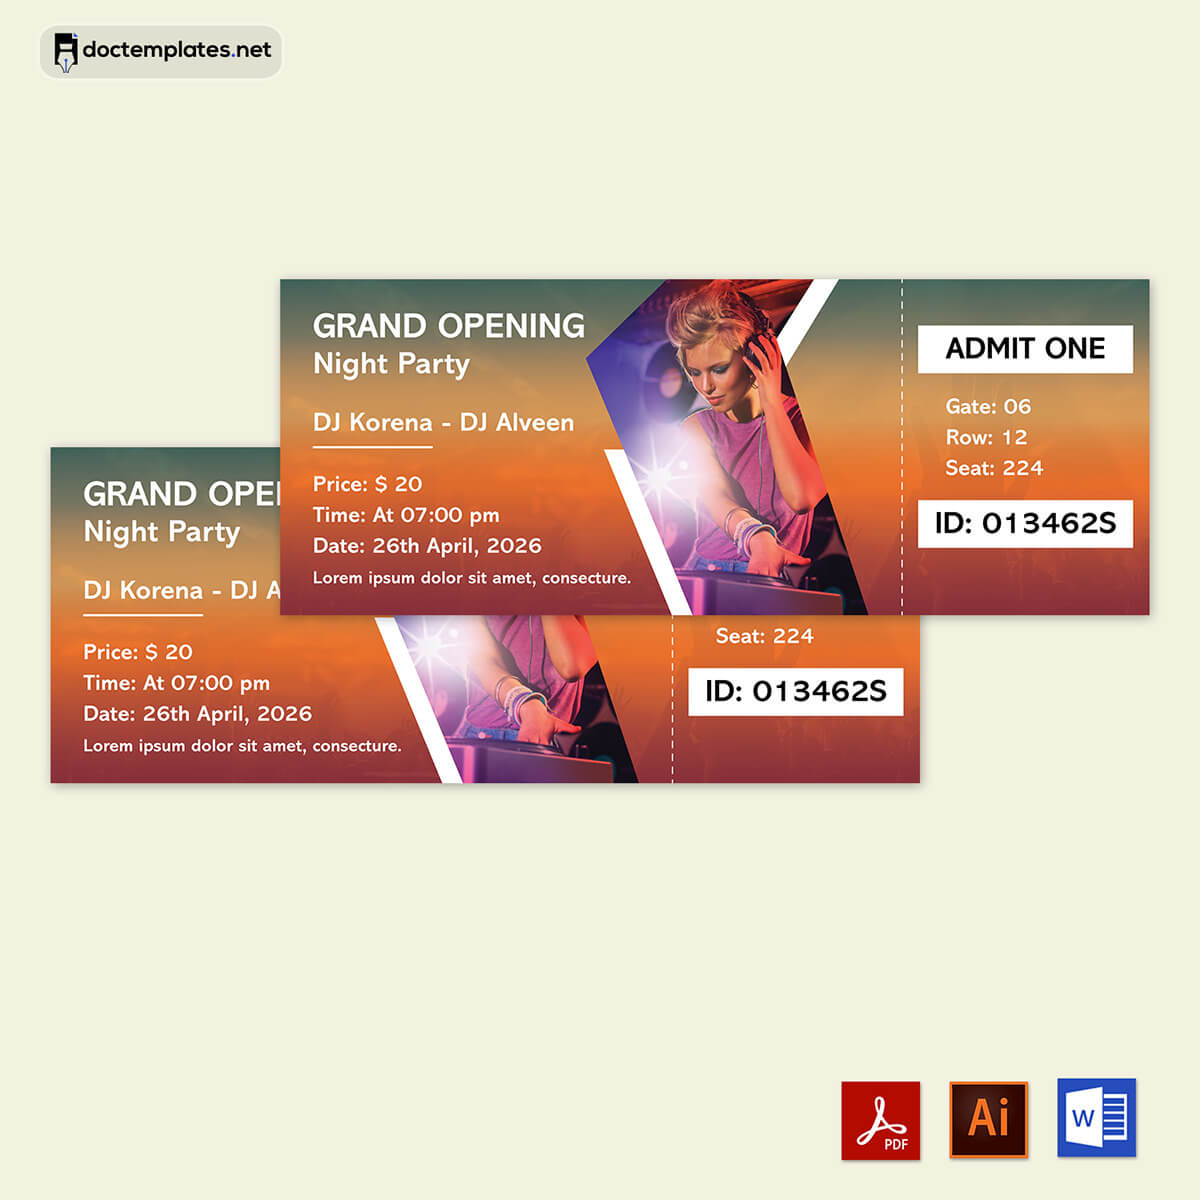
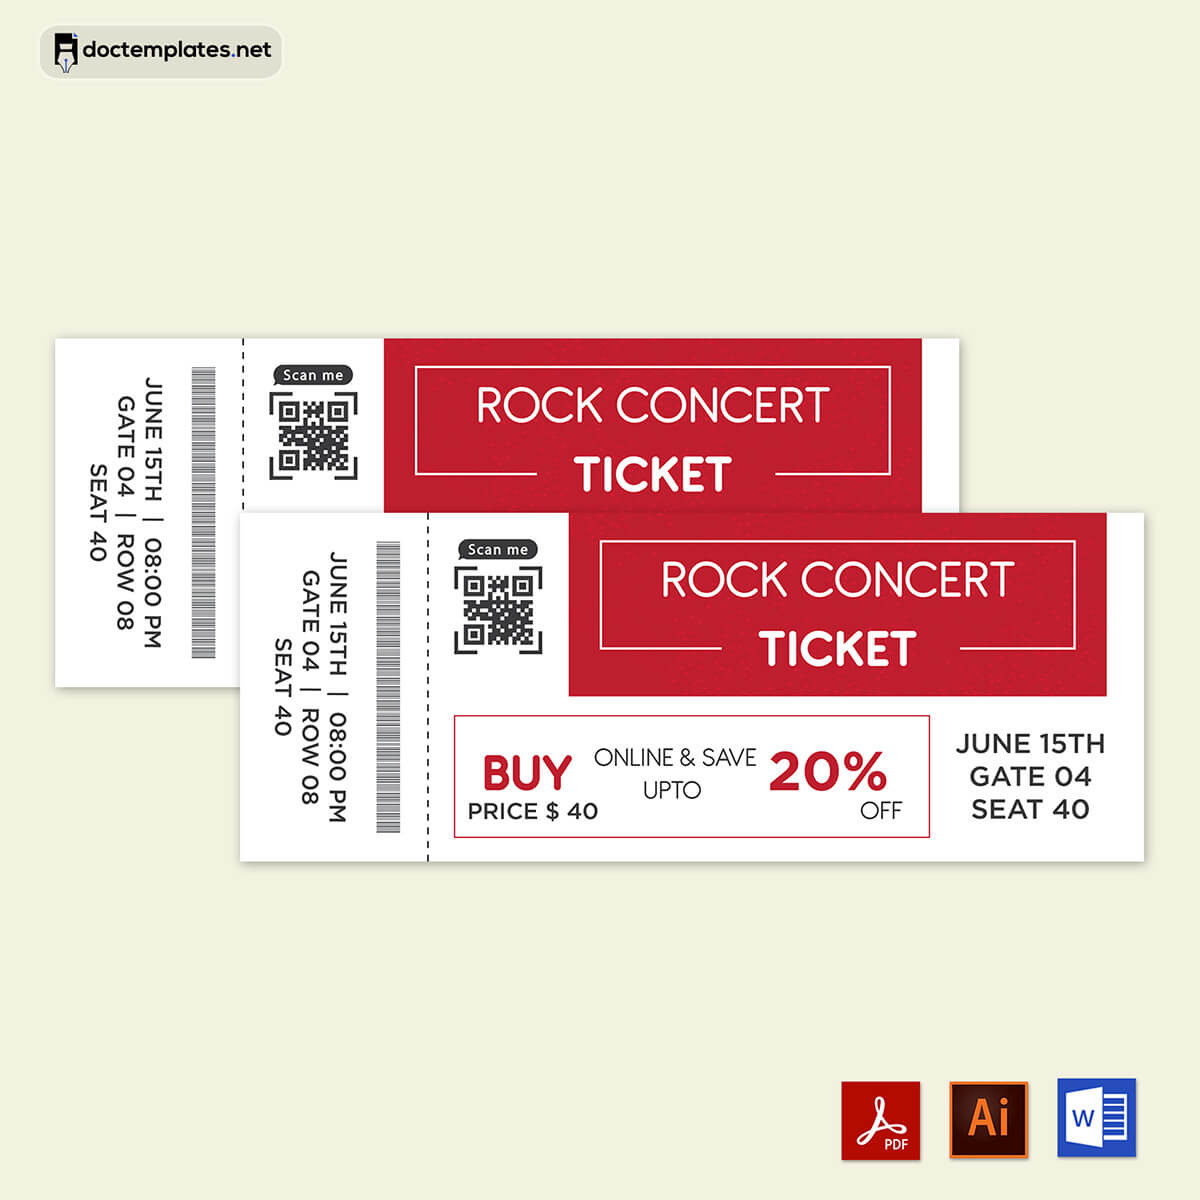
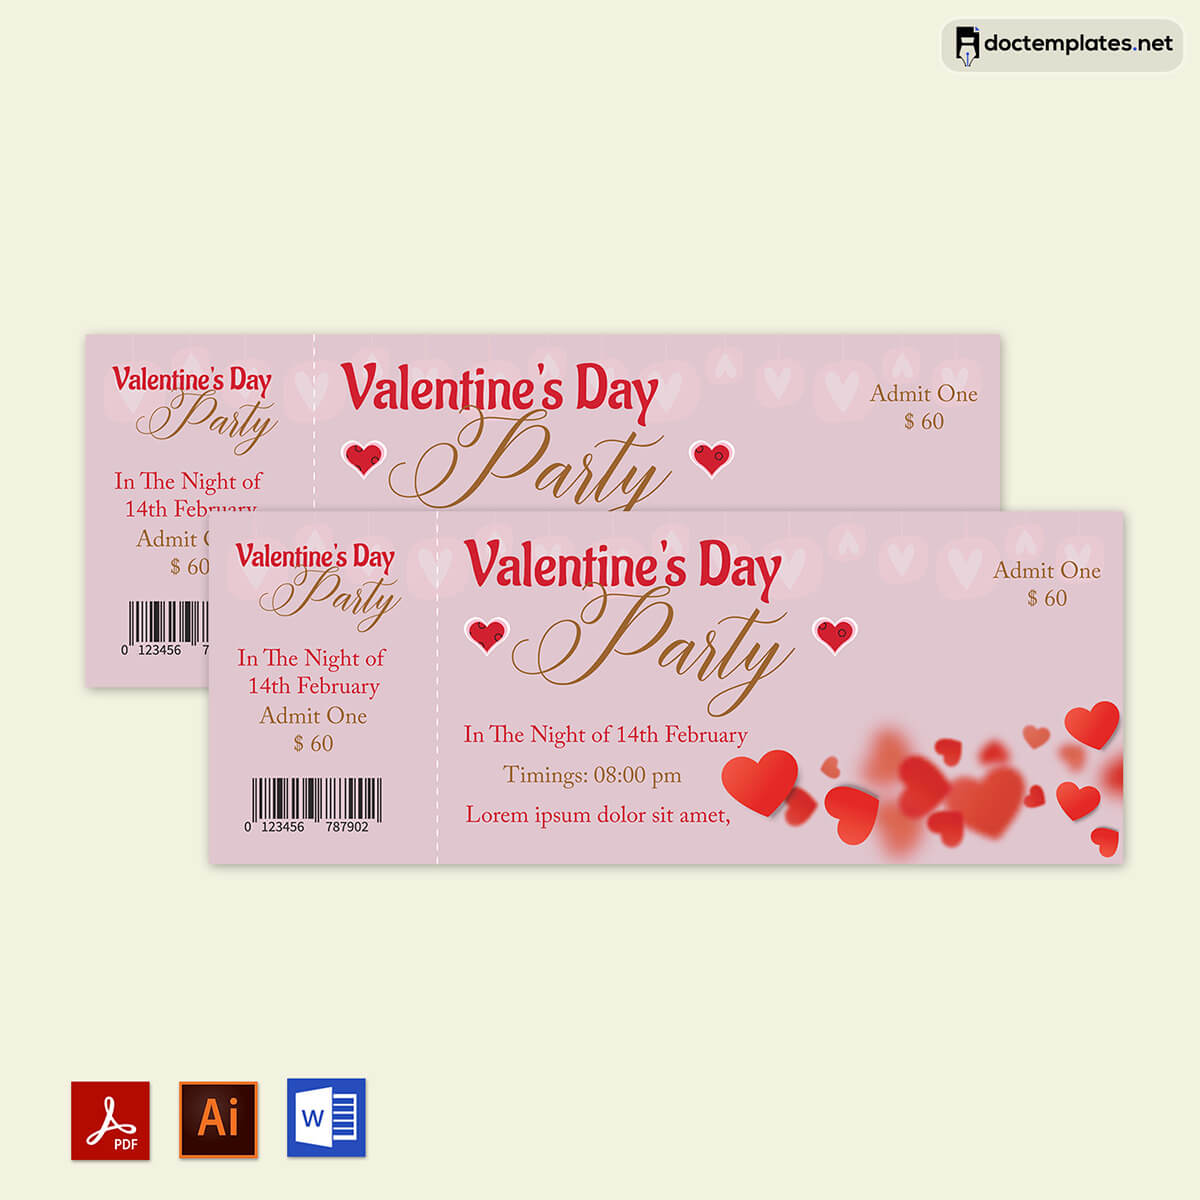
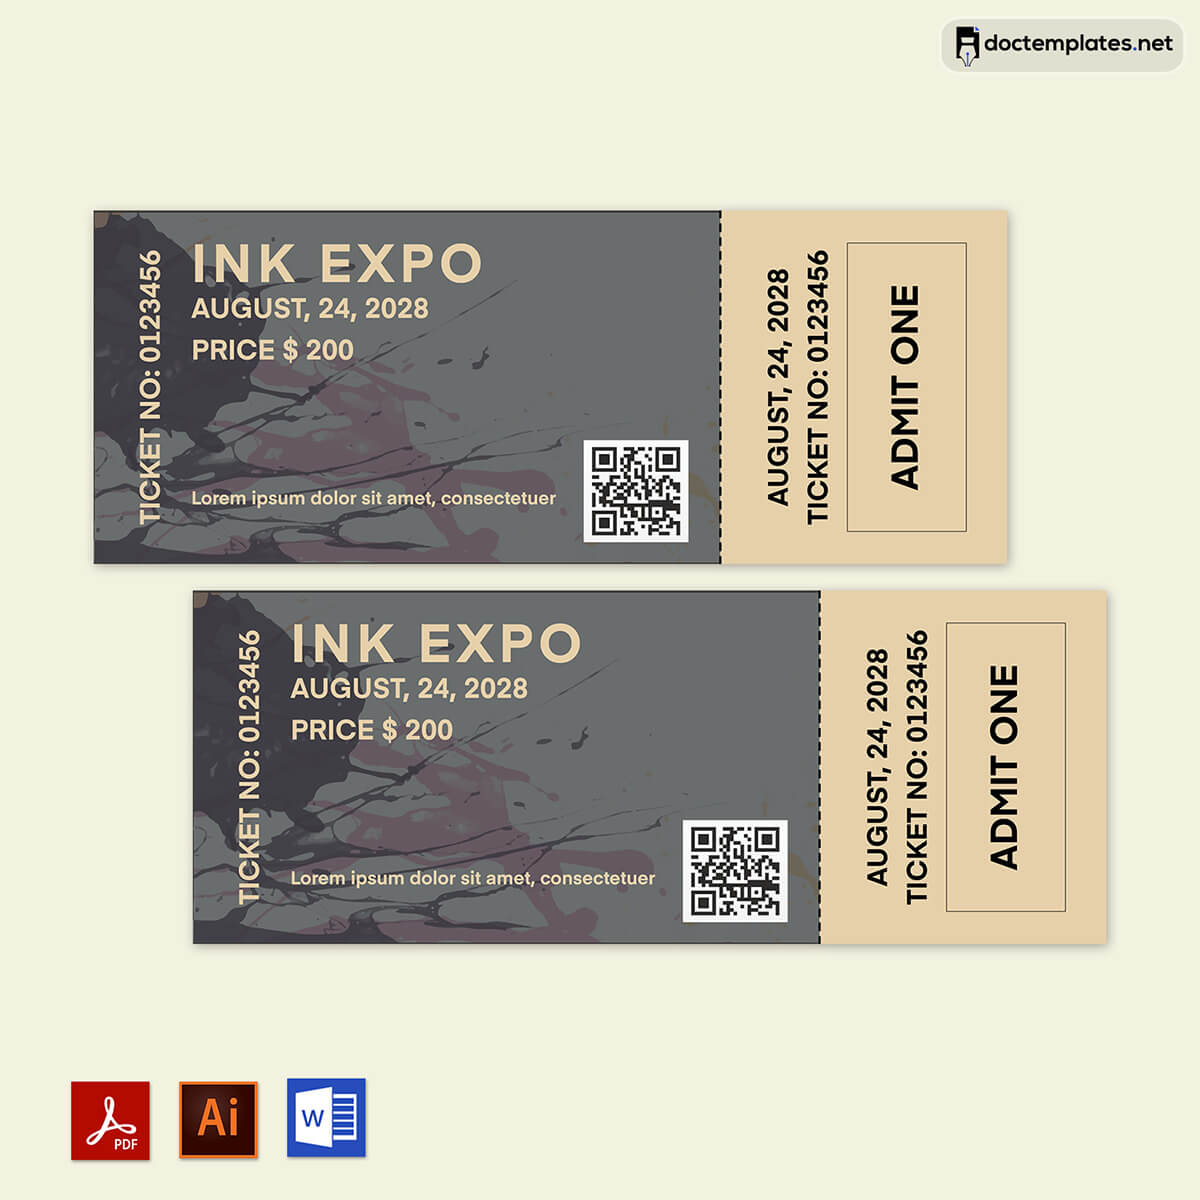
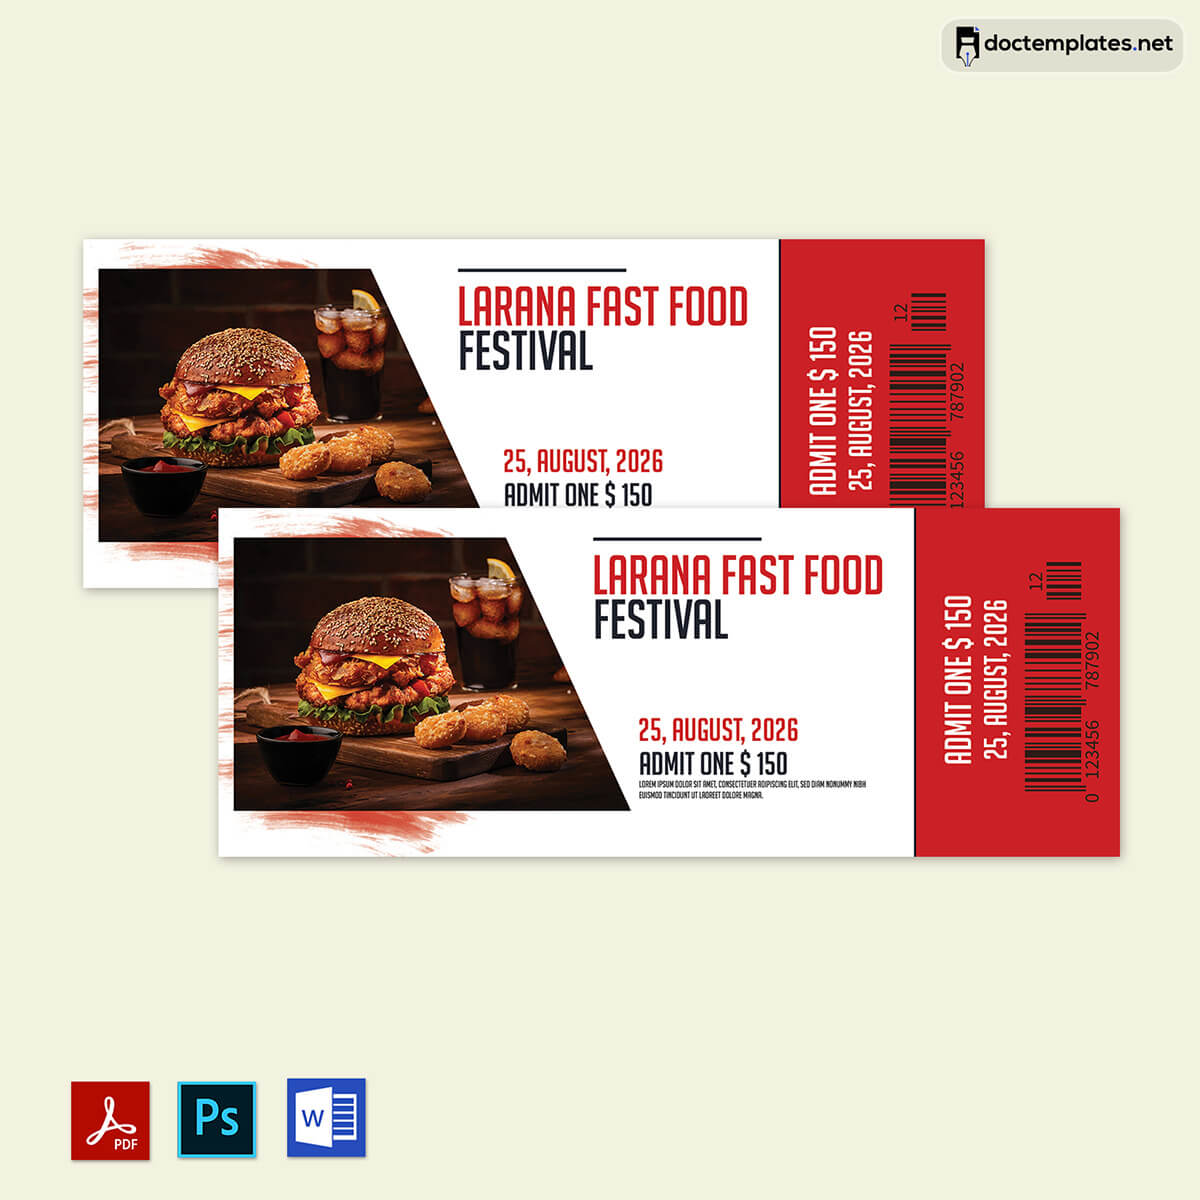
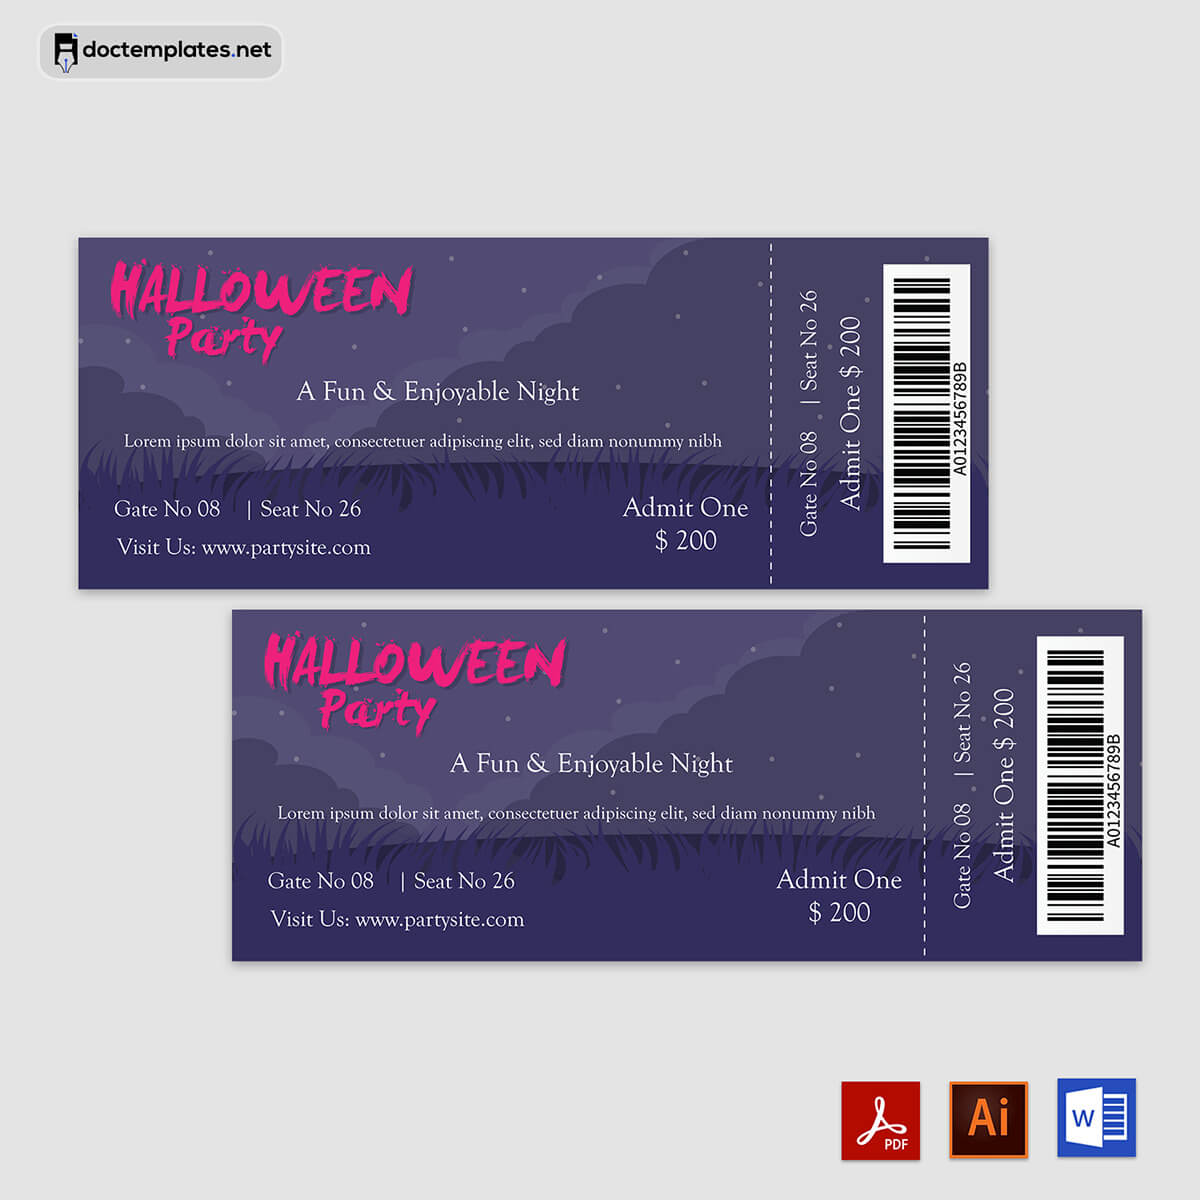
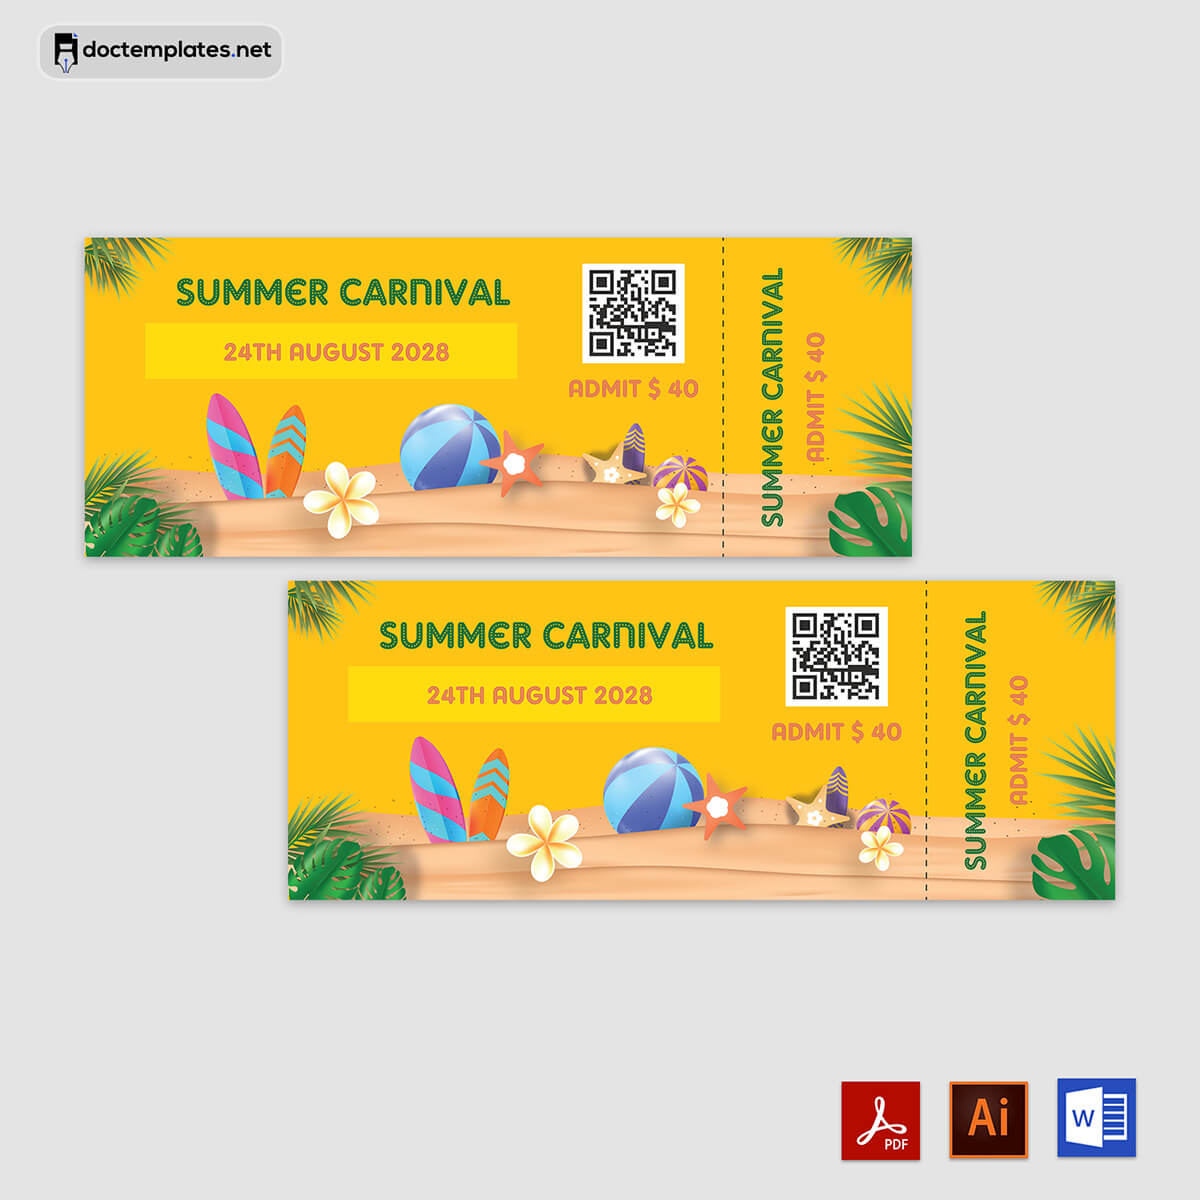
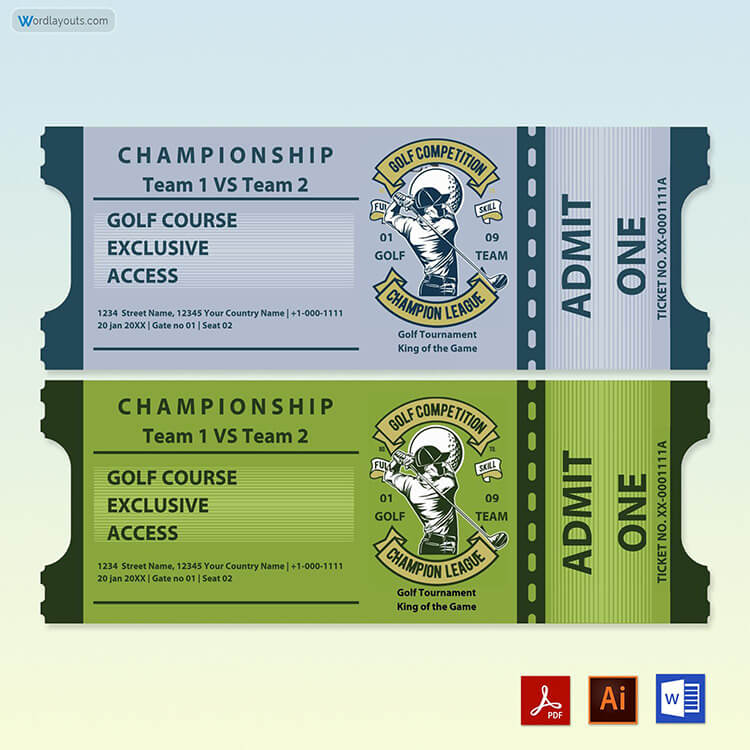
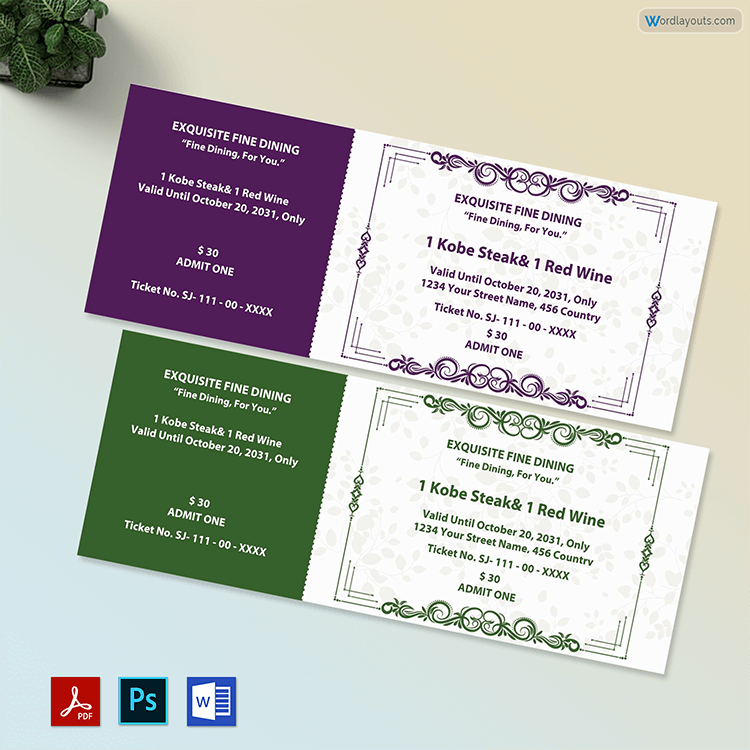
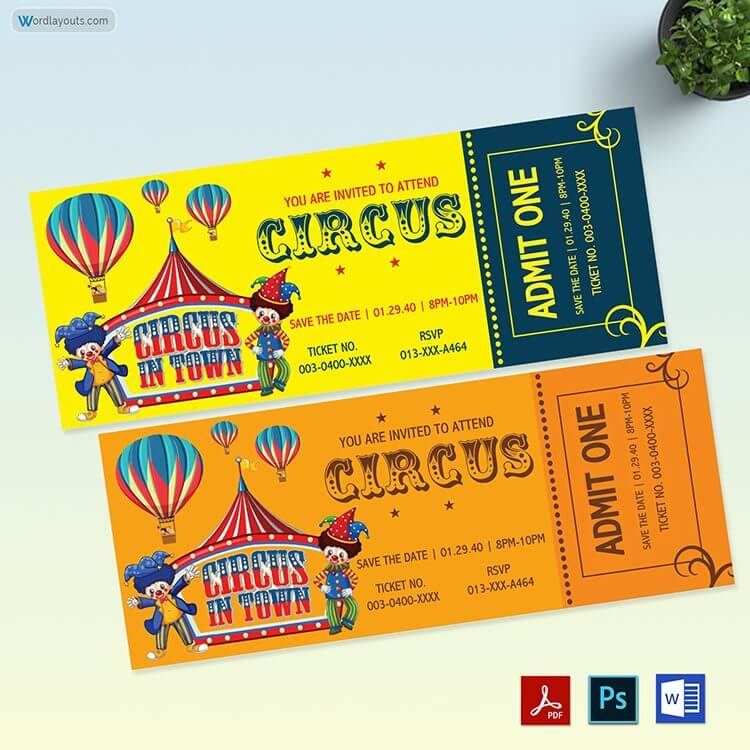
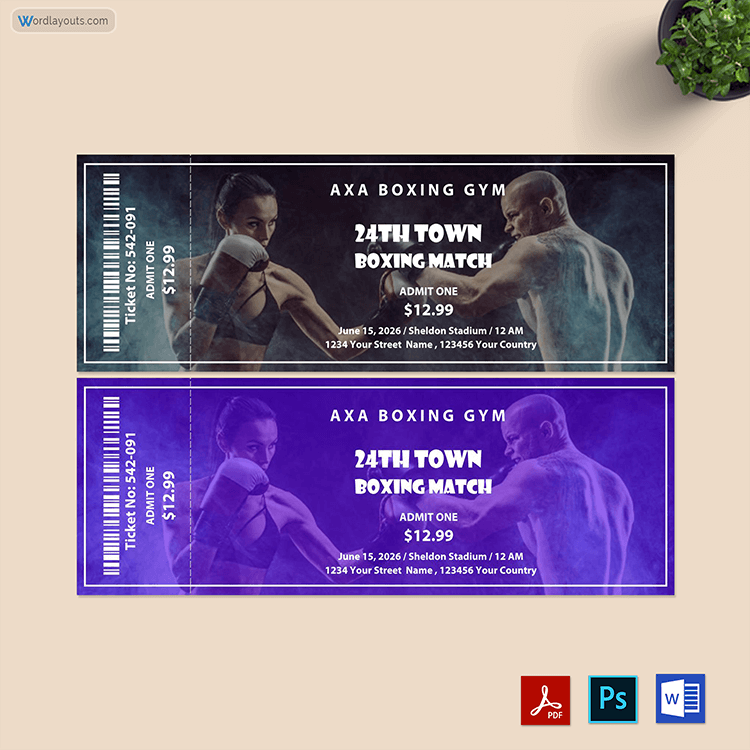
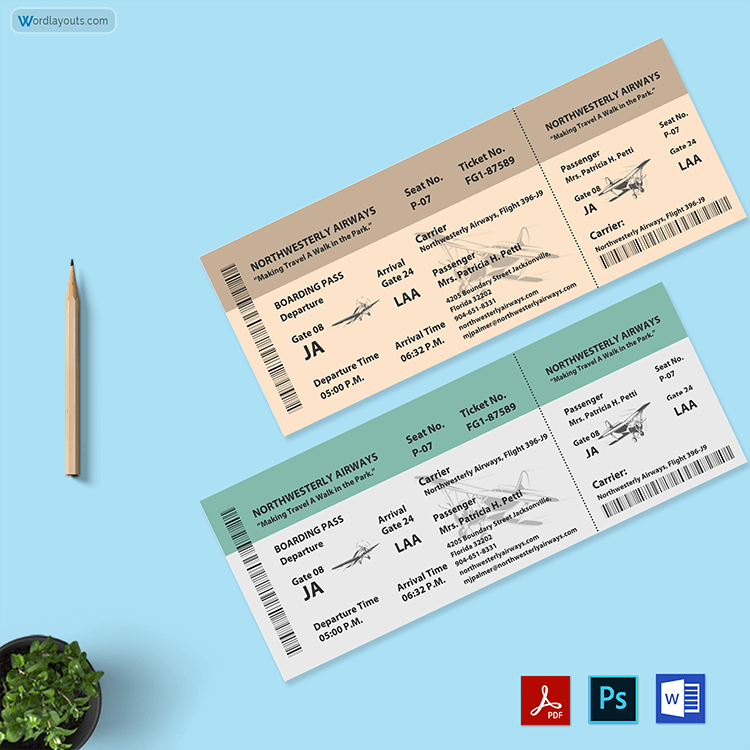
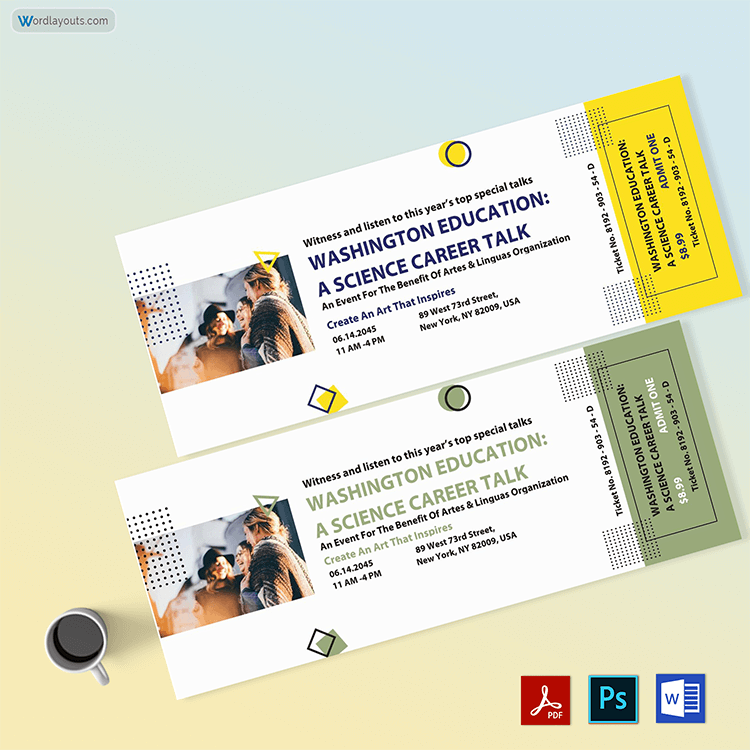
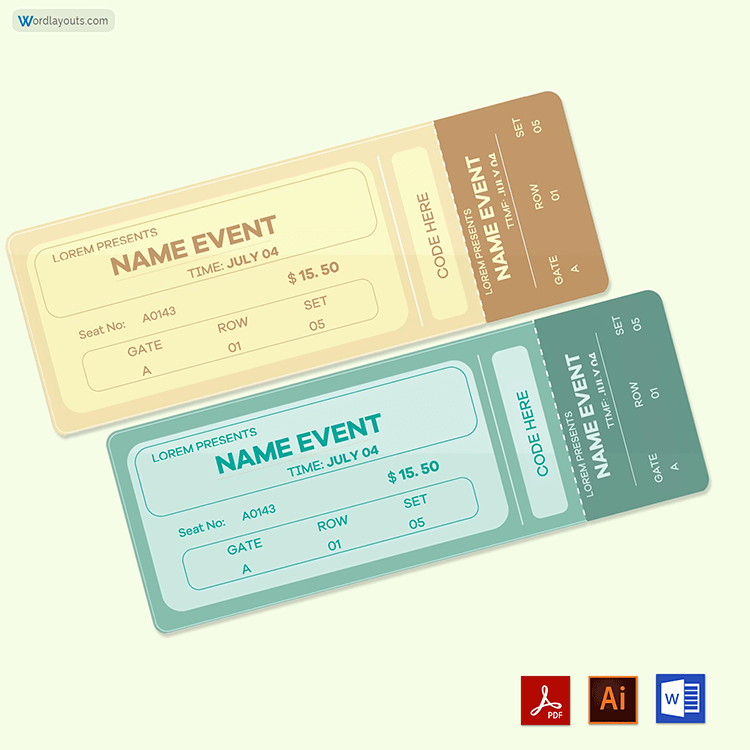
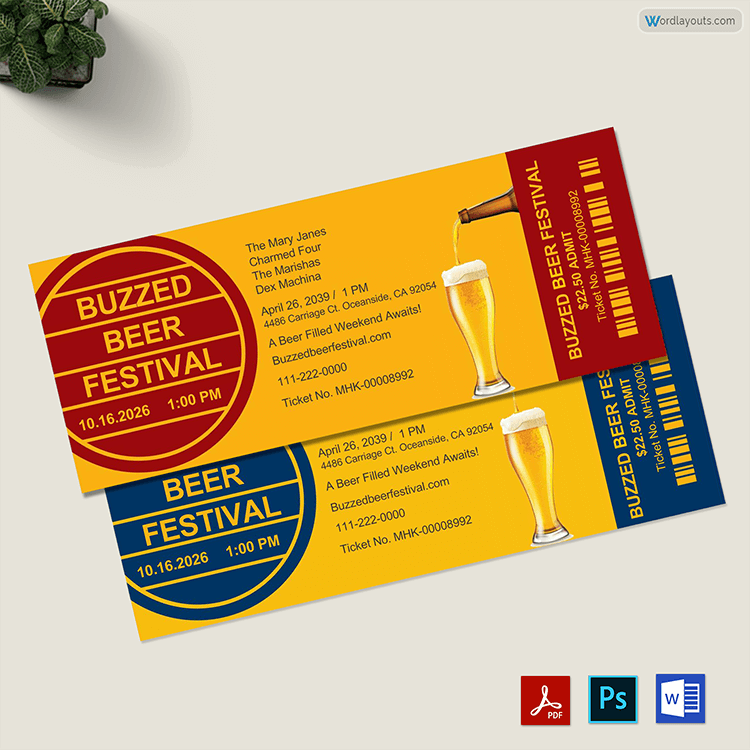
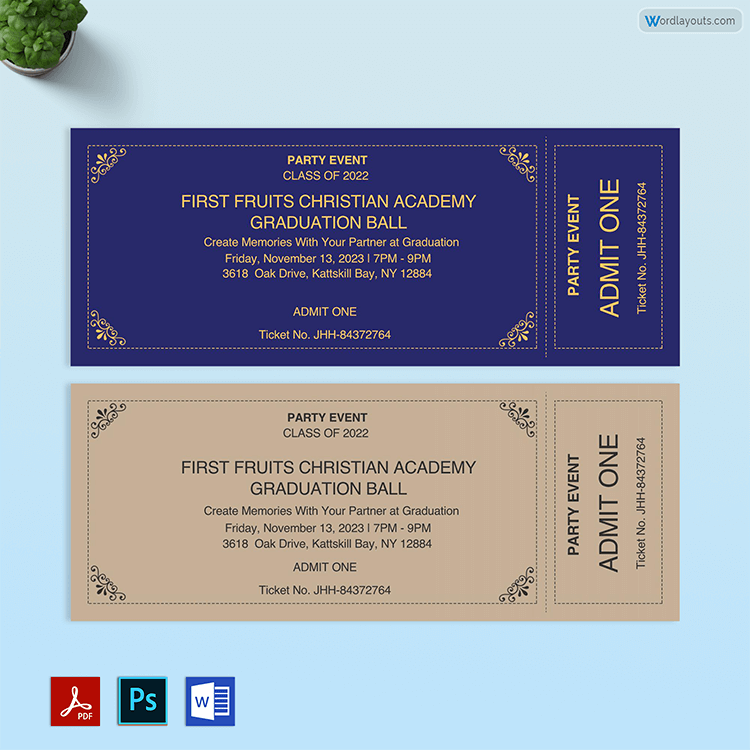
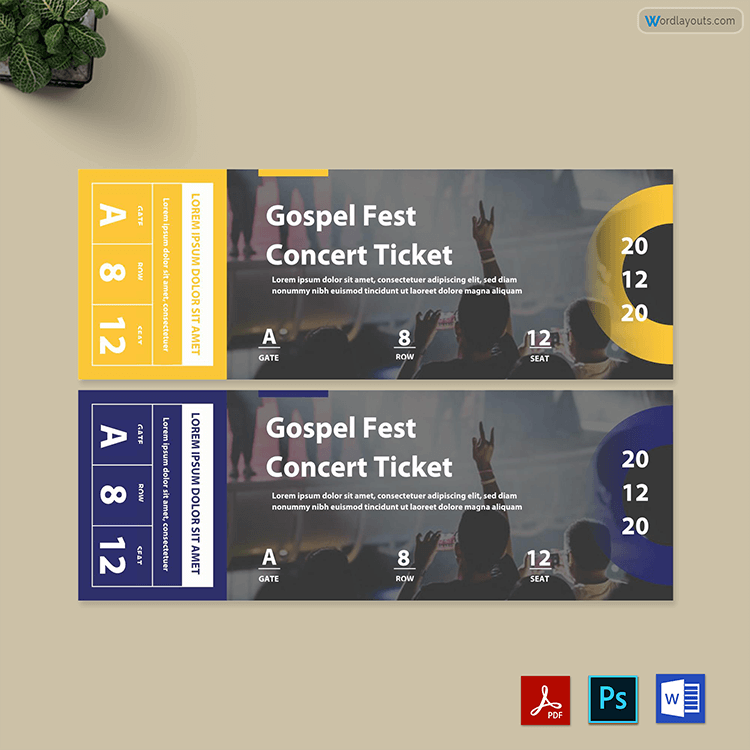
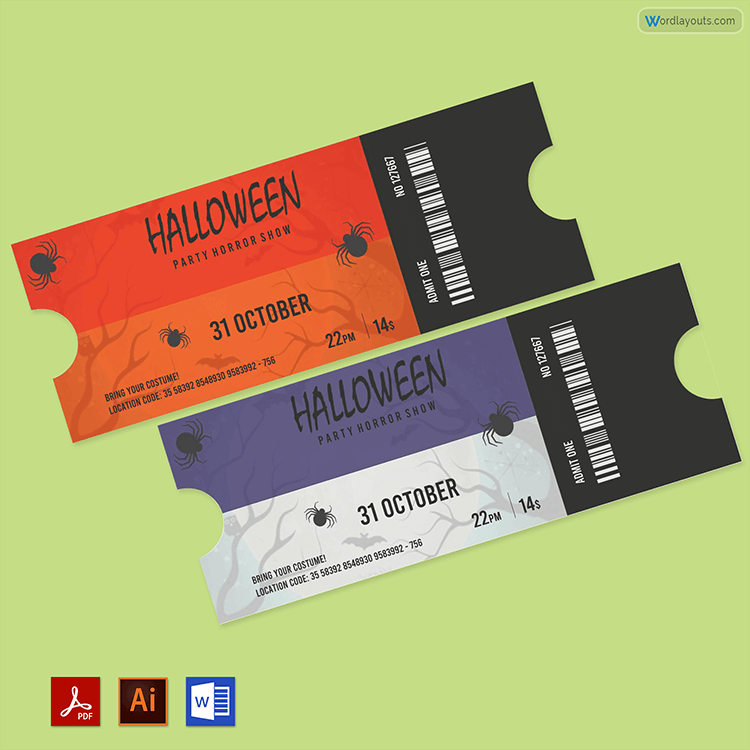
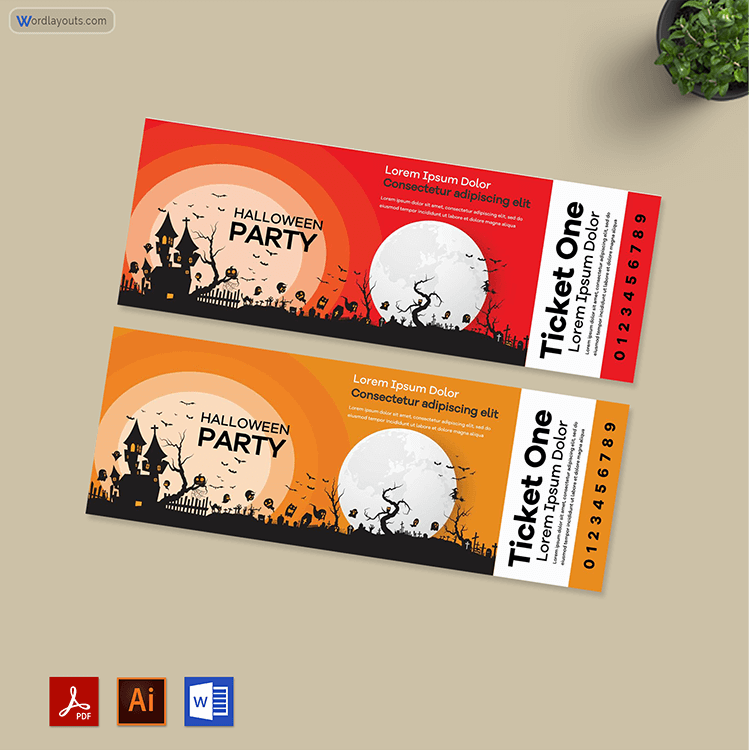
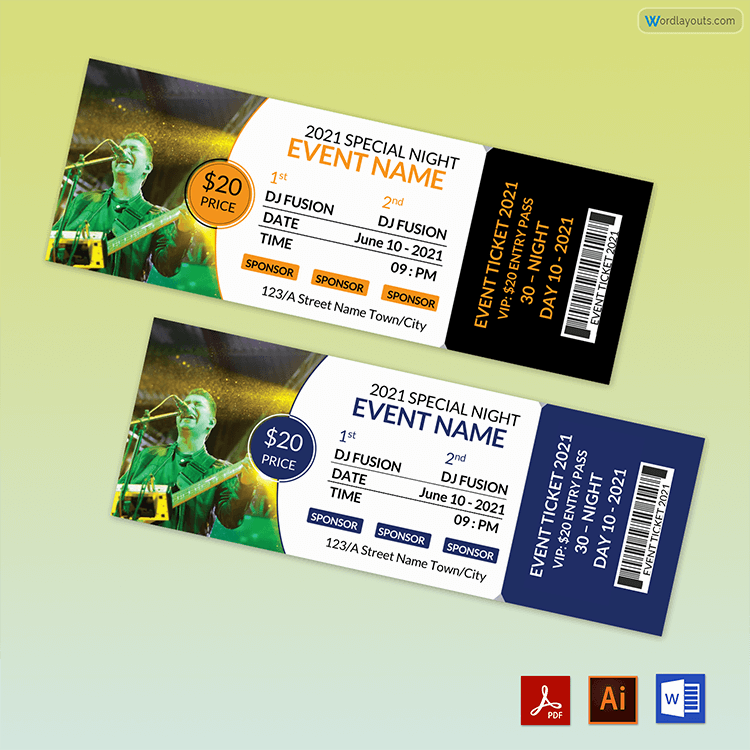
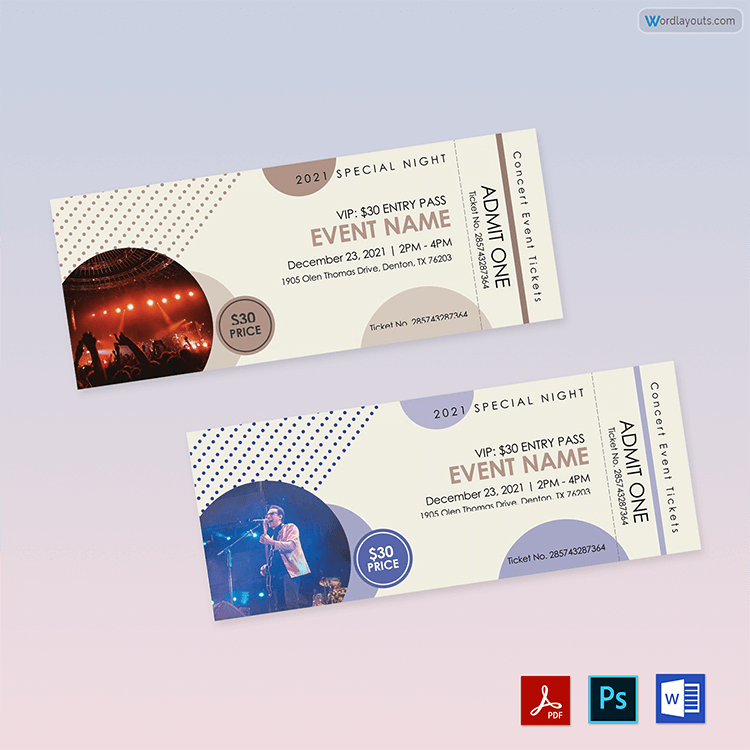
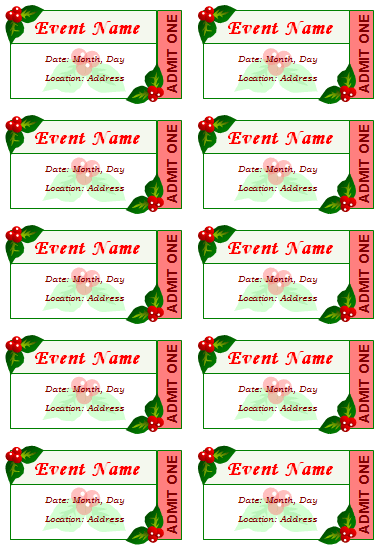
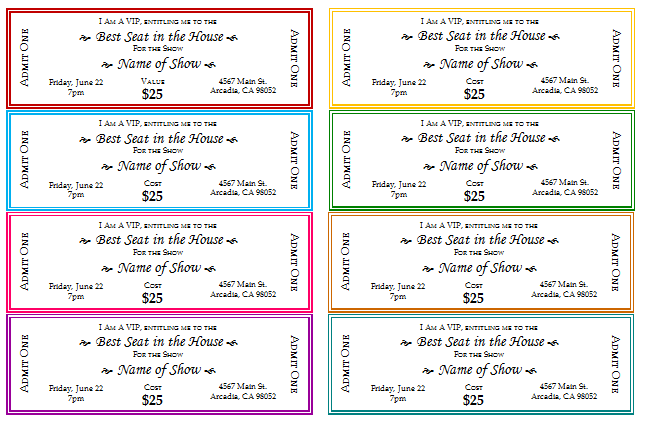
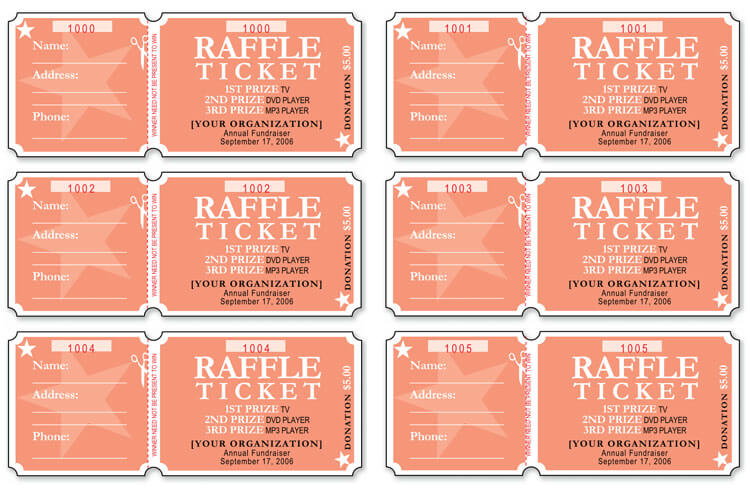
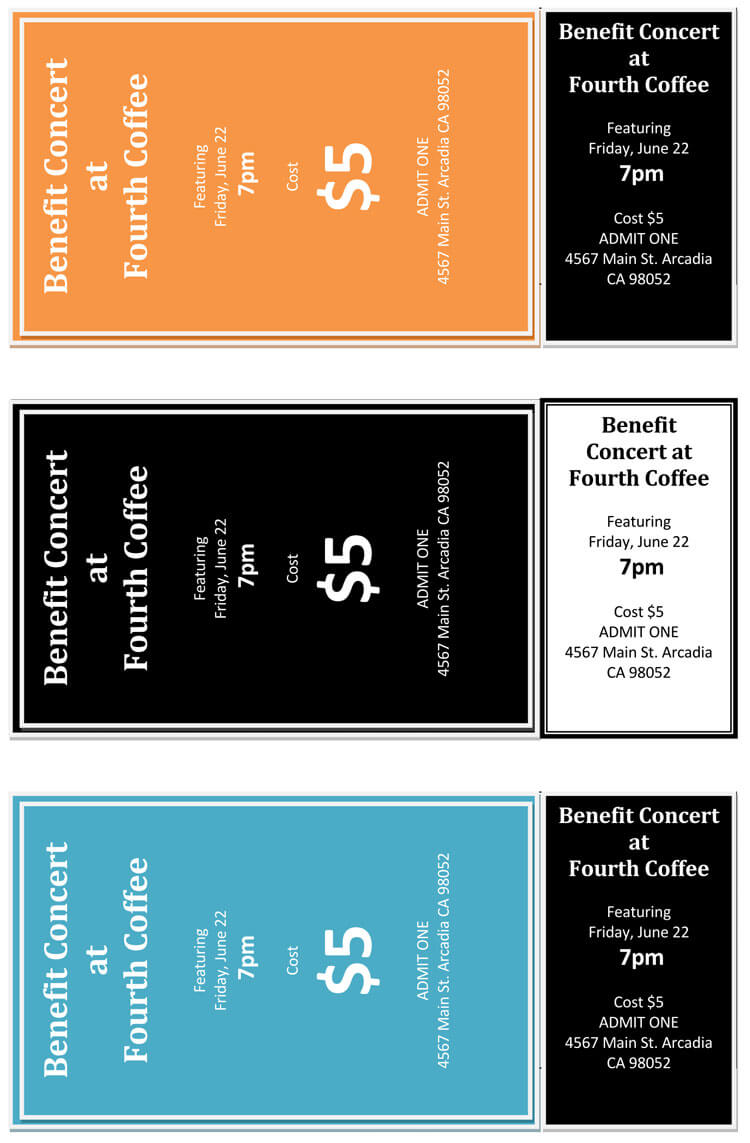
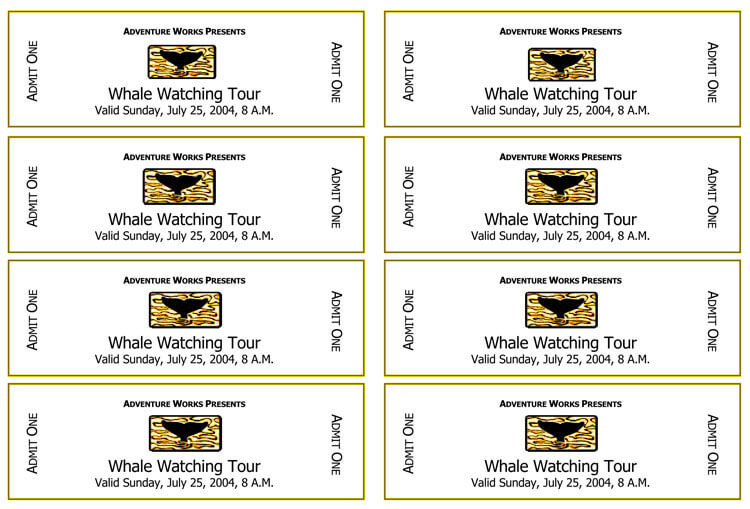
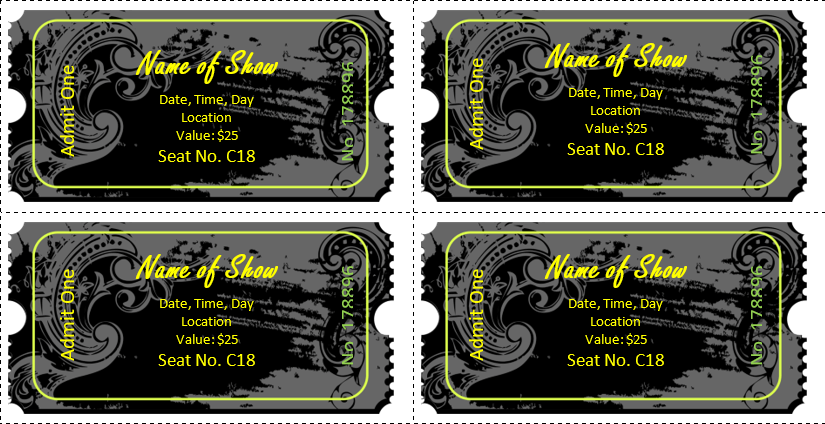
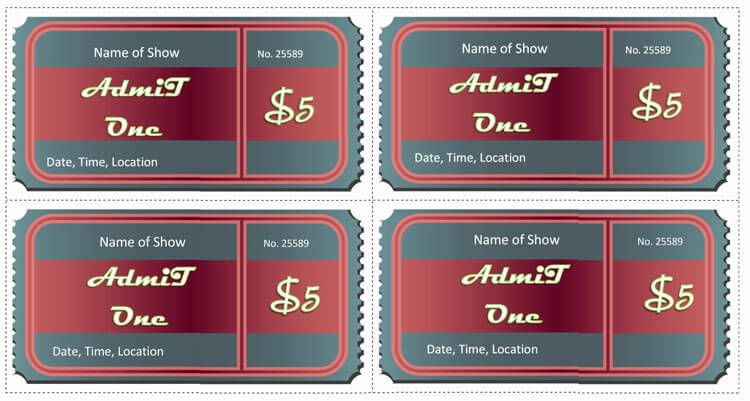
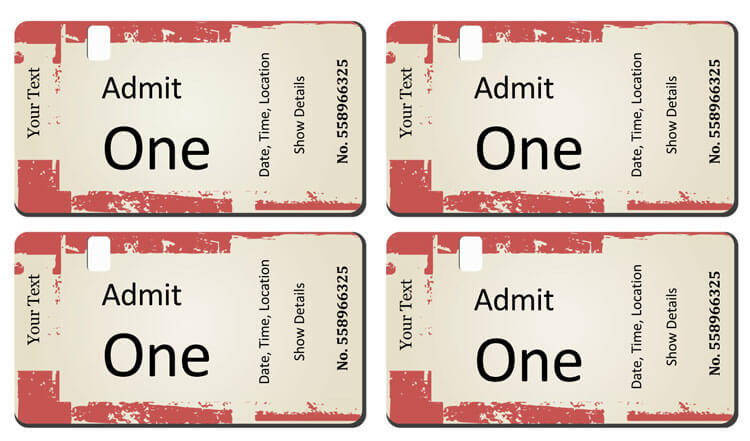
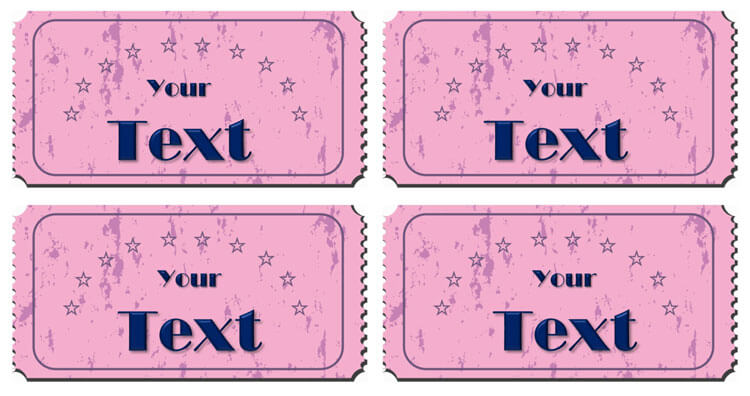
An event ticket would give the attendee an idea about the entire event. They would know where and when to visit and what to expect from the event.
There are certain aspects to keep in mind when designing the event ticket templates. With the advancement in the field of technology, it has now become easier to print and make the documents even in the comfort of home. However, an individual should have an idea about what to do.
They also should be aware of what information is necessary for the event ticket. Given below is a guide, which can of great assistance and valuable insight.
How to Design Tickets for a Certain event
- Keep in view the size and shape. It is important to have the layout in mind, which would make it easier to design the perfect event ticket.
- Use the best images as these images are likely to reflect what to expect from this particular event.
- The event ticket should have a certain theme. This theme can reflect the essence of the event. It is wise to select the right colors, which give the attendee an idea about the basic colors of the event.
- Use perfect content on the event ticket. The event ticket should include all the relevant and required information about the event. The content should be readable. Make sure that the font size is such that the attendee is able to read it. Do not forget to mention all the important and relevant information.
- Make sure it is easy to print and download the event ticket.
Using the Free Event Ticket Templates
There are many different designs available for creating the event tickets. An individual can use the designs according to the theme of the event. The best part about using the customizable event tickets is that these are available in the Microsoft Word format and hence there would not be any hassle of dealing with them. It would be possible to put the automate series of the ticket numbers on these tickets using the Microsoft Word.
It is amazing that technology has brought many changes in the life of modern businesses. It is now possible to print the tickets using the assistance of Microsoft Word. People are learning to print the event tickets, which is amazing. Free event ticket templates can be a great opportunity for someone who has no on creating the event tickets.
How to Put Automate Ticket Numbers on the Templates
Sometimes there is a need to mention the ticket numbers on the ticket for a variety of reasons. It is wise that there is sequential series, as an individual would get an idea of the total number of tickets. The event tickets are easy to make using the help of Microsoft Excel and then Microsoft Word.
Given below is a guide on how to make the event tickets:
Using the MS excel
- Use Microsoft Excel for making the event tickets. The reason for using the Microsoft Excel is to do the numbering of the tickets. In the very first column, which is the column A, write down tickets number in the first cell, which is on the first row. Now if you need 100 tickets, you need to write it in the second cell, which is in the second row of column A.
- You will bring down the cursor near the bottom of the first cell and it would change to a sign depicting a plus. This step is important. Keep on moving the cursor until you see the plus sign at the bottom corner of the first cell. Start dragging the cell downwards until you reach 901. The reason is that you started with one in the second cell. From the auto click option, select fill series.
- Now, you will be able to see that the cells are numbered sequentially, which is amazing because now you do not need to do all the hard or manual work, which otherwise would have been tedious and time-consuming. This is the best thing about Excel. The series would thus start from 100 and would go all the way down to 999.
- Now, the next step, which is crucial, is to save this particular file. Therefore, click on the file menu, find Save As, and save this particular file on your desktop. You can put it in a folder and give it a name, for example, tickets or tickets for the charity event. It is wise to keep everything organized not only in real life but also on the computer so that when needed, one can easily acquire it. Close the file after saving it on the desktop.
Using MS word
- Now, open the Microsoft Word and get a new file to work on it. You can get the new document from the file in the menu. The first thing that you would need to do after getting the new document changes the margins of this document. Go to page layout, click on Margins and select half an inch.
- The next step involves going to the Insert section on the menu and click on Table. Make a 4 X 4 table. In the very first cell, insert the title, for example, charity event and below that, you can provide a link or slogan for the event. It would indicate what the event is about and below this specific slogan, tagline or the website address; you have to put the ticket number. You can create a divider below this in order to improvise, you can press shift, and underline and click enter, which will create the divider within the cell.
- Once you are able to get the divider in the cell, you can insert the ticket number below it. In this way, the upper portion of the cell can have other information including the logo whereas below the divider there would be a ticket number.
- Go to insert and select online pictures, you can select pictures from Microsoft clip art. You can select the logo. Format the size of the image from the toolbar, change the size to 0.5 and go to wrap text to further format the image as it is likely to be in between the text. You have to relate the image to the text, there would also be a small pop up next to the image. You can select the type with text option.
- You can put the text information in the center and play with the font size in order to keep the title large. For example, the font size of Charity Event can be larger than the remaining text in the cell.
- Next, go to Mailing in the taskbar. Click on start mail merge. At this point, you have to pretend that this particular table, which you have just made, is a label. There would be an automatic display and the box would have information on the last label.
- At this point simply click on cancel and you would notice at the update labels are greyed out. However, once you would hit cancel, it would be available to you. Then go to select recipients and click on the ticket file, which you had previously made in the Microsoft Excel. Click OK and then click on insert merge filed and click on the ticket. Before clicking on the ticket do not forget to highlight the placeholder.
- There are chances that you might lose the divider; however, you can always create it back as now you know the method. Highlight the placeholder above and below the divider, which would indicate the ticket number of the event ticket. You can also change the font size of the ticket number so that it would be visible to the attendee. After formatting the first cell, you can update labels.
- Go to preview results to find out how the result would be. You can play with the fonts and sizes and decide whatever change you want in the ticket; however, every time you make a change do not forget to update the table.
- You can also add a new row. After you are done with everything, you go to Finish & Merge. You can select edit individual documents. It would create a file comprising of different pages. You can cut them when these are printed.
More Templates
Video Tutorial
Following is a video tutorial for more clearer view and understanding:
Final Words
Technology has changed the way people now manage the tickets for an event, as it is now easy to make the event tickets from the comfort of home. Using the templates, even have everything easier and to the point. Using the 30 different kinds of designs would be extremely useful in designing the perfect event ticket for a particular event. It is a nice cause to raise funds for the poor and people organize charity events. It would be great to cut on budgets, which involve expensive designing of the event tickets by hiring different experts and professionals, as it is now possible to create the tickets easily using the Microsoft Word.
