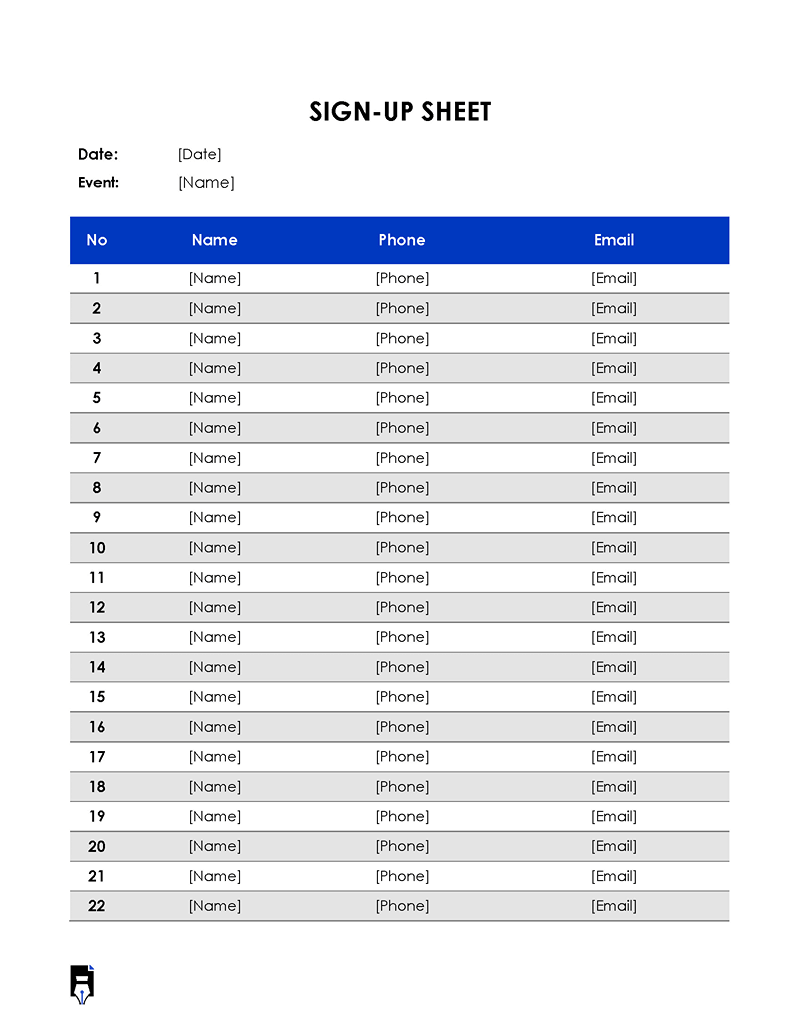
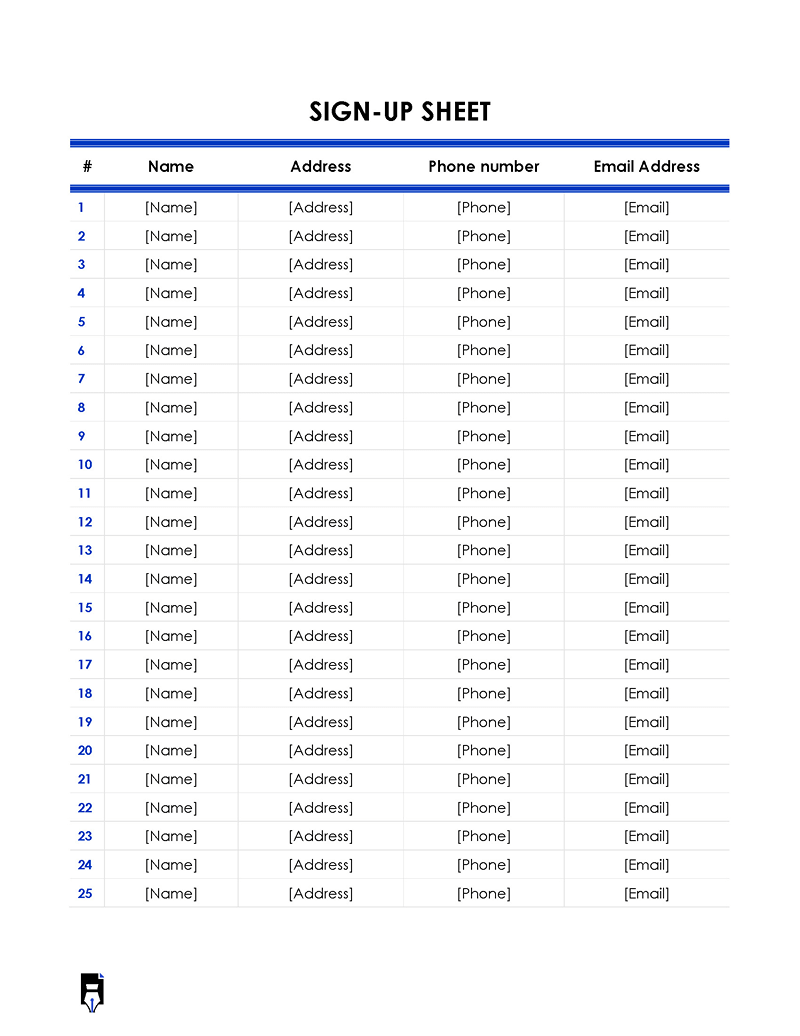
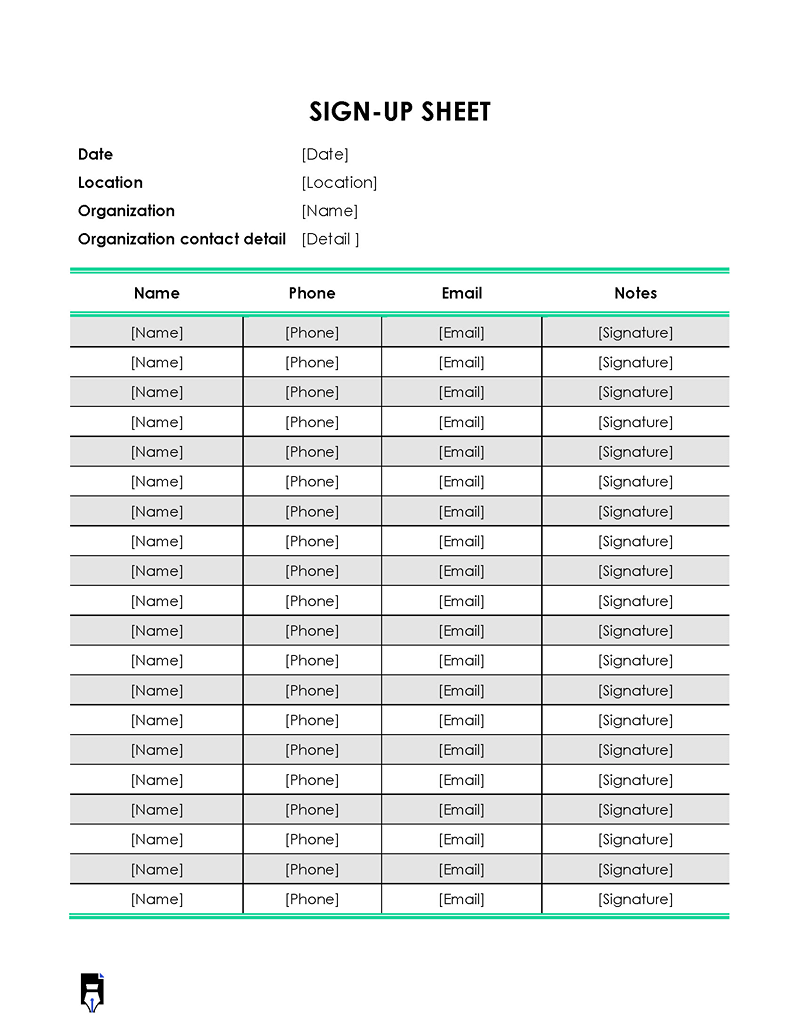
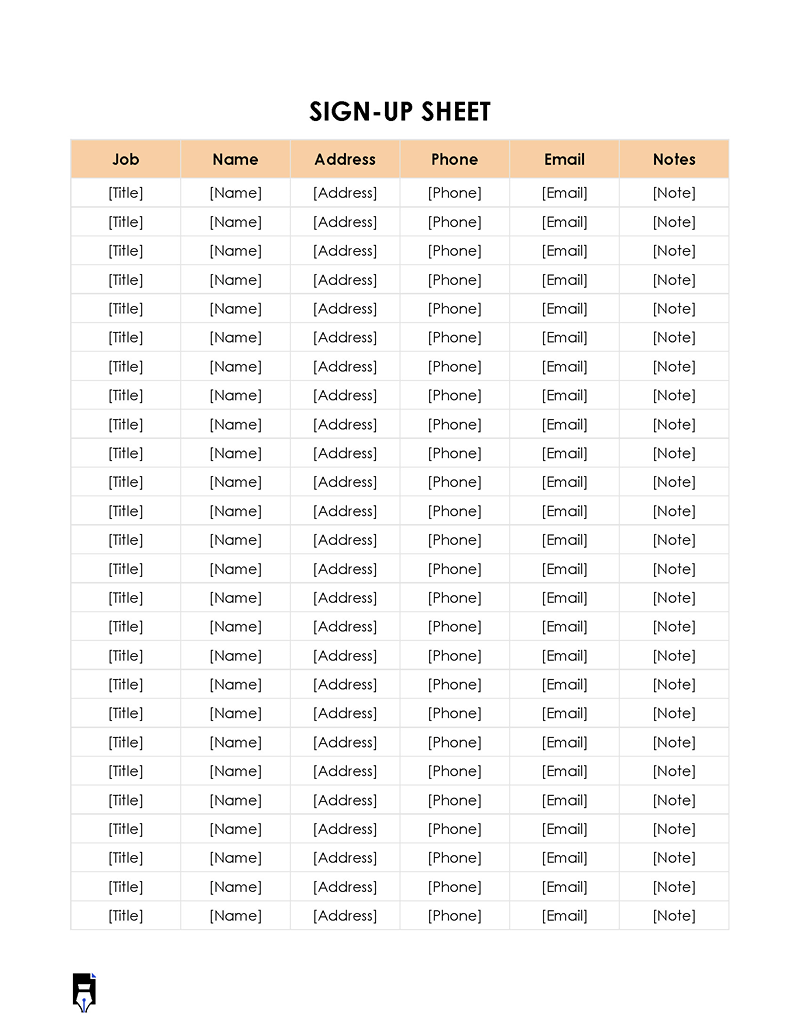
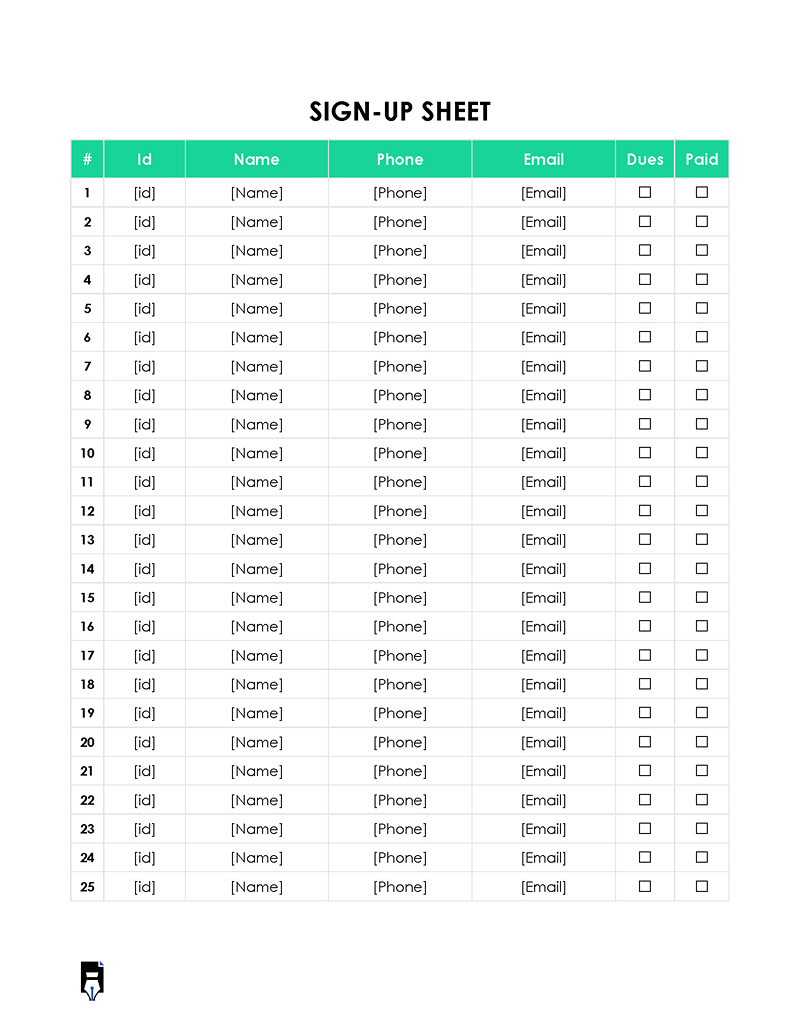
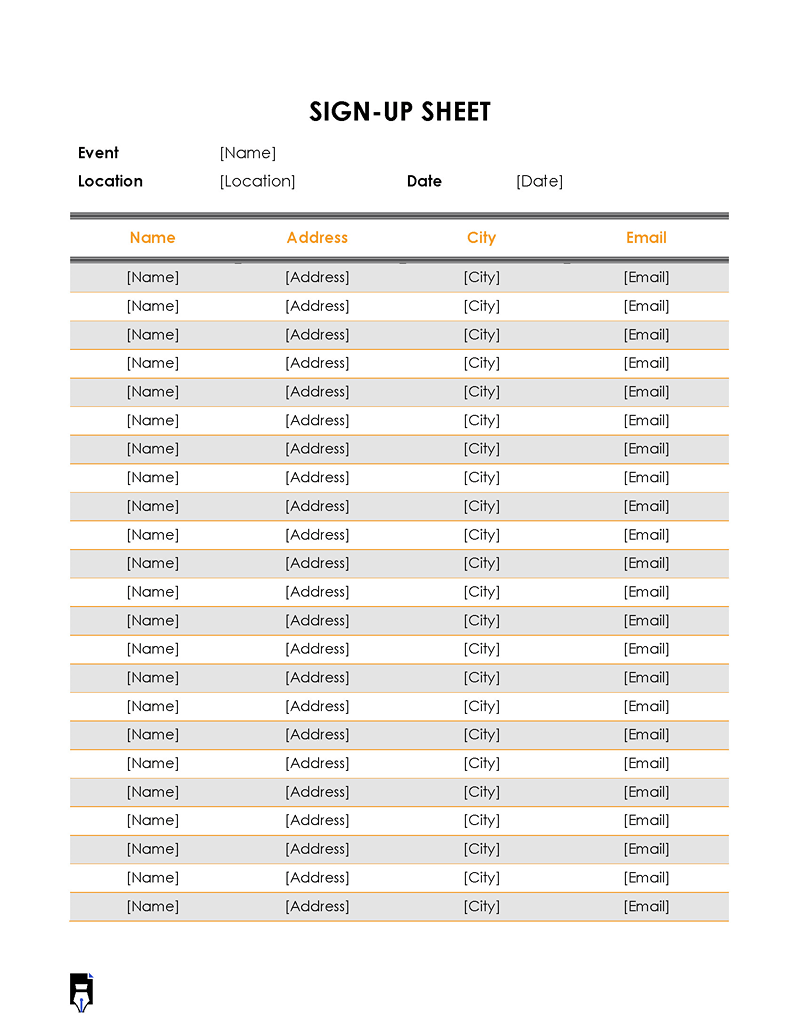
A sign-up sheet is an online or physical document that allows people to sign up for an event or activity.
It also allows organizations to collect contact information about prospective clients to fine-tune their marketing strategies. The sign-up sheet can be used for infinite reasons, such as to gather information about participants, track attendance, or collect payments.
A sign-up sheet is usually a simple form with spaces for participants’ names, contact details, and other information you seek. For example, you can add a section for attendees to write what they bring to the dinner or what type of volunteer work they are interested in.
The use of sign-up sheets can be traced to the early days of the American school system when teachers used them to track attendance and class participation. The teacher typically drafted these sign-up sheets and kept them in a binder. As technology advanced, sign-up sheets also evolved from paper-based sheets to digital and web-based platforms of today, where people can sign-up and register for events, courses, or memberships in a few clicks.
Free Templates
Given below are sign up sheet templates:
This article will guide you on how to create a sign-up sheet and discuss certain important aspects to consider. Free downloadable templates are also provided to help you during the creation process.
Stats: According to research, generating leads is the most important aspect for one-third of all marketing firms. Sign-up sheets, therefore, help organizations widen their customer base and grow their brand since prospective customers can learn more about their products and services through them.
How to Create a Sign-Up Sheet
There are a few essential items to note when creating a sign-up sheet. First, using a table to create your sheet is best, as this will make it easier to format and keep everything organized. Second, use clear and concise headings so that people can easily see what the different columns refer to. Third, ensure all the information you need is included in the sign-up sheet. This information includes the reason for collecting information, the event’s name, the date and time, the location, and any other essential details.
There are two methods that you can use to create your sign-up sheets. Below are step-by-step instructions on using these methods:
Microsoft word
1. On the bottom left corner of your screen, click on the Start Icon and open Word. Alternatively, you may click on the Search icon, type in Word, and click on the icon to open Microsoft Word.
2. Click on New to open a new document on the left ribbon. You may also type Sign-up Sheet in the search box to download a template. This will open as a new document that you can edit.
3. By now, you know the scope of the information you wish to collect. Establish the number of columns that would be ideal for you to gather all that information. It is worth noting that the standard paper size is 8.5 by 11 inches. Therefore, the number of columns may be limited to five.
4. Locate the Insert Tab on the top menu and click on Table. A grid will appear below the ribbon. Use the cursor to specify your table’s number of rows and columns.
For example, if you expect five people to fill your sign-up sheet and require their names, phone numbers, and addresses, select three boxes across and six down.
5. On the top of the table, name your sign-up sheet. You may include a short description to provide additional context on the sign-up sheet. For a template, the title may already be included.
6. Write the column titles on the top row of your table. These are the sets of information you wish to collect. The column headers may include name, identification number, phone number, email address, date, gender, and signature, among others.
7. You may edit the layout of the elements in your table. Begin by clicking on any cell in your table, then select the Layout Tab on the top menu. Note that there are two layout tabs on the menu. Click on the one on the far right of the menu. To add extra columns, select any cell in a column next to which you wish to add a new one and click Insert Left or Insert Right. To add extra rows, select any cell in which you wish to add a new row above or below and click Insert Above or Insert Below. If you are using a template, the process is similar.
You can also modify the size of the columns or rows by selecting the rows or columns you wish to change the size. On the Cell Size ribbon, click on the up or down arrows on the Height and Width dialogue boxes to change the sizes of the cells.
8. Click any cell on your table and select the Table Design Tab on the top menu to customize the aesthetic of your table. On the Table Styles ribbon, click the drop-down arrow and choose the style with the color scheme that best suits your needs. On the Borders ribbon, click on the border styles drop-down arrow and select the type of border you wish to have on your table. The cursor will change to a pen. Click on the borders of your table to apply the selected border style. A template, however, already has a preset design that you can modify further by following the same procedure.
9. Click on File on the top menu and select Print. On the copies dialogue box, specify the number of copies you require and click Print to print your sign-up sheets.
Microsoft excel
To remain organized, use Microsoft Excel to coordinate your information effectively. The simplest approach to achieve this is to utilize a blank Microsoft Excel spreadsheet, which can be found in the Insert Tab of the Excel menu’s Design section. Once you have opened the blank spreadsheet, begin filling the cells with the information you wish to collect, i.e., name, identification number, phone number, email address, date, gender, and signature, among others. This is the most straightforward sign-up sheet that you can make in Excel.
It will assist you in tracking who has signed up for your event or what information you have already collected. You may print the spreadsheet or maintain a soft copy on a computer to collect the required information.
Tips to Consider
Sign-up sheets are an excellent way to ensure you can keep track of your guests or employees. However, some fundamentals should be considered when making it. Here are a few tips to make sure your sign-up sheet is perfect:
Keep it simple
The goal of the sign-up sheet is to collect information from people interested in your event or cause. You do not need to include extra information that might displease potential respondents or make the sheet too confusing.
Include a call to action
Add a call to action to make your sign-up sheet distinctive. A call to action will help attract attention and make people more likely to fill out the sheet. For example, you may write “Reserve Your Spot – Sign Up Now” to prompt a response from your employees or attendees.
Offer a freebie
Promise to offer an incentive to all who will fill out your sign-up sheet. For example, mention that you will provide free snacks to everyone who fills out your sign-up sheet. This will help attract attention and make people more likely to complete it.
Use a template
You can use a pre-made sign-up sheet template to collect your desired information. It is beneficial for your organization if you wish to make a sign-up sheet for multiple reasons. For example, you could create one for new employees, volunteers, or participants in an event. Having all the necessary information in one place makes it easier for people to sign up and reduces the chances of any mistakes.
Conclusion
Sign-up sheets are an essential tool for companies and organizations. They allow you to track who participates in your event or volunteers for your project. However, it can be customized to fit the specific needs of your event or activity. Sign-up sheets also make it easy to communicate with volunteers and participants. Having all the necessary information in one place makes it easier for people to sign up and reduces the chances of any mistakes. Follow the guidelines in this article, and your next sign-up sheet will help you gather all the necessary information.
