

A daily lesson plan turns an idea for a class into a sequence you can teach: what students should learn, how they will practise it, and how you will check their understanding. You do not need to fill every box with a paragraph. Start with the learning goal and the evidence you want to see, then use the remaining space for the steps, materials and reminders that will help you teach.
The ten editable Word and Google Docs templates below organize that information in different ways. Choose a layout that fits the lesson and your school’s planning requirements. A timed sequence can help with a tightly scheduled class; a teacher-and-student guide can make the two sides of an activity easier to follow.
Choose a layout before you start writing
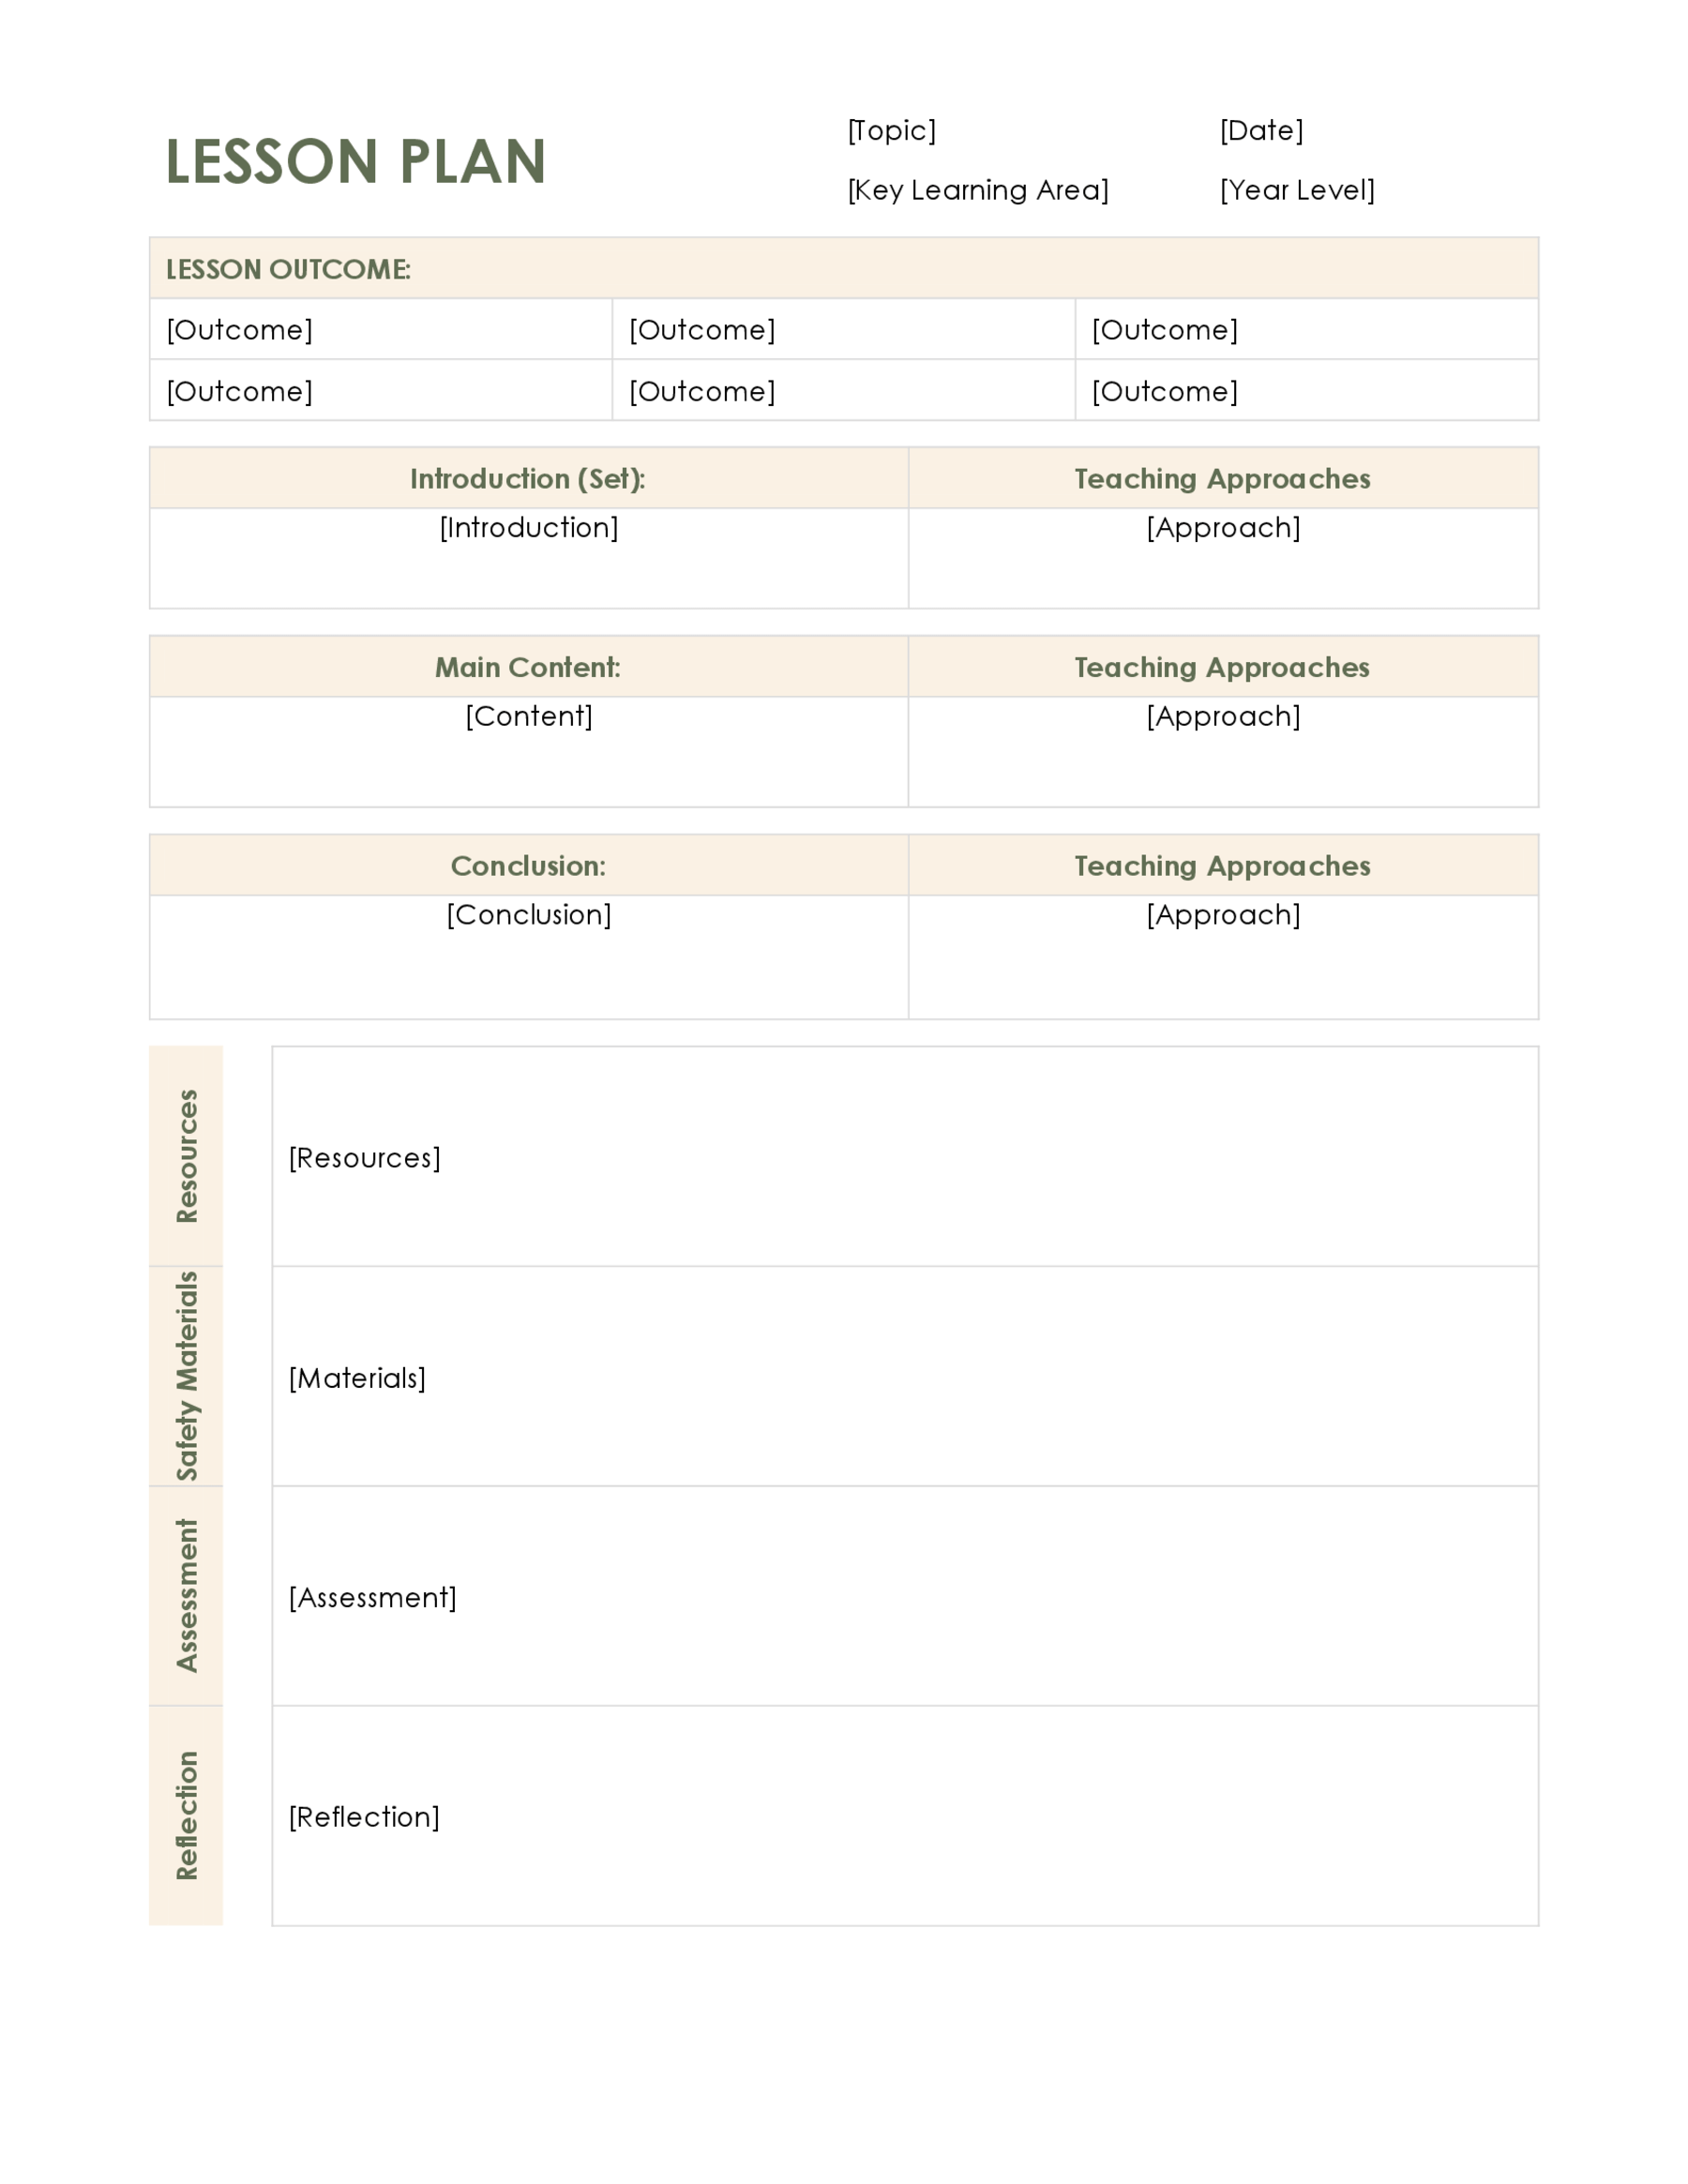
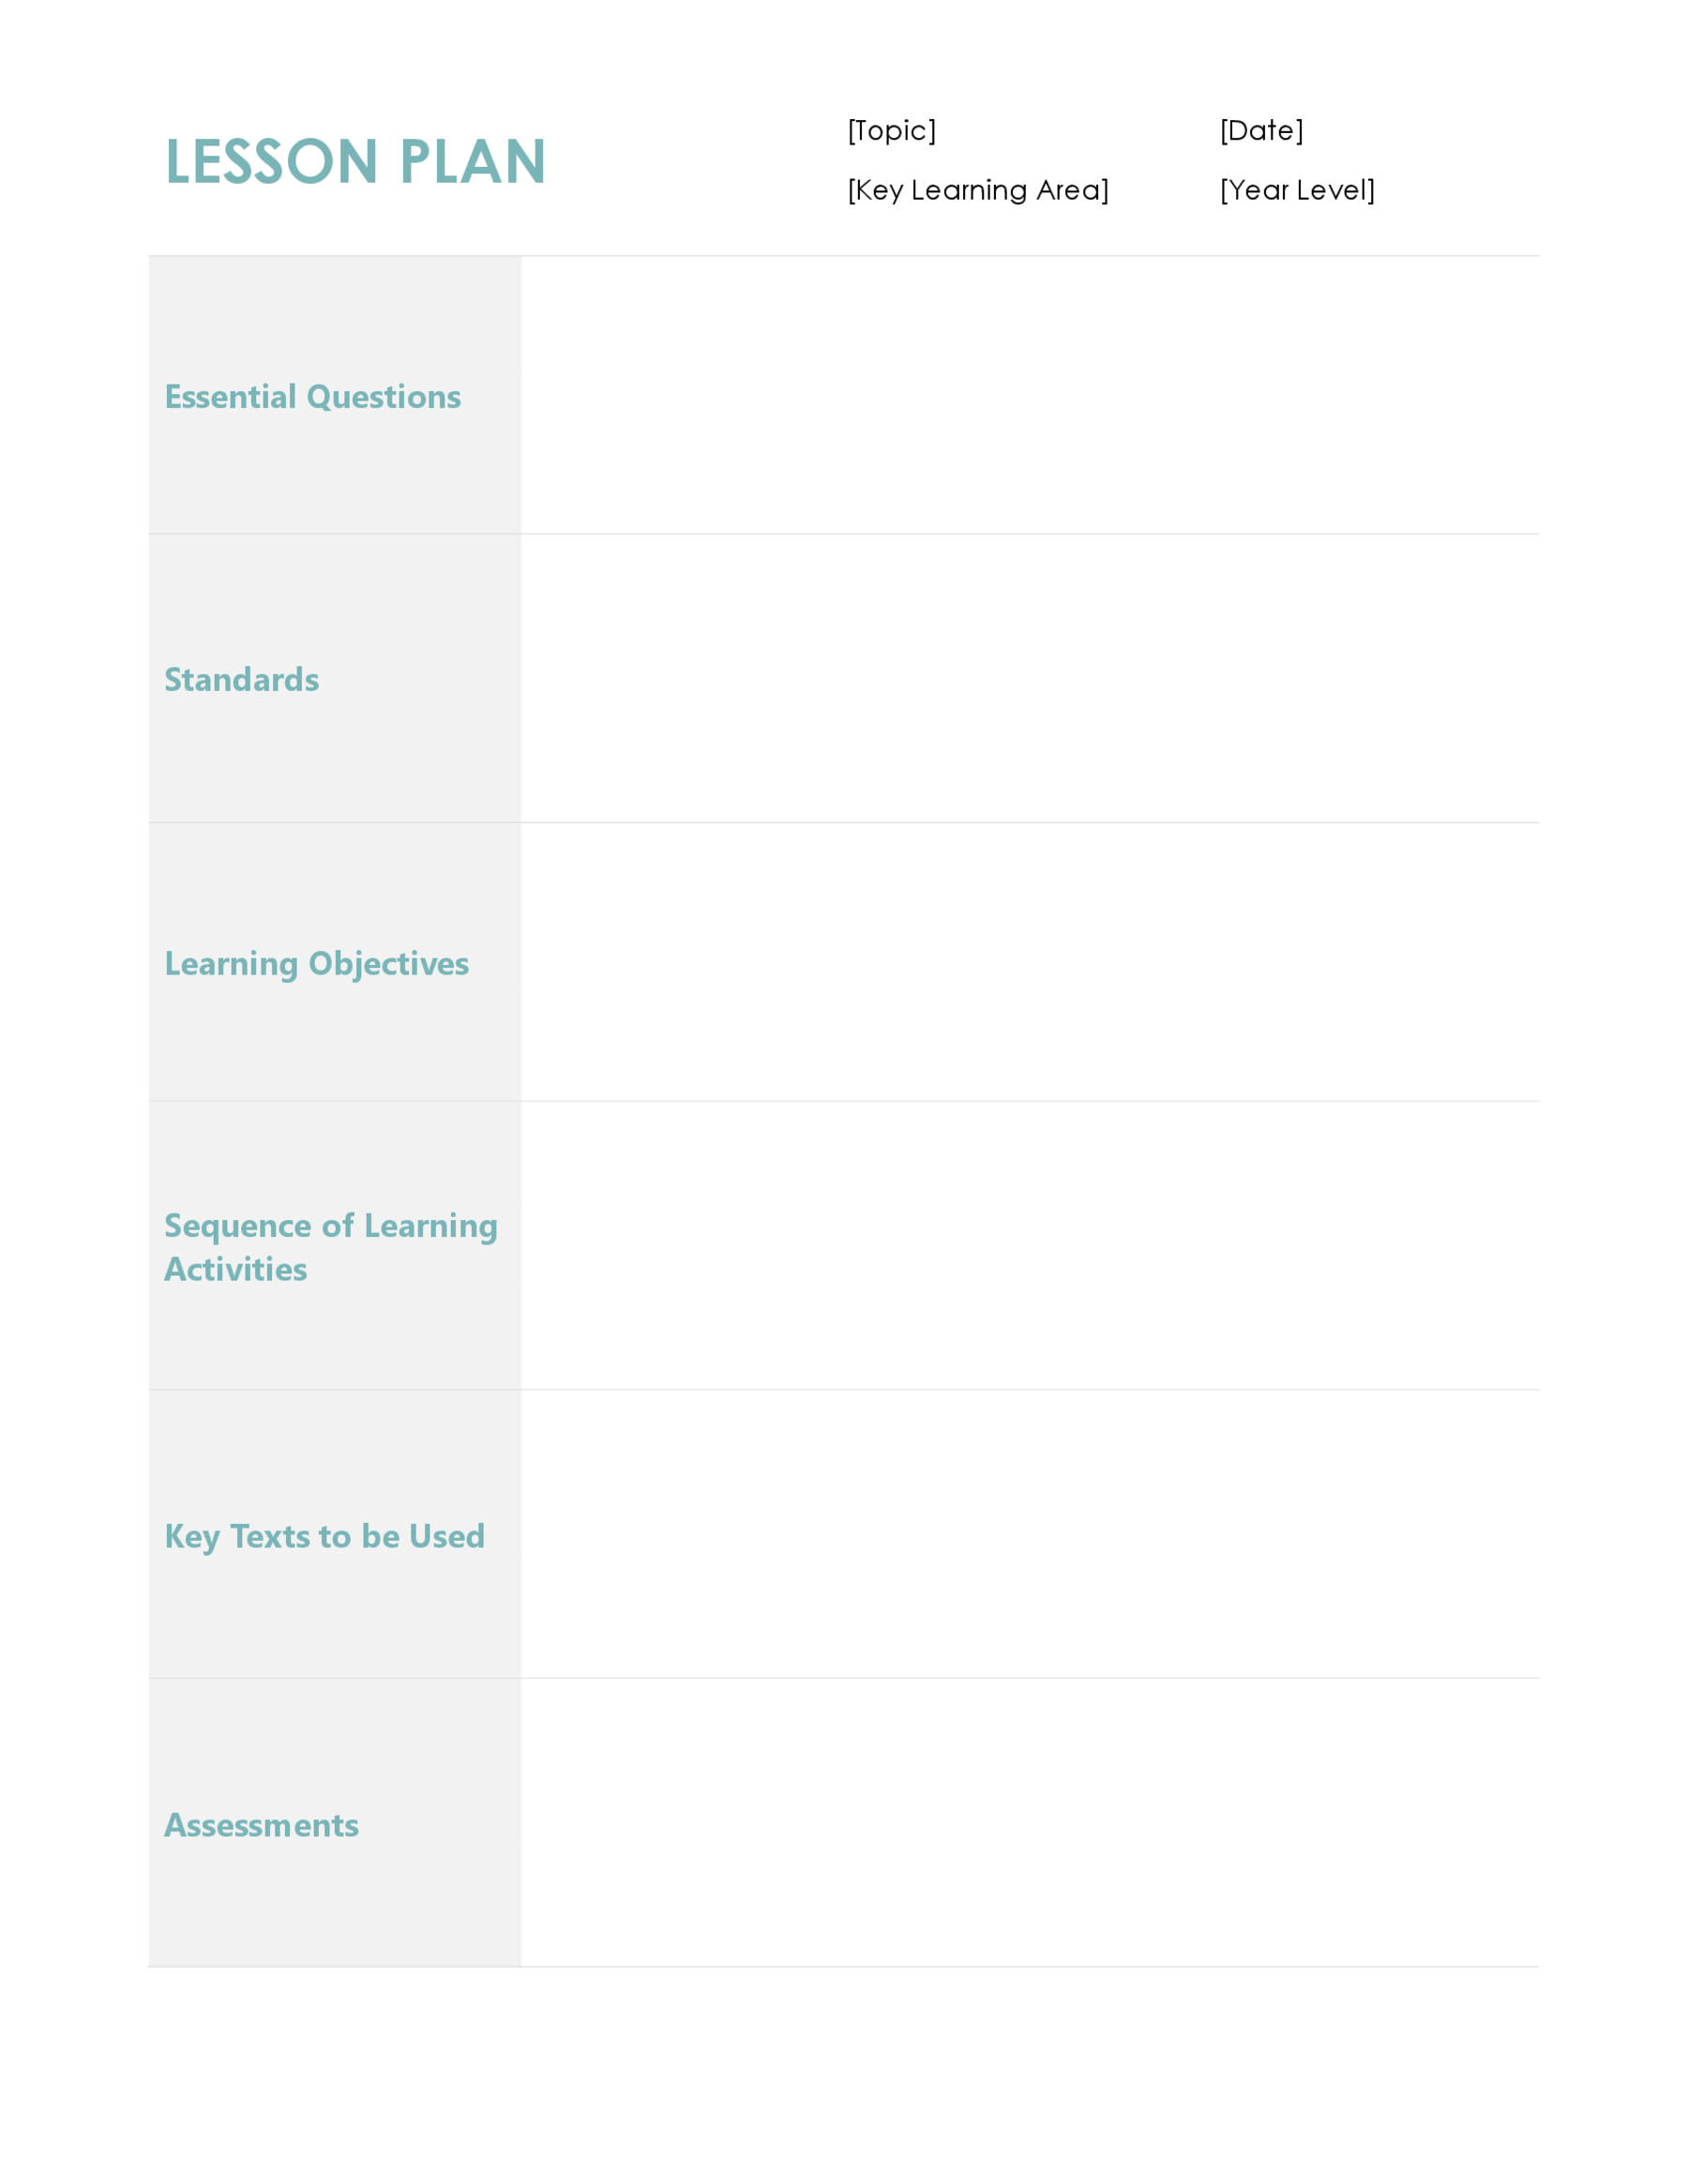
If you want a straightforward lesson sequence, look at templates 01, 04, 06 or 08. They offer different combinations of objectives, preparation, activities, assessment and reflection. Pick the headings you will actually use during teaching.
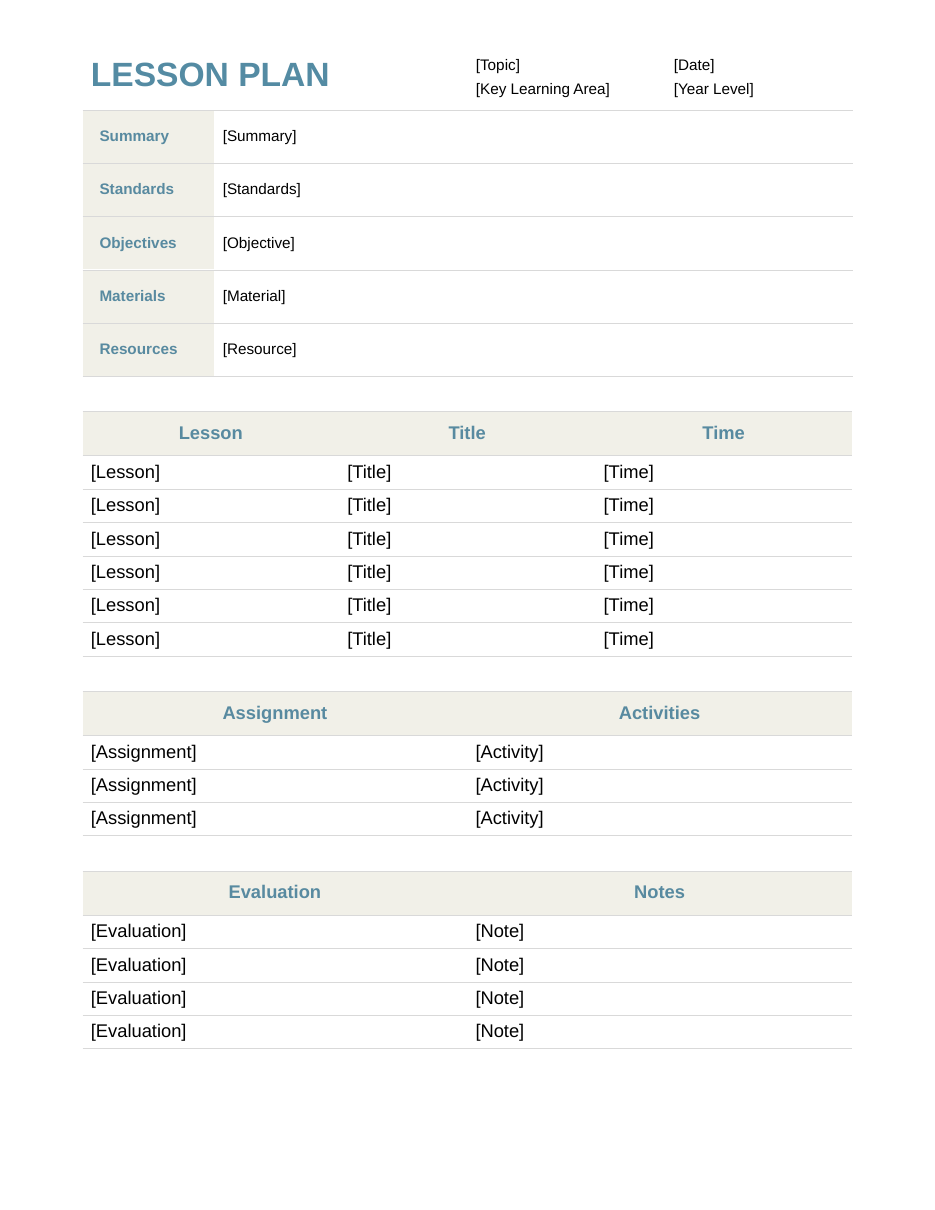
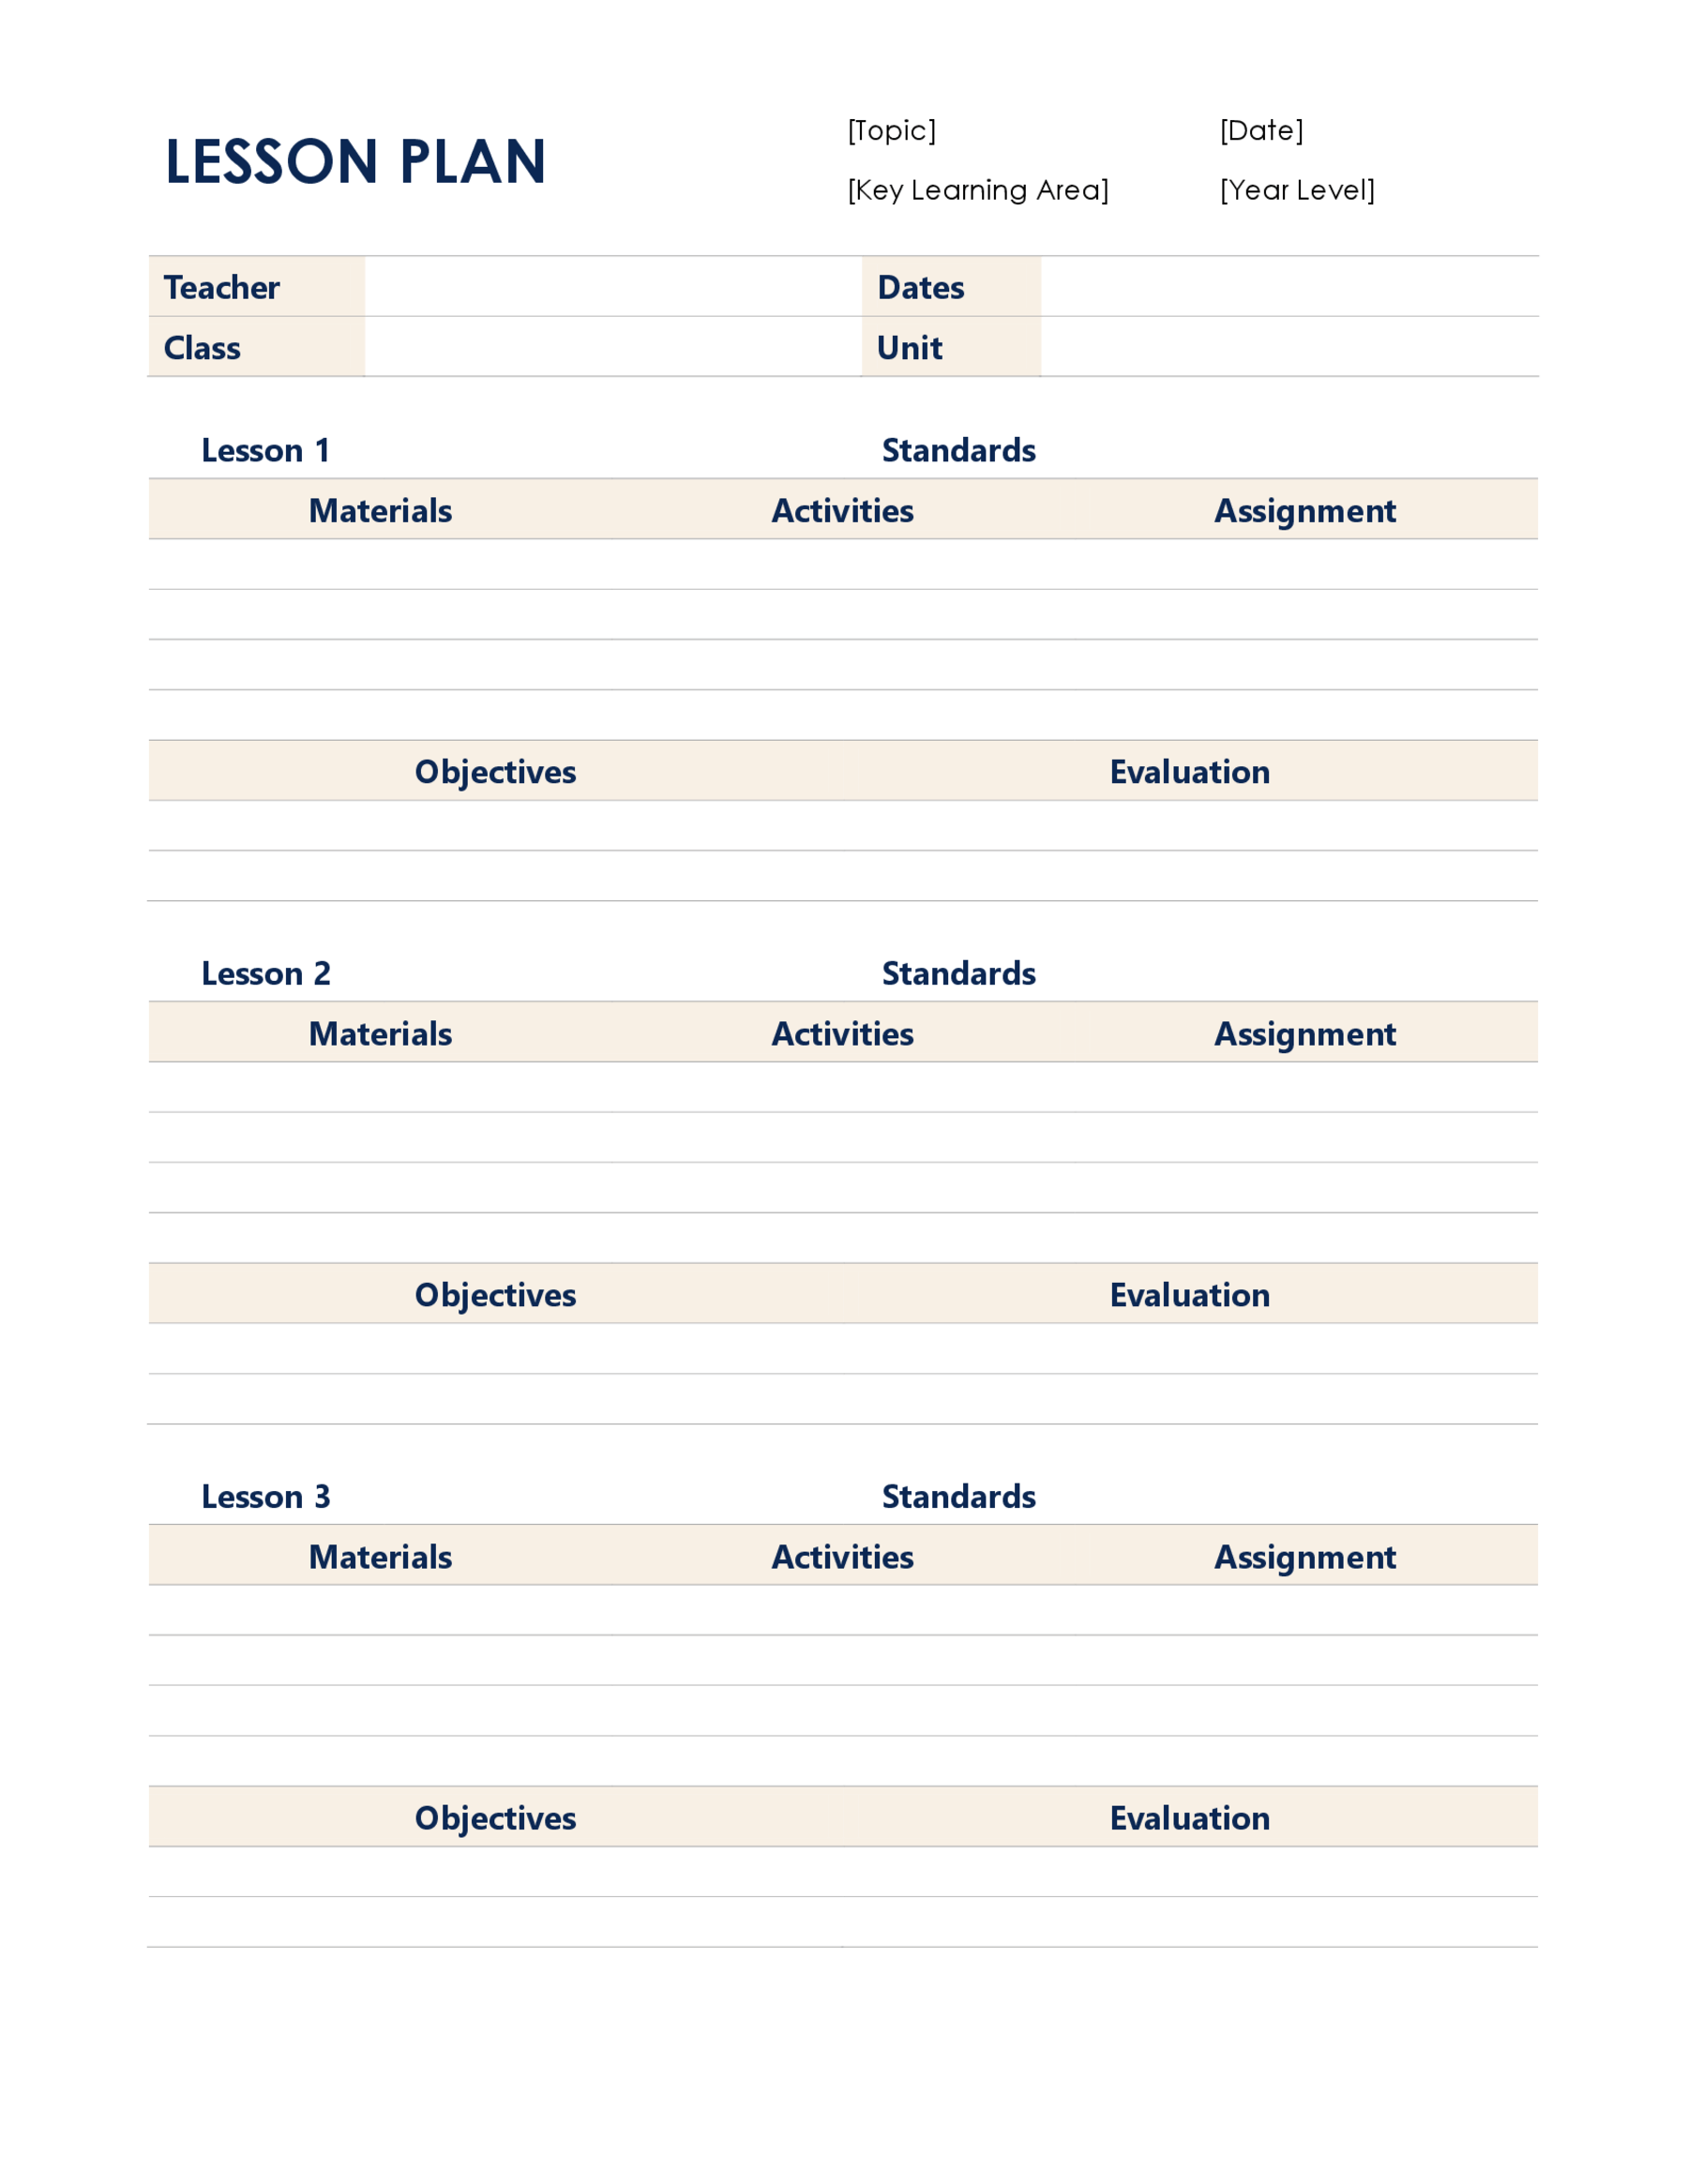
Template 02 separates the lesson overview from the schedule, assignments and evaluation notes. Template 03 organizes three lessons in consecutive sections, which can help you see how one lesson prepares students for the next. It is a short sequence planner rather than a detailed daily timetable.
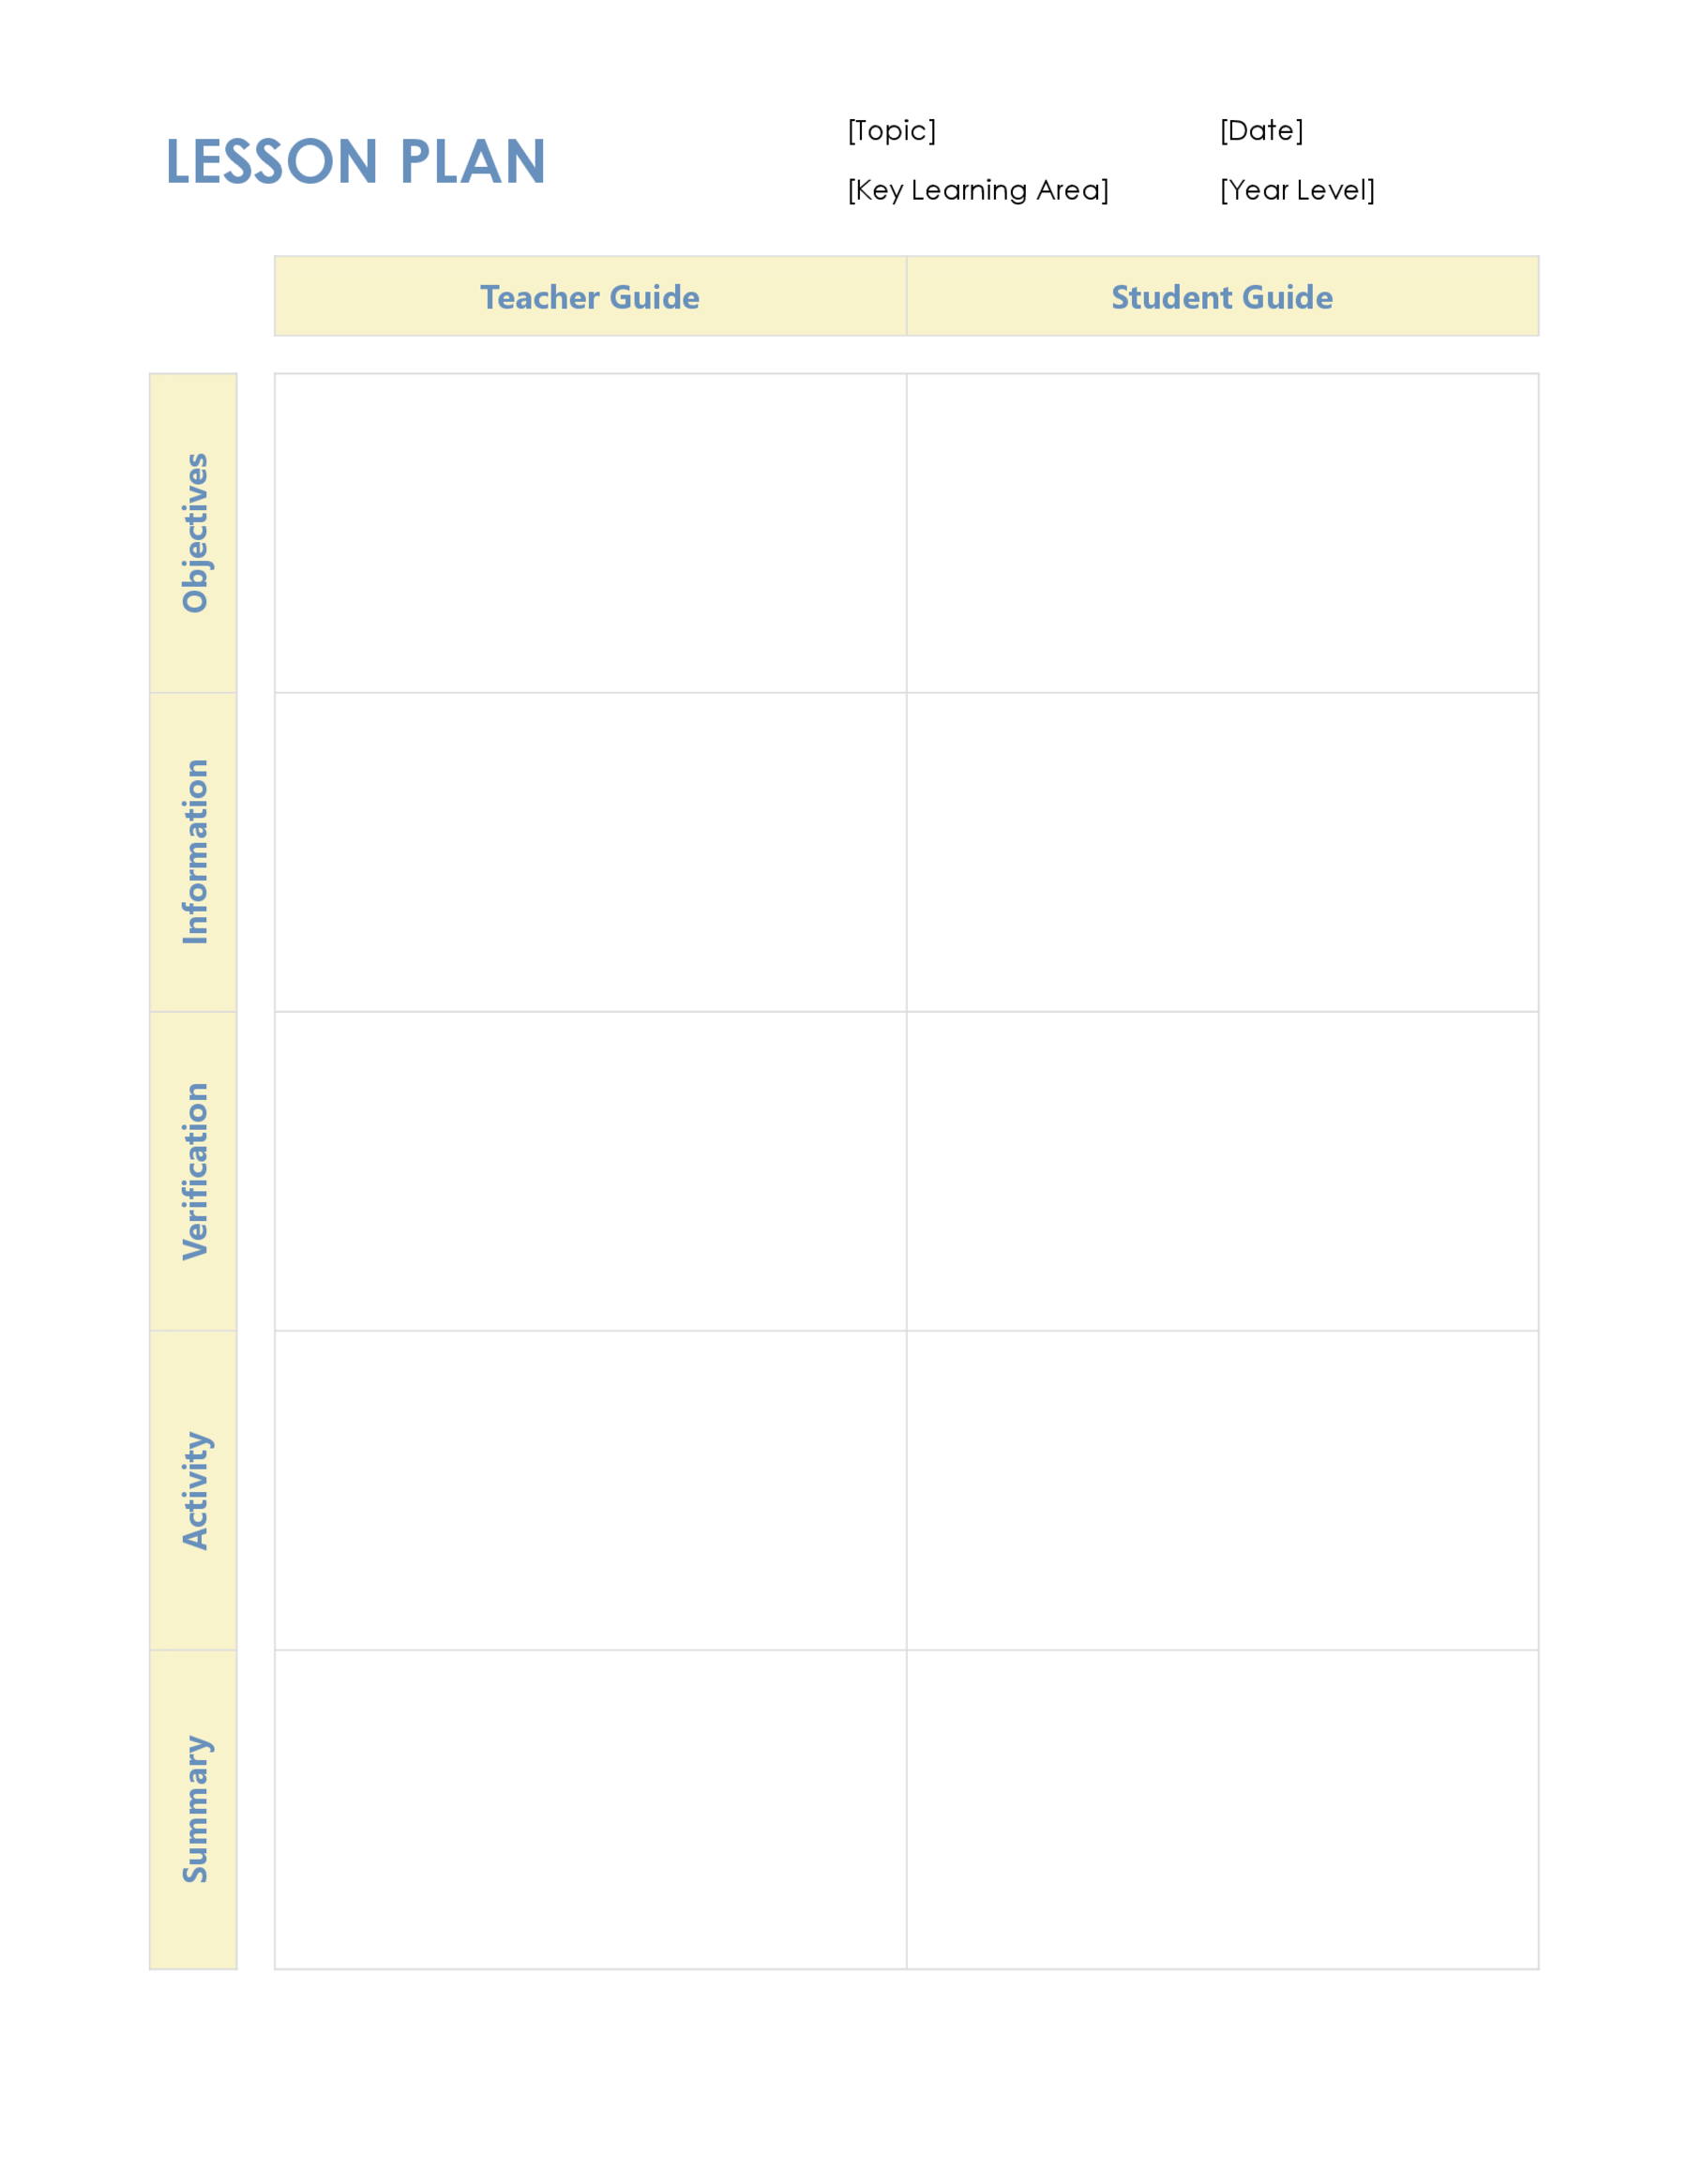
Templates 05 and 07 pair teacher guidance with student activity. Use these when the distinction matters: what you will model, what learners will do independently, and what you will look for before moving on. Template 07 also has space for the practical requirements and resources around the activity.
Template 09 gives more room to the connection between standards, learning outcomes, differentiation, assessment and instruction. Template 10 is a general learning-target and evaluation worksheet with participation, learning-evidence and follow-up fields. It is not an official ASCA form; school counselors should use their program’s required current format when that is needed.
Open a template
01 — Lesson Sequence and Reflection Template
02 — Lesson Overview and Timetable Template
03 — Three-Lesson Sequence Template
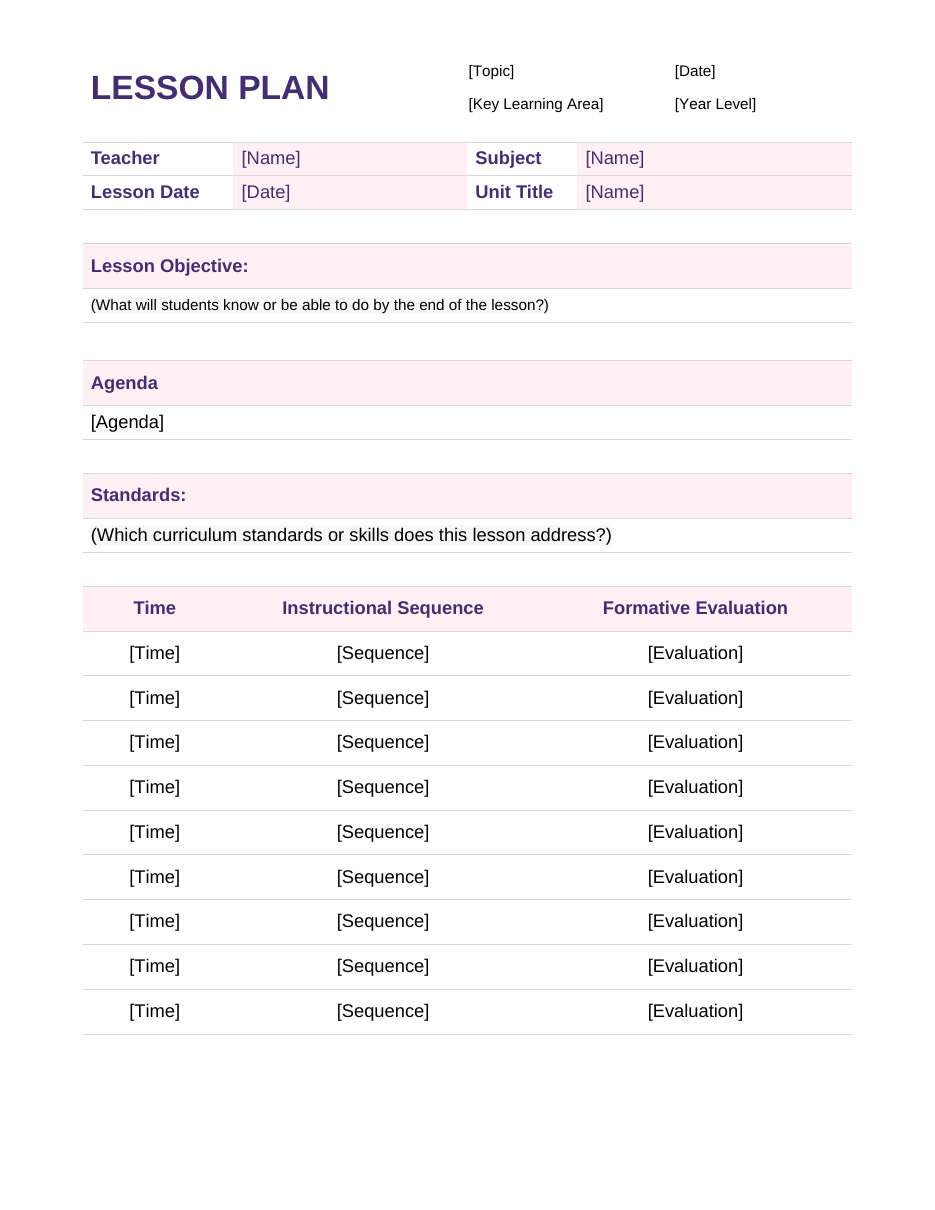
04 — Timed Lesson and Formative Assessment Template
05 — Teacher and Student Guide Template
06 — Essential Question Lesson Plan Template
07 — Teacher and Student Activity Plan Template
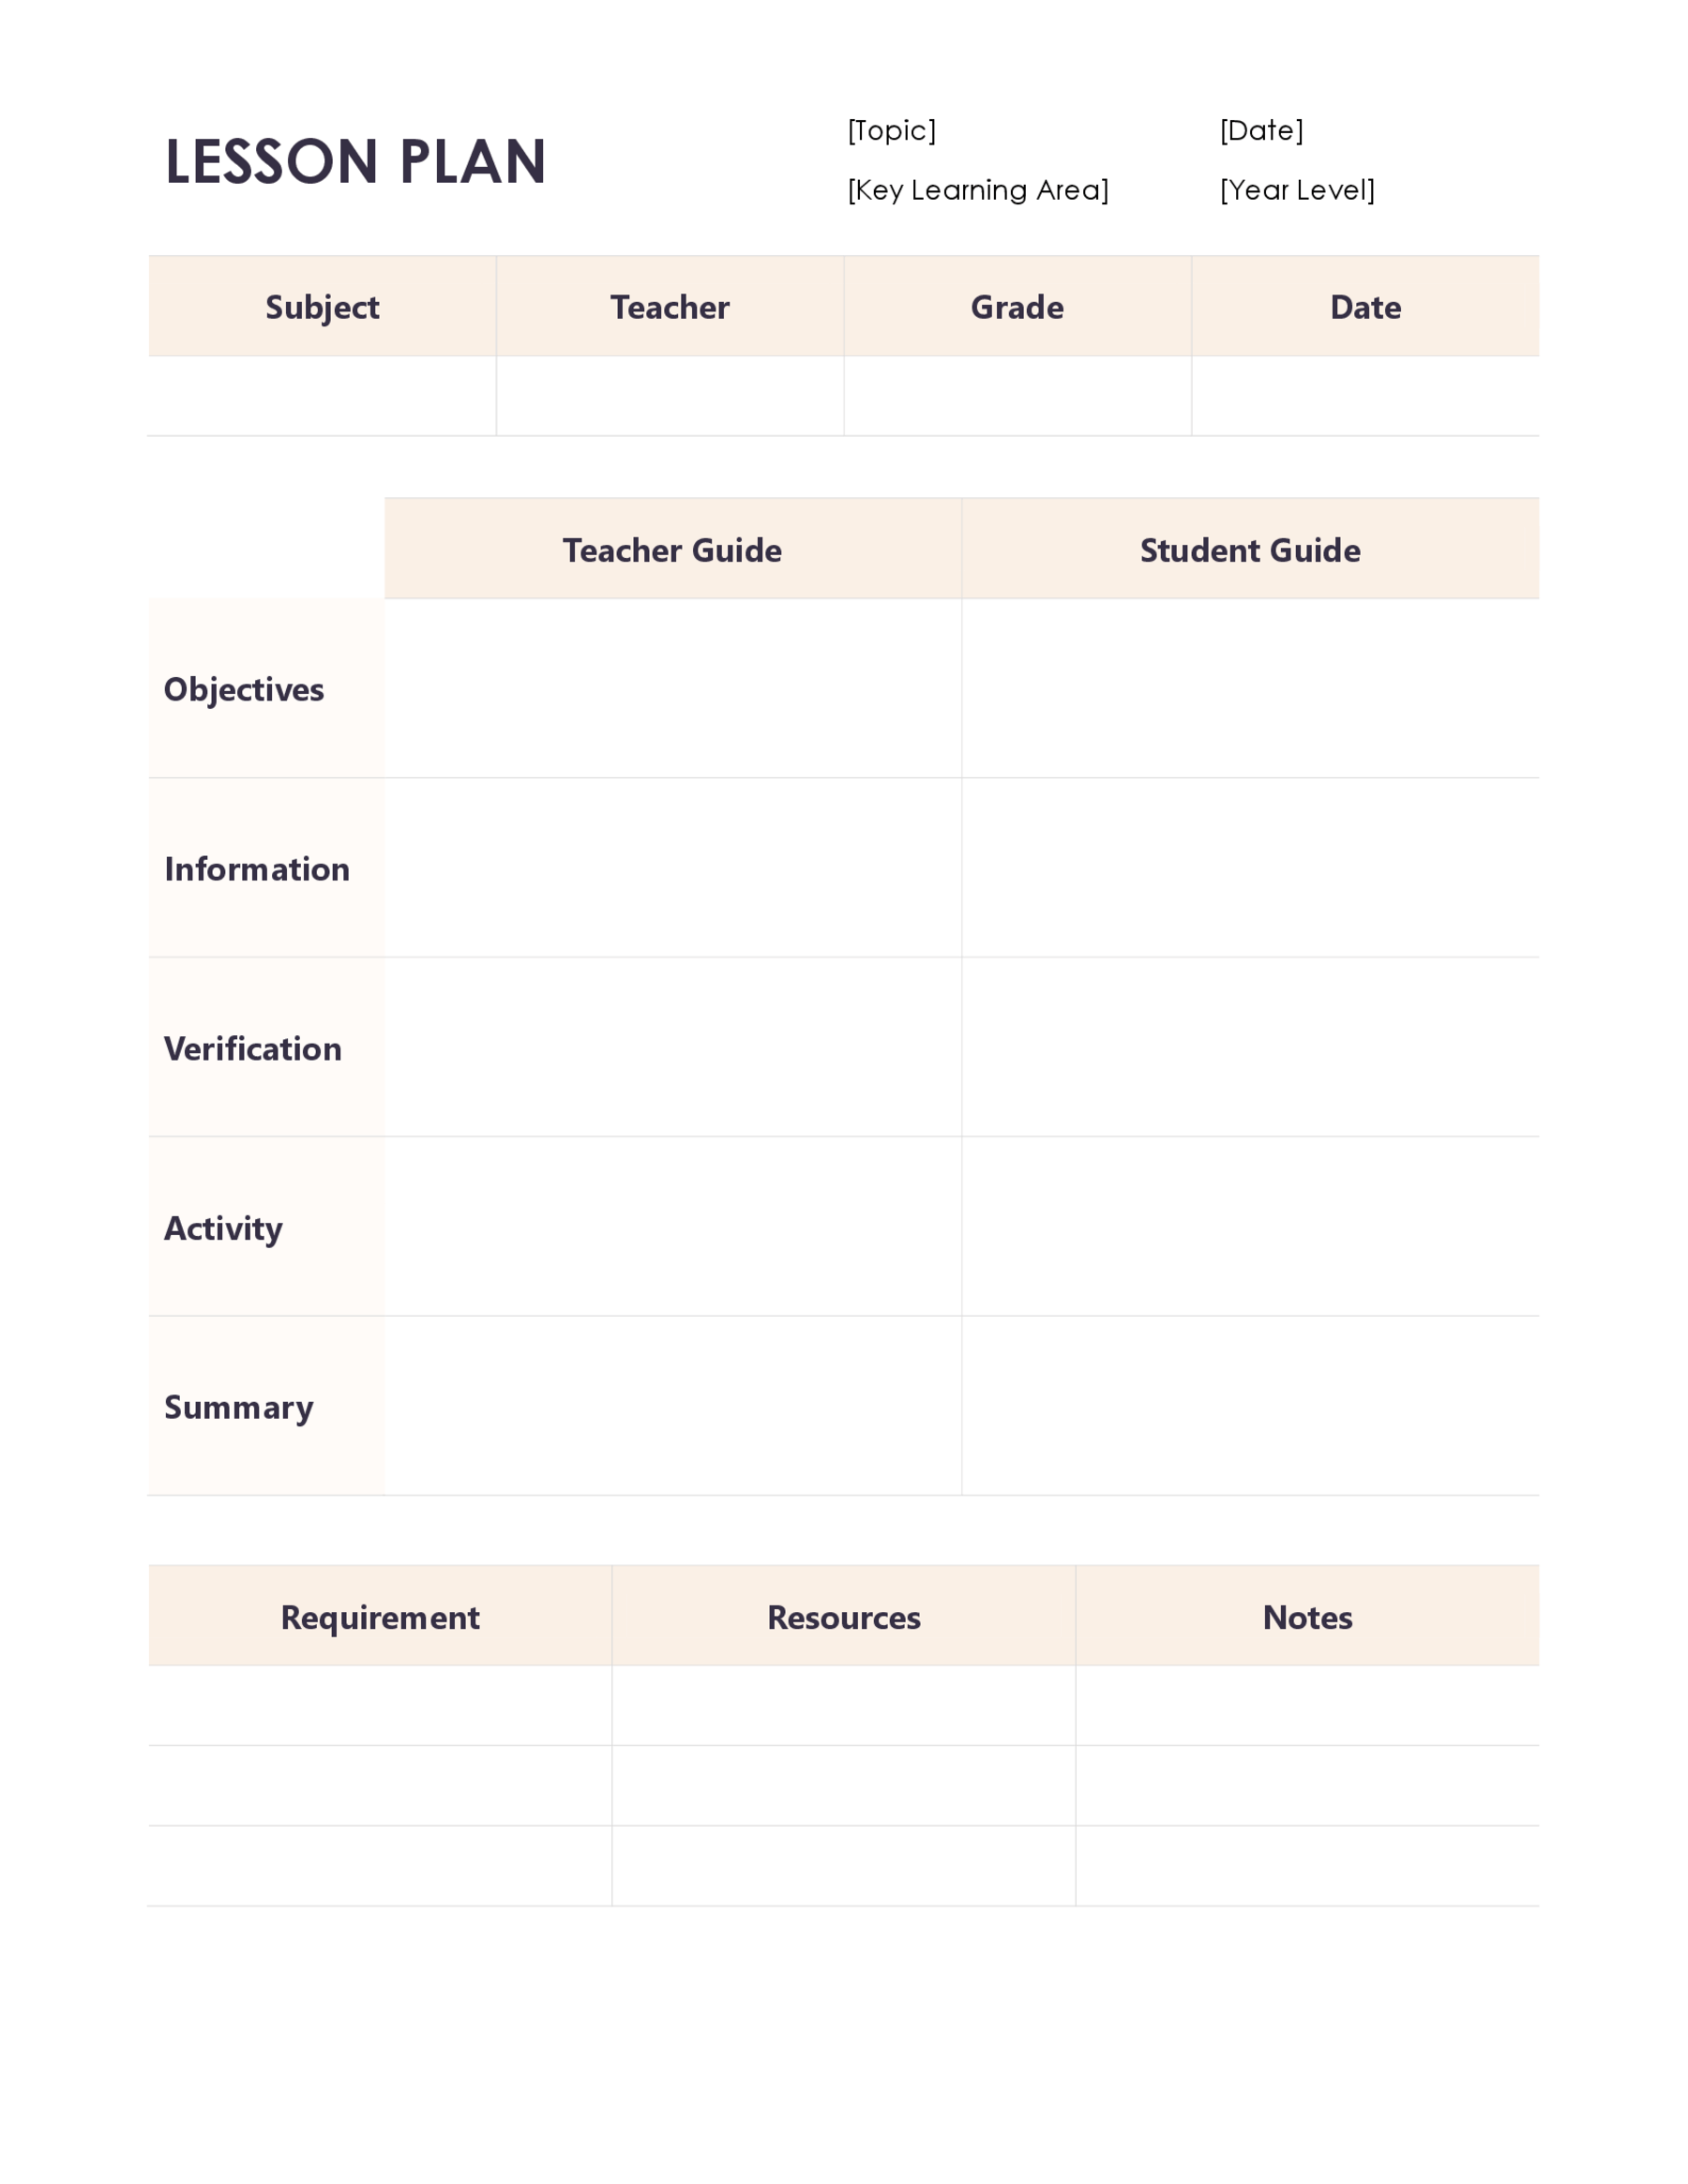
08 — Preparation and Follow-up Lesson Plan Template
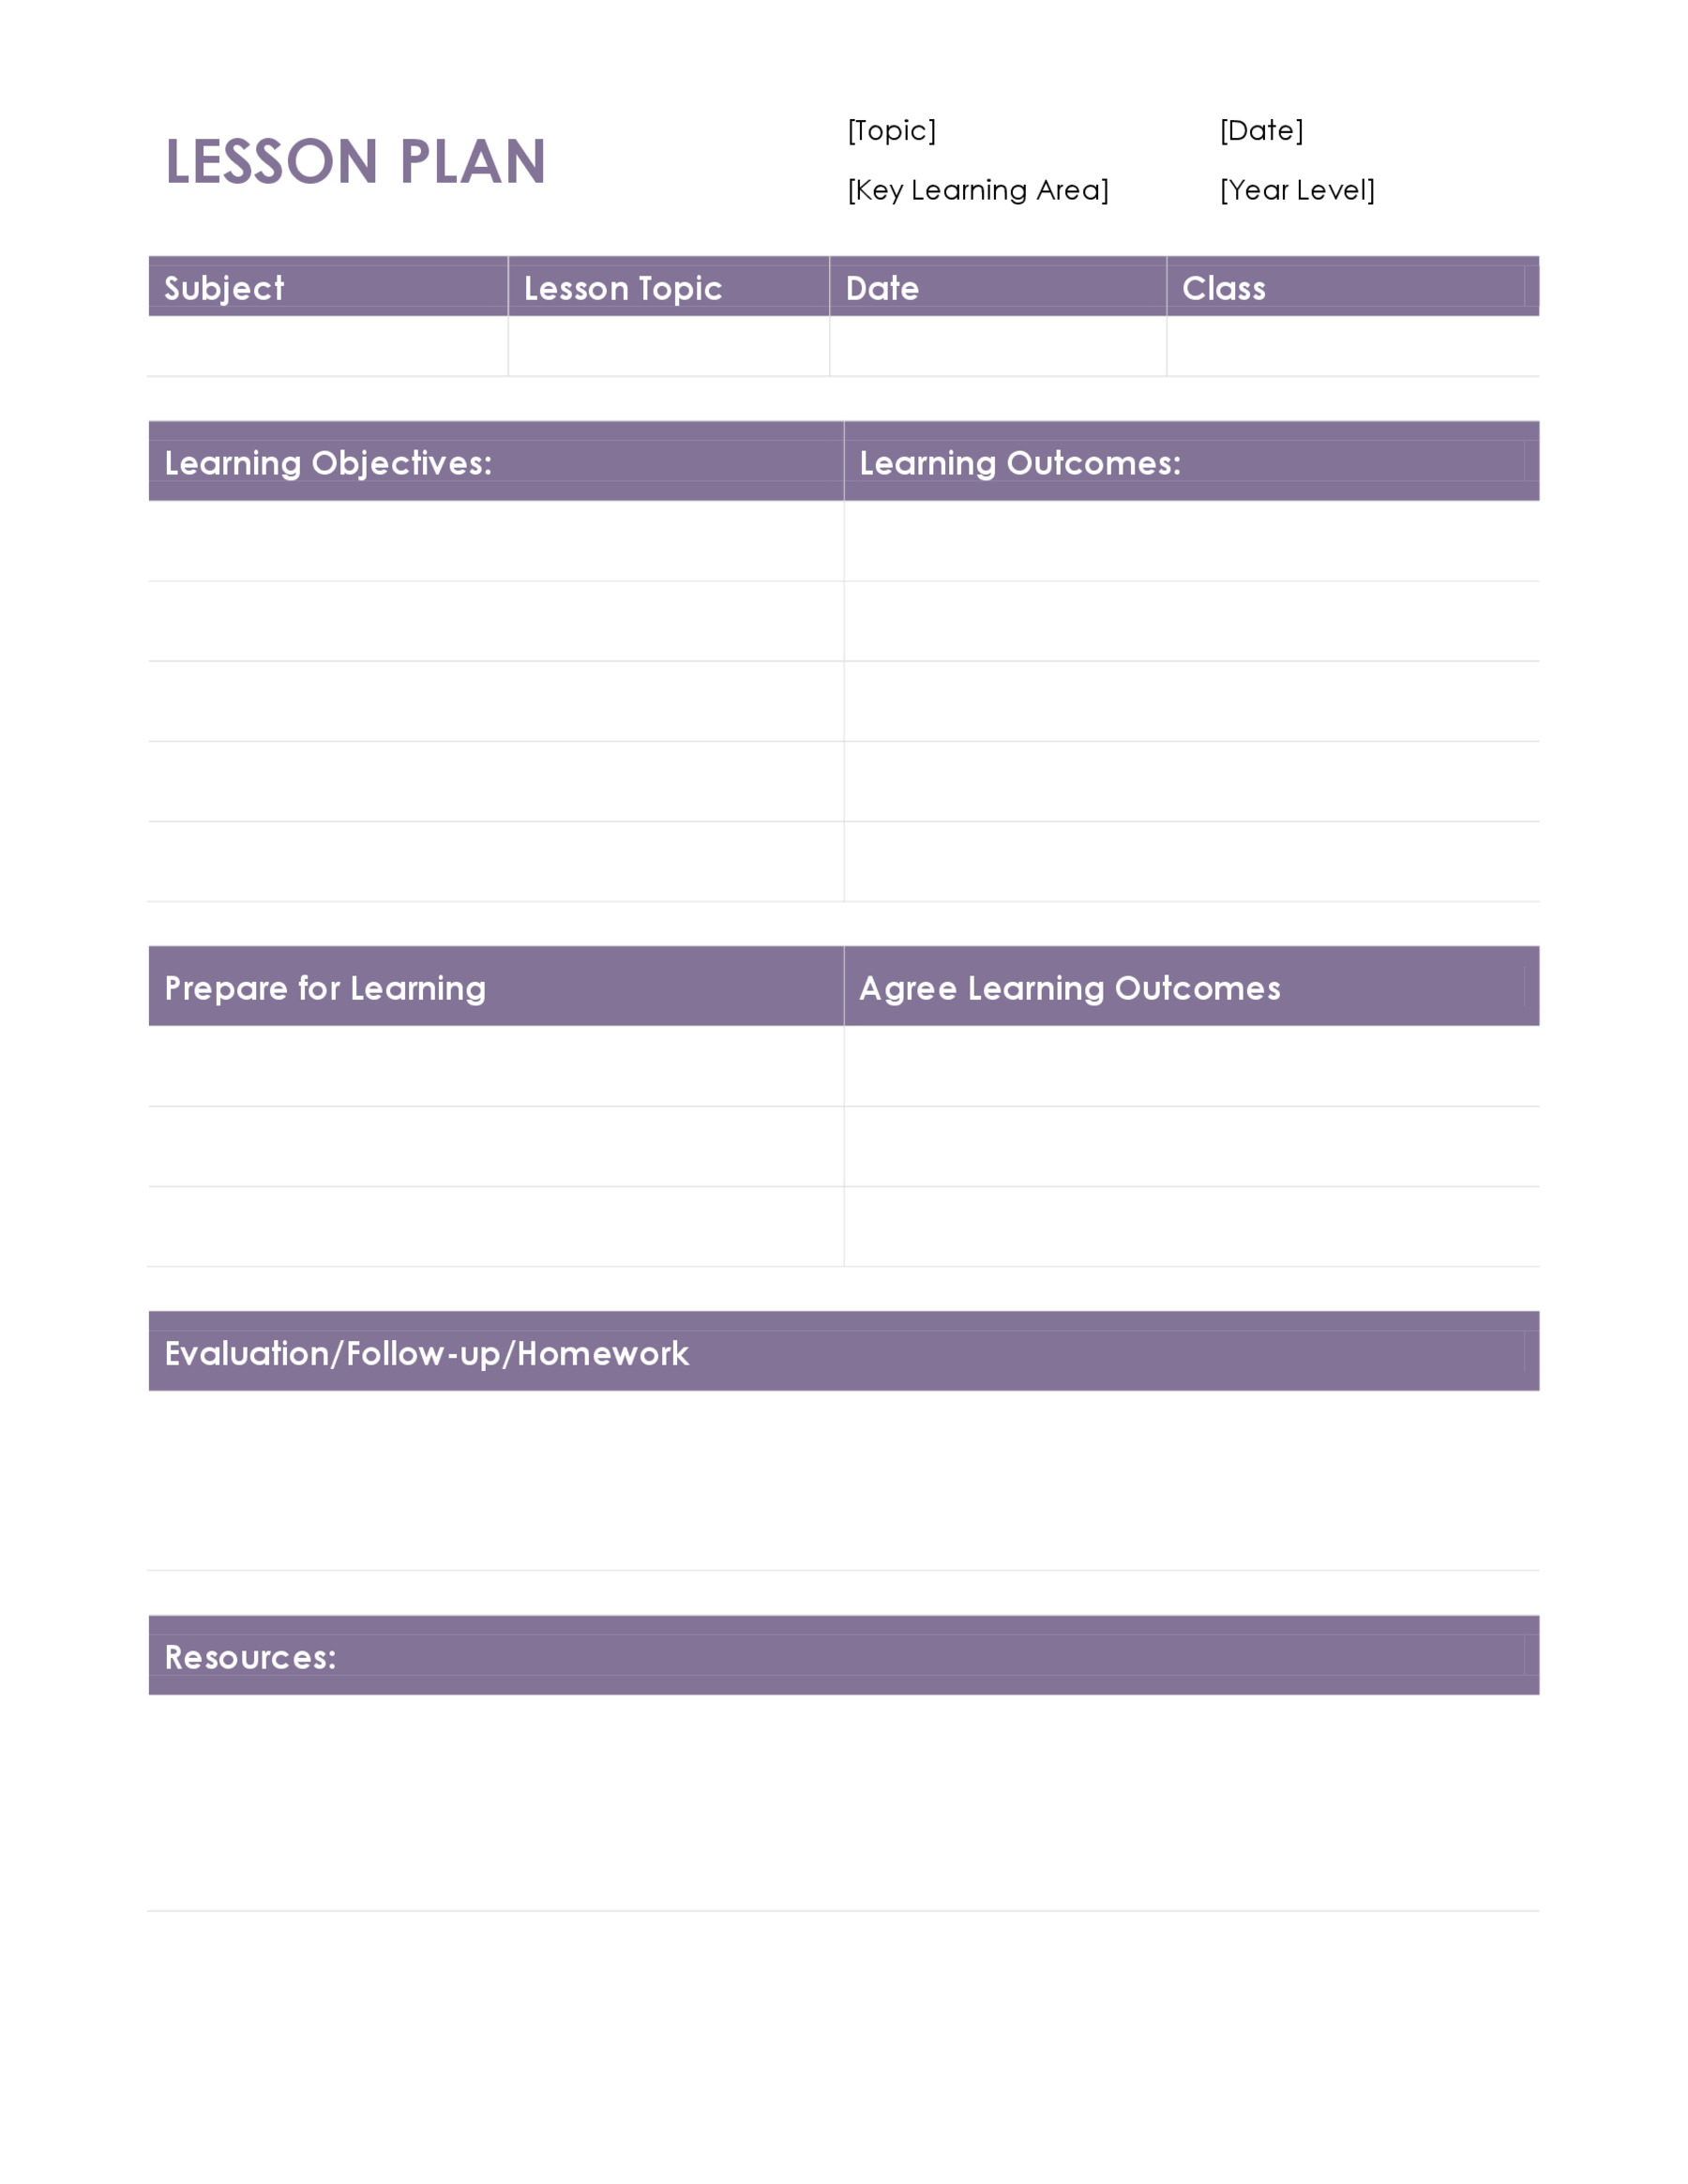
09 — Differentiated Lesson Plan Template
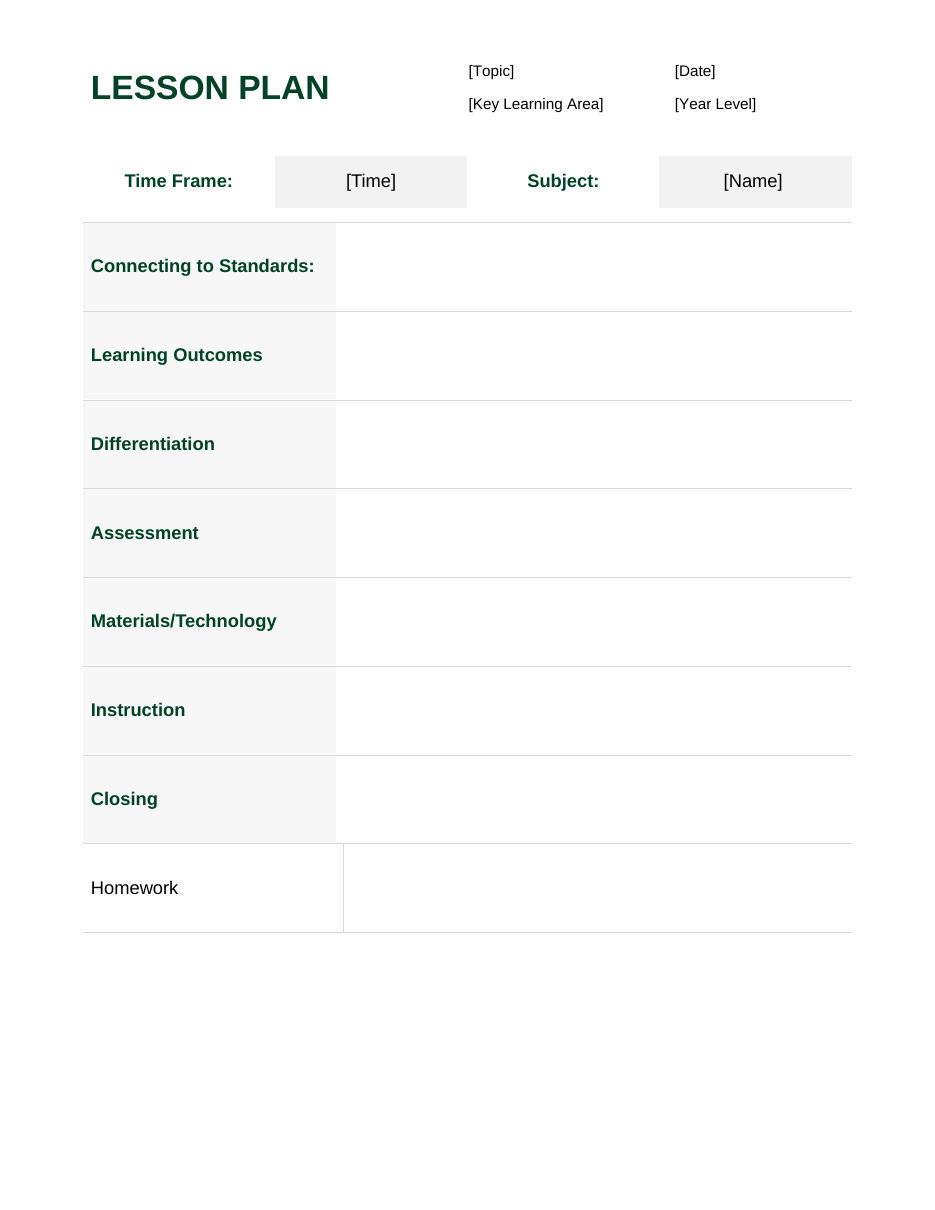
10 — Learning Target and Evaluation Template
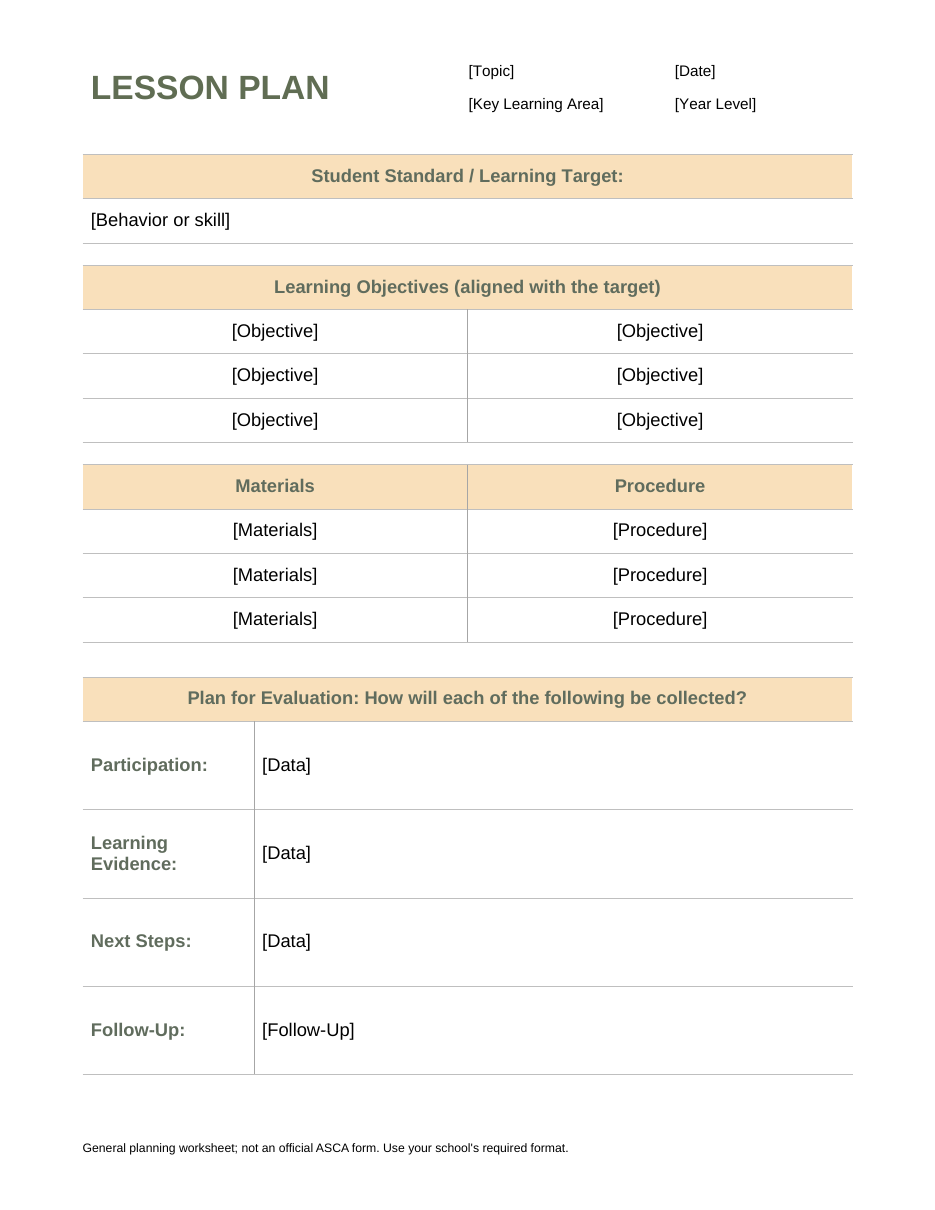
Start with an objective you can check
Write what students should be able to do by the end of this lesson. “Understand fractions” names a broad area, but it does not tell you what to look for. “Identify two equivalent fractions and justify one pair with a labeled model” gives the lesson a more specific destination.
Then decide what evidence would show progress toward that objective. It might be an explanation, a worked problem, a brief performance, a diagram or an exit ticket. The University of Michigan’s Center for Research on Learning and Teaching connects objectives, learning activities and checks for understanding in its lesson-planning guidance. The relationship matters more than the number of boxes in your form.
University of Michigan: Strategies for Effective Lesson Planning
If your school requires a curriculum standard, record the relevant reference and the part of it this lesson addresses. A single lesson may contribute to a broader standard without covering all of it. Do not label a general template as compliant with a particular curriculum unless you have checked those requirements.
Work backward from the evidence
Once you know what you want to see, choose an activity that lets students practise it. Separate the learning purpose from the activity’s surface features. Cutting paper strips is an activity; comparing equivalent lengths and explaining the relationship is the learning work.
Record the materials before you build the timing. Include things that are easy to overlook: the example you will display, the number of copies, a vocabulary prompt, a backup for an unavailable device, or an alternative way for a learner to respond. Make the plan specific enough that you can find what you need without interrupting the lesson.
Here is a worked example for a 40-minute introductory lesson on equivalent fractions. Adapt the pace and content to the students you teach; this is an example, not a prescribed curriculum.
Objective: Students identify two equivalent fractions and justify one pair using a labeled model.
Evidence: Each student draws or labels a pair of equivalent fractions and explains how the model shows equal amounts.
Materials: Paper strips, pencils, a number line and a short exit ticket.
Minutes 0–5: Show a half and two fourths of equal-length strips. Ask what students notice and listen for the difference between the number of pieces and the total amount.
Minutes 5–12: Model how to label the pieces and align the strips. Demonstrate one explanation, then invite a different explanation from the class.
Minutes 12–25: Students work in pairs with halves, fourths and eighths. Ask them to record two matching lengths and explain one comparison to a partner. Check understanding while they work.
Minutes 25–33: Students complete an individual model and explanation. Use what you see to decide who needs another example and who is ready for a new comparison.
Minutes 33–38: Give the exit ticket and collect a response from each student.
Minutes 38–40: Review one useful explanation and organize materials for the next lesson.
That schedule totals 40 minutes, including the closing routine. If the opening reveals a misconception, shorten the independent extension and spend more time on the model. A plan should help you make that adjustment rather than force the class through unfinished steps.
Plan support and challenge in the same lesson
Use the differentiation or notes field for practical changes to access, support and challenge. For this example, a learner might use premarked strips, a sentence starter, a larger visual model or an oral explanation before writing. Another learner might find a different equivalent pair and explain why it works.
Choose those supports from what you know about the learners and the task. Avoid assigning students fixed “visual,” “auditory” or “kinesthetic” categories in the plan. Record the access need or teaching response directly. Keep confidential student information in the system your school uses for it, rather than adding it to a widely shared planning copy.
Check the plan before you teach
Read the objective, activity and assessment together. If the objective asks students to explain but the assessment only asks them to select an answer, decide whether that gives you enough evidence. Check that the materials are available and that the activity can fit within the time you have.
Open the Word file or Google Docs template and save your own copy before editing. Replace the bracketed prompts and remove unused optional rows if that makes the plan easier to scan. Rows can expand as you type, so check print preview after adding longer notes. Keep headings and the information beneath them together, and print every page you intend to use.
After the lesson, write a short reflection while the details are fresh: what the evidence showed, where students needed more time and what should happen next. “Repeat the number-line example with the small group before introducing thirds” is more useful than a general note that the lesson went well. That brief record gives tomorrow’s plan a clear starting point.
